
Next, I crack in the egg, mix it through, and then it’s time to fill those Hawaiian rolls! I scoop a generous amount of the cheesecake filling into each roll, letting it swirl and slightly overflow. It’s like a cozy hug for the rolls! After that, I pop the muffin tin into the oven and let them bake for about 15-20 minutes until the tops are lightly golden and set. Just wait until you get a whiff of that delightful aroma wafting through your kitchen!
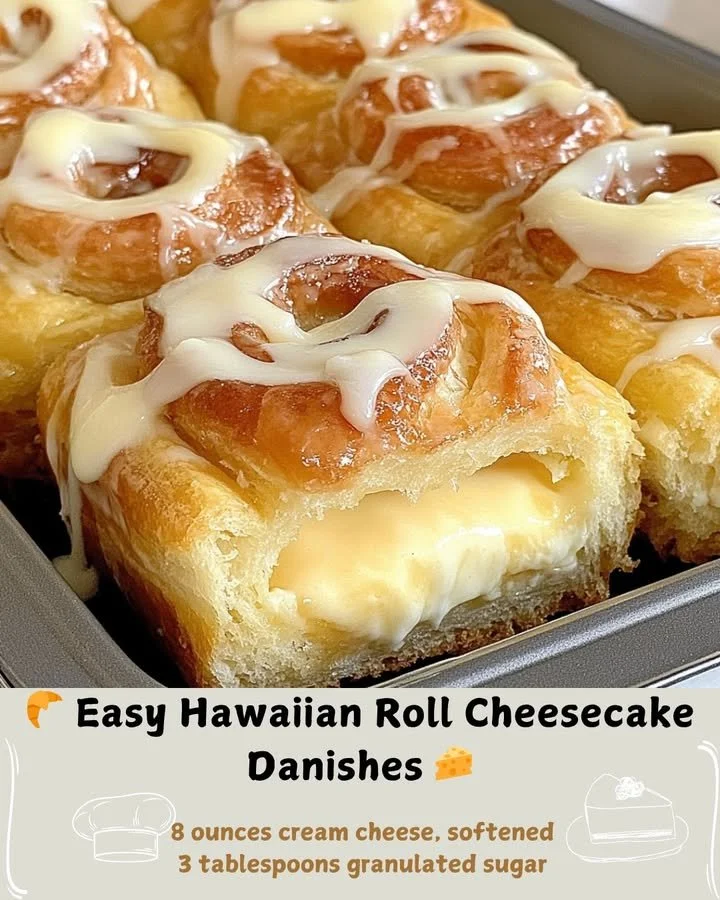
Once they’re baked, I pull them out and let them cool for a few minutes before removing them from the tin. Meanwhile, I whip up a simple glaze by mixing powdered sugar with a wee bit of milk, drizzling it over the warm danishes. I love the way the glaze glistens, adding that extra touch of sweetness. You could definitely throw on some fresh fruit or a dollop of jam for a burst of color and flavor!
Pro Tips for Best Results
When I first made these danishes, I discovered that using Hawaiian rolls that are slightly stale can work wonders because they soak up the cheesecake filling beautifully. So if you have some leftover rolls sitting around, don’t toss them! I also found that letting the cream cheese come to room temperature is key to achieving that smooth consistency. I’ve tested it with cold cream cheese, and the lumps just aren’t as pleasing.
Another tip I swear by is to be generous with the glaze. A little drizzle makes all the difference, and it becomes a showstopper! If I’m feeling adventurous, I might even infuse it with a touch of lemon juice or almond extract to give it a different flavor profile. This recipe allows room for personal touches, so don’t hesitate to experiment!
Lastly, be sure not to overbake them. I’ve learned that pulling them out when they’re just set helps maintain a delightful creaminess inside. Nobody wants a dry dessert, right? Keeping a close eye on the timer is crucial.
Common Mistakes to Avoid
One mistake I made on my first try was overfilling the rolls. It can be tempting to put in more cheesecake filling, but trust me, they will spill over during baking. Instead, I fill them about 3/4 full to allow room for rising. You really want them to puff up without causing a mess in your oven! (See the next page below to continue…)