
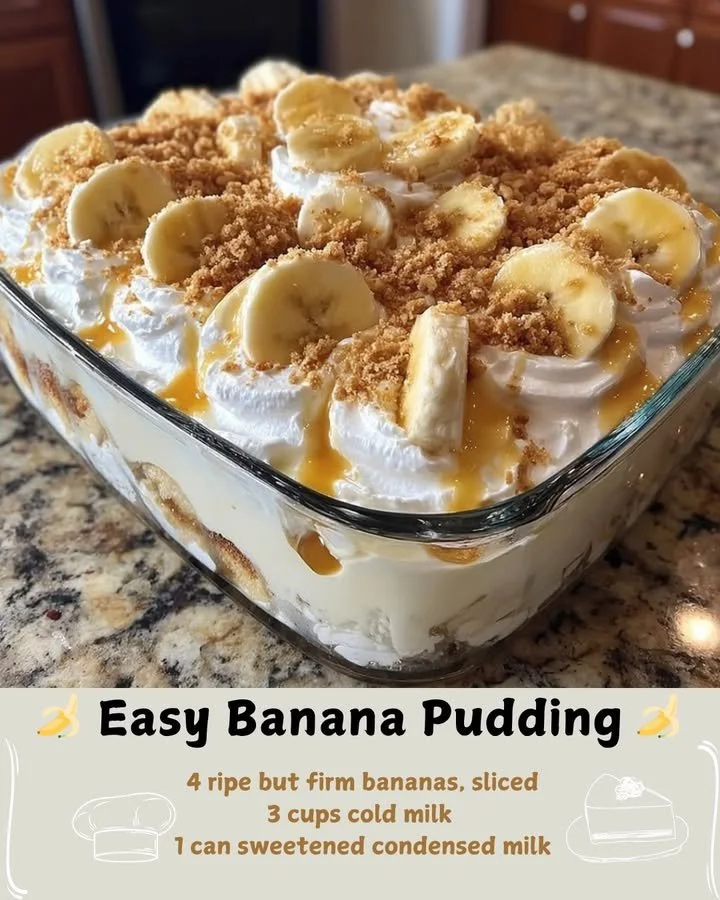
Continuing on, I gently fold in the whipped topping, creating that fluffy texture that really makes this pudding stand out. Once your creamy blend is ready, it’s time for assembly! In your baking dish, start by layering vanilla wafers on the bottom, followed by a layer of sliced bananas. Then, scoop a layer of your pudding mixture on top. Repeat the layers until everything is used up, finishing with a layer of pudding on top.
For the final touch, I like to decorate the top with some extra whipped cream and maybe sprinkle on a few crushed vanilla wafers for added crunch. Once all the layers are expertly stacked, cover the dish with plastic wrap and refrigerate it for at least four hours, though overnight is even better. Trust me, letting it chill enhances the flavors beautifully!
Pro Tips for Best Results
I tested this recipe three ways: with fresh bananas, overripe bananas, and even substituting with banana extract. While all tasted delicious, I found that using perfectly ripe bananas yields the best texture and sweetness. Also, if you can resist the urge to dig in right away, letting it chill overnight works wonders in melding all those flavors together.
One thing I recommend is to slice the bananas just before layering them to keep them fresh and prevent browning. If you find that your bananas are browning quickly, a splash of lemon juice can help slow down the process a bit. I usually prep everything first and then slice right before putting it together.
Lastly, don’t skimp on the whipped topping! I find that a generous amount on top really makes the dessert feel special. It adds that delightful lightness to the creaminess of the pudding, and it’s such a simple step that ups the presentation.
Common Mistakes to Avoid
One common mistake I’ve made in the past is not using enough cold milk when preparing the pudding mix. Trust me, it’ll end up too thick, and you won’t get that luscious, creamy consistency we all love. Always stick to the measurements for the best results! (See the next page below to continue…)