
Once the crust has cooled, I get to work on the filling. In a large mixing bowl, I beat the softened cream cheese with an electric mixer until it’s nice and creamy. Then, I gradually add the sugar and beat until it’s well combined. I love the sweet, rich aroma that fills my kitchen at this stage! Next, I add the vanilla extract and mix it in before incorporating the eggs one at a time, ensuring everything blends smoothly. Finally, I fold in the sour cream, which gives the filling that extra lusciousness.
Now it’s time to assemble! I pour the creamy filling over my cooled crust, smoothing out the top with a spatula. Then, I bake the cheesecake in the oven for about 50-60 minutes until the edges are firm and the center has a slight jiggle. It’s so exciting to see it rise! After baking, I turn off the oven and let the cheesecake cool inside with the door slightly ajar to prevent cracking. Once cool, I transfer it to the fridge for at least 4 hours or overnight for the best results.
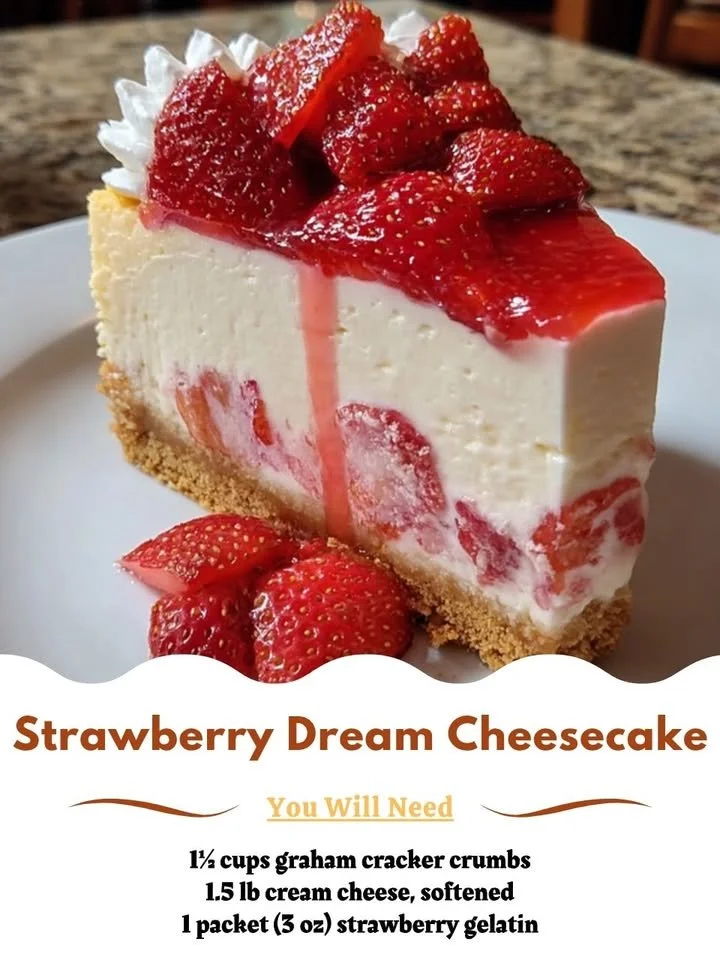
Before serving, I prepare the strawberry topping. I toss the sliced strawberries with the strawberry preserves, letting them soak for about 15-20 minutes to marry the flavors. Once everything is set, I scoop out generous portions of cheesecake, top it with the sweetened strawberries, and add a dollop of whipped cream if I’m feeling extra indulgent. This is the moment I wait for all day, and it’s always worth it when I take that first bite!
Pro Tips for Best Results
I’ve made this cheesecake several times, and one of the best tips I can give you is to use room temperature ingredients. It makes such a difference when mixing the cream cheese, and you’ll end up with a smoother filling! I usually take the cream cheese and eggs out of the fridge an hour before I start making the cheesecake. That way, everything blends well without lumps.
Another personal favorite trick of mine is to bake the cheesecake in a water bath. I wrap the springform pan in aluminum foil and place it in a larger baking dish filled with hot water. This helps to create a gentle, moist heat while baking, reducing the risk of cracks and giving you that perfect, creamy texture I adore. It’s a little extra effort, but trust me, it’s worth it!
Lastly, please don’t rush the cooling and chilling process. I learned this the hard way when I cut into the cheesecake too soon, and it fell apart. Letting it cool gradually in the oven, followed by a long chill in the fridge, will yield the best final product. Patience really is a virtue when it comes to cheesecakes!
Common Mistakes to Avoid
One of the most common mistakes I see with cheesecakes is overbaking. I once had a beautiful cheesecake that I left in the oven for too long, and it turned out dry and not as creamy. To avoid this, keep an eye on your cheesecake, and remember that the center should still have a slight jiggle when you take it out. It will firm up as it cools! (See the next page below to continue…)