
Once the butter mixture is ready, I slowly drizzle it over my cereal in the mixing bowl, tossing gently with a spatula to coat every square. This part feels almost meditative, as I can hear the crunch and see the sheen forming on the Chex. Afterward, I spread the coated Chex evenly on a baking sheet lined with parchment paper, which makes cleanup a breeze! I pop it in the preheated oven and set a timer for 30 minutes, stirring the mix every 10 minutes to ensure it bakes evenly.
As the Dill Pickle Chex bakes, my kitchen fills with a savory aroma that makes it hard to resist sneaking a taste before it’s done. I’ve learned the hard way that even a minute too long in the oven can turn these nuggets from perfect to overly crunchy—so I set my timer and hover, waiting for that delicious moment when I pull the tray out of the oven and let it cool. Once cooled, I transfer my creation to an airtight container and can hardly wait to dig in!
Pro Tips for Best Results
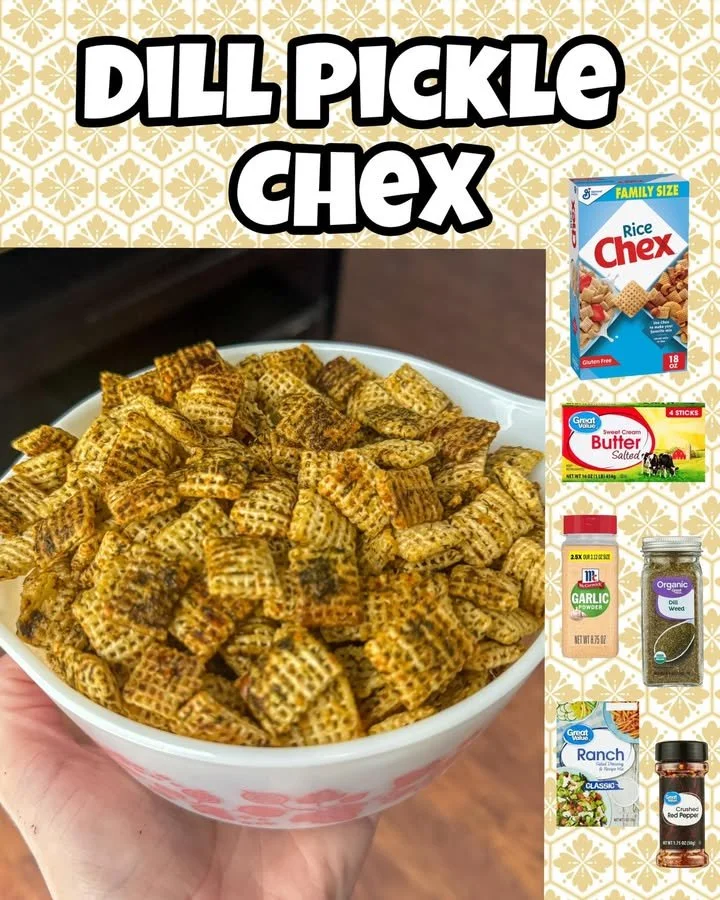
I’ve tested this recipe three different ways, and the best results come from using a combination of Chex varieties. Mixing rice and wheat Chex provides great texture and flavor contrast. Plus, if you have any leftover cereal from your pantry, throw it in! Just don’t skip out on the dill pickle juice; it makes a huge difference in flavor. It’s truly the star of the show here!
To ensure everything is evenly coated, I always recommend using a spatula instead of your hands when mixing. For a perfect crunch, make sure to stir the Chex mixture every ten minutes while it’s baking; this simple step prevents burning and helps to achieve an even golden brown.
Finally, if you’re a fan of a little kick, consider adding some crushed red pepper flakes to the seasoning mix. I tried it once and fell in love with the spicy-sour combination. It’s a small adjustment that can set your Dill Pickle Chex apart! (See the next page below to continue…)