
Next, I heated up my non-stick skillet on medium heat. A little tip: lightly greasing the skillet with butter or oil helps prevent sticking and adds extra flavor. Once it was hot, I poured about 1/4 cup of batter for each pancake onto the skillet. I could see the pancakes puffing up beautifully and those Oreo bits starting to bubble under the heat. After about 2-3 minutes, I flipped them over, letting them cook for another couple of minutes until they were golden brown on both sides.
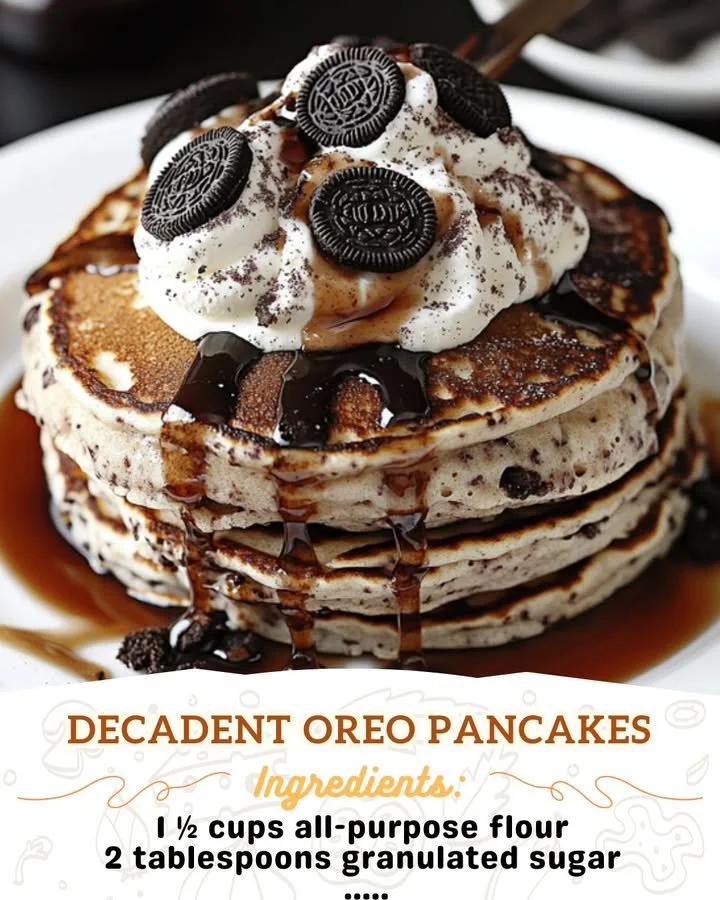
Once all the pancakes were cooked, I stacked them high on a plate, topped with extra Oreo crumbs, and drizzled warm maple syrup over the top. The sweet smell wafted through my kitchen, and it was downright torture waiting for them to cool slightly before diving in. Let me tell you, the combination of flavors and textures is simply divine!
Pro Tips for Best Results
I tested this recipe three ways—once with whole milk, once with almond milk, and the third time using buttermilk, and I have to say, buttermilk gave the fluffiest texture. If you have it on hand, definitely go for it!
Also, I found that letting the batter rest for about 5 minutes before using it results in a softer pancake. Give the gluten a moment to relax, and you’ll notice a difference in your final product!
Lastly, don’t skip out on the Oreo topping. It not only looks fantastic but adds an extra crunch that enhances each bite. Trust me, it’s worth it!
Common Mistakes to Avoid
One common mistake I made during my early attempts was overmixing the batter. It’s so tempting to want everything perfectly blended, but mixing too much can lead to dense pancakes. Remember, a few lumps are okay! (See the next page below to continue…)