
Another common misstep is filling the squares too soon. It can be tempting, especially with that creamy filling enticing you, but if you spread it on a hot crust, it might melt and leak. Patience truly pays off here—allow the crust to cool completely.
Also, keep an eye on your baking time. Ovens can vary, and nothing is worse than burnt edges or an undercooked crust. A golden brown crust is ideal, and checking around 15 minutes is a good way to ensure you’re on the right track. Finally, don’t skip the sifting part for the powdered sugar! It helps lessen lumps and gives a wonderfully smooth finish atop your squares.
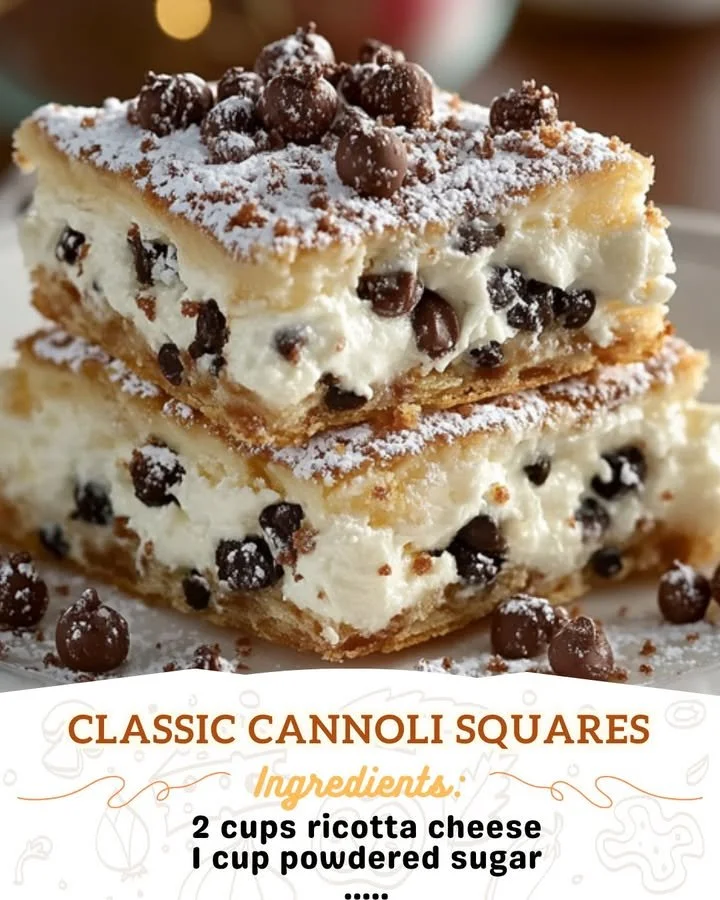
Serving Suggestions
These Classic Cannoli Squares are perfect for all occasions, whether it’s a family gathering or a casual get-together with friends. I love serving them alongside a cup of fresh espresso or an afternoon tea. The rich flavors complement the warm drinks so wonderfully, and it’s always a hit!
For a fun twist, consider offering a toppings station. I place bowls of crushed pistachios, chocolate shavings, and even some candied citrus peel for everyone to customize their squares. It’s interactive, and who doesn’t love a little personalization with their dessert? It sparks joy and adds an extra layer of fun to dessert time!
Lastly, if you’re feeling creative, consider pairing these squares with a fruit compote. A raspberry or strawberry sauce drizzled over them not only adds a pop of color but also a refreshing contrast to the creamy filling. The sweetness of the fruit lifts the whole flavor profile and makes for a perfect finishing touch.
Variations & Customizations
One of the great things about Classic Cannoli Squares is just how versatile they are! If you’re looking to change things up, consider using mascarpone cheese instead of ricotta. It adds a rich, luxurious texture that takes the filling to a whole new level. You could also swap in your favorite flavor mix-ins—think toasted coconut or chopped dried fruits for a unique, delightful twist!
For a nutty option, finely chop some hazelnuts or walnuts and stir them into the filling mix. Not only will you get that lovely crunch, but the ingredients also complement the sweetness beautifully. I can tell you from experience, the added texture makes each bite even more enjoyable!
Lastly, if you want to skip the chocolate altogether, try adding some fresh lemon zest to the filling instead. It creates a refreshing and zesty filling that surprises the palate and makes for an excellent summer dessert.
How to Store, Freeze & Reheat
To store your Cannoli Squares, simply cover the dish with plastic wrap and place it in the refrigerator. They will stay fresh for about 3-4 days, but trust me, they likely won’t last that long with how irresistible they are! Just remember to dust with extra powdered sugar before serving if they’ve been stored for a bit; it gives them a fresh touch again.
If you’d like to freeze them, I recommend cutting them into squares before freezing. Place them on a baking sheet lined with parchment paper and freeze until solid, then transfer them to a freezer-safe container. They can last for up to three months in the freezer. To reheat, just let them thaw overnight in the fridge and warm them slightly in the oven—just enough to take the chill off.
For an easy on-the-go treat, consider packing them for lunch or a picnic. Just add a little towel to keep them from sliding around, and you’re set for a sweet escape!
Conclusion
And there you have it—my go-to recipe for Classic Cannoli Squares that I adore sharing with loved ones. They are easy to make, filled with delightful flavors, and have a beautiful, rustic charm that is simply irresistible. I hope you give this recipe a try in your own kitchen and share the joy of these treats with your family and friends. Happy baking!