
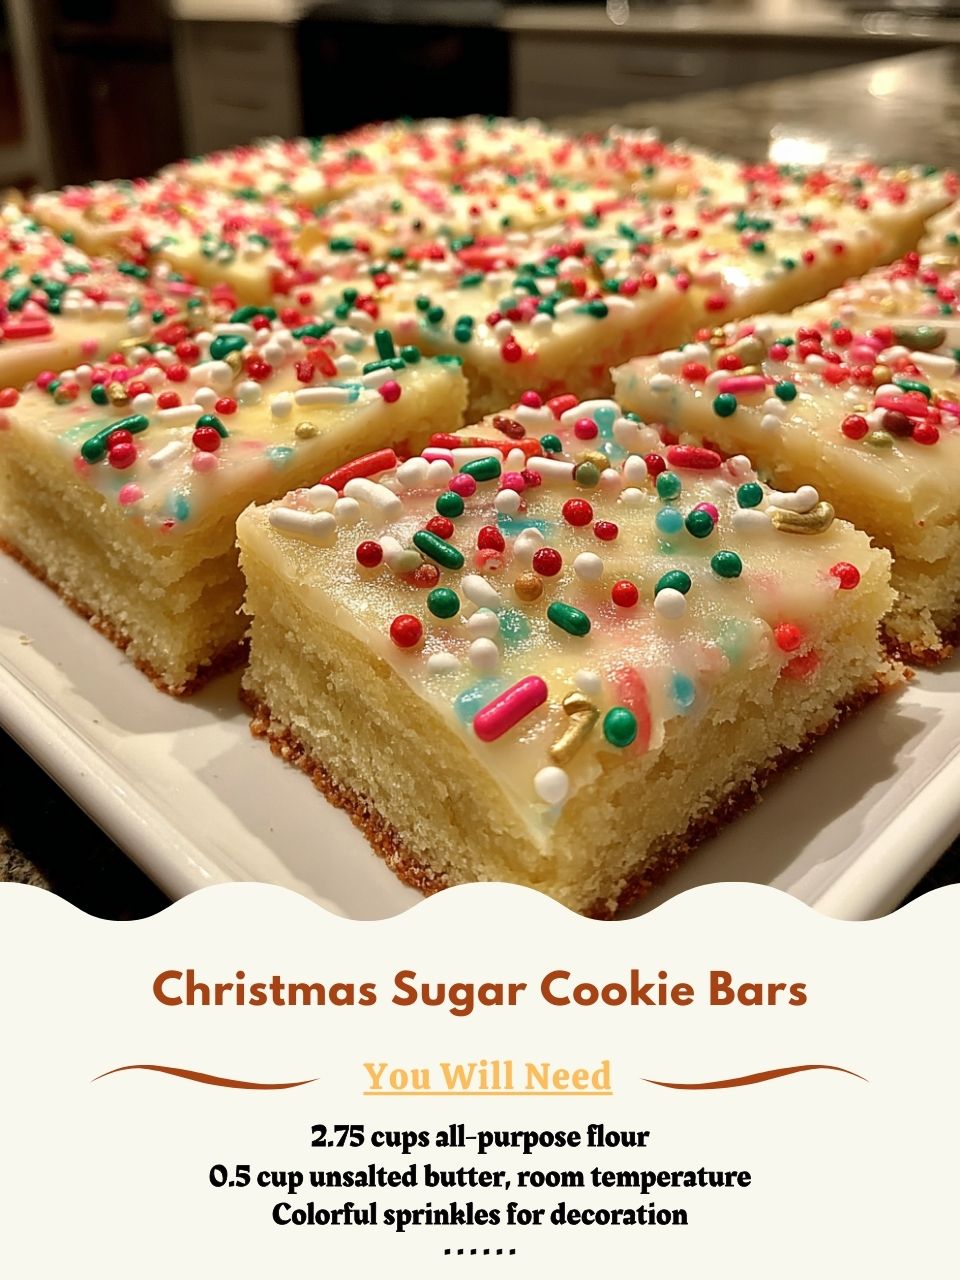
The dough will be thick and deliciously soft. I use my spatula to spread it evenly into the prepared pan. This takes a little patience—I gently press and nudged it into the corners. Then, the best part: I cover the entire surface with a generous, joyful layer of colorful sprinkles, gently pressing them in so they adhere. I use the long, jimmies-style sprinkles as they hold their color better in the oven than some nonpareils, which can bleed.
Into a preheated 350°F oven it goes for about 20-25 minutes. The trick is to pull them out when the edges are just starting to turn a light golden brown, but the center still looks slightly soft-set. They will continue to cook as they cool in the pan. I made the mistake of waiting for a fully golden top once, and the bars were overdone and crunchy. Let them cool completely in the pan on a rack before you even think about cutting—this is the ultimate test of willpower!
Pro Tips for Best Results
Here’s what I learned after testing this three different ways: the type of sprinkles matters. For the vibrant, festive look you see in the photos, use “jimmies” or “quins.” The tiny round nonpareils tend to bleed their color into the dough, creating a slightly murky, though still tasty, top. Save those for sprinkling on frosting after baking.
The second batch I ever made, I was in a hurry and used melted butter instead of softened. It was a disaster. The bars spread too thin and were greasy. Room-temperature butter creams properly, trapping air that gives the bars lift and structure. Don’t skip this step; it makes a huge difference in the final texture.(See the next page below to continue…)