
Now, it’s time for the creamy filling! In another mixing bowl, I beat the softened cream cheese and granulated sugar together until smooth and fluffy. This step is so important because it creates that lovely texture we all crave in cheesecake. I then add the eggs one at a time, ensuring each is fully incorporated before adding the next. The key here is to mix on low speed to avoid adding too much air into the batter. After that, I add in the vanilla extract and sour cream, mixing until everything is well combined.
Once the filling is ready, I gently fold in the chocolate chips. The moment I do this, the kitchen fills with a delightful scent. I then pour this creamy mixture over my graham cracker crust, spreading it evenly with a rubber spatula. It’s such a satisfying step! I pop the baking dish in the preheated oven and bake for about 45 minutes or until the center is set with a slight jiggle. Let it cool in the pan for a while, then refrigerate for at least 4 hours, or overnight if you can wait!
Pro Tips for Best Results
I’ve tested this recipe a few different ways, and my best tip is to make sure your cream cheese is at room temperature before mixing. This helps achieve that perfectly smooth texture without any lumps. I’ve had experiences where I rushed this step, and I definitely regretted it!
Another tip is to allow the cheesecake bars to cool completely before placing them in the refrigerator. I usually let mine cool at room temperature for about an hour and then switch to the fridge. This helps prevent cracks on the surface when it sets.
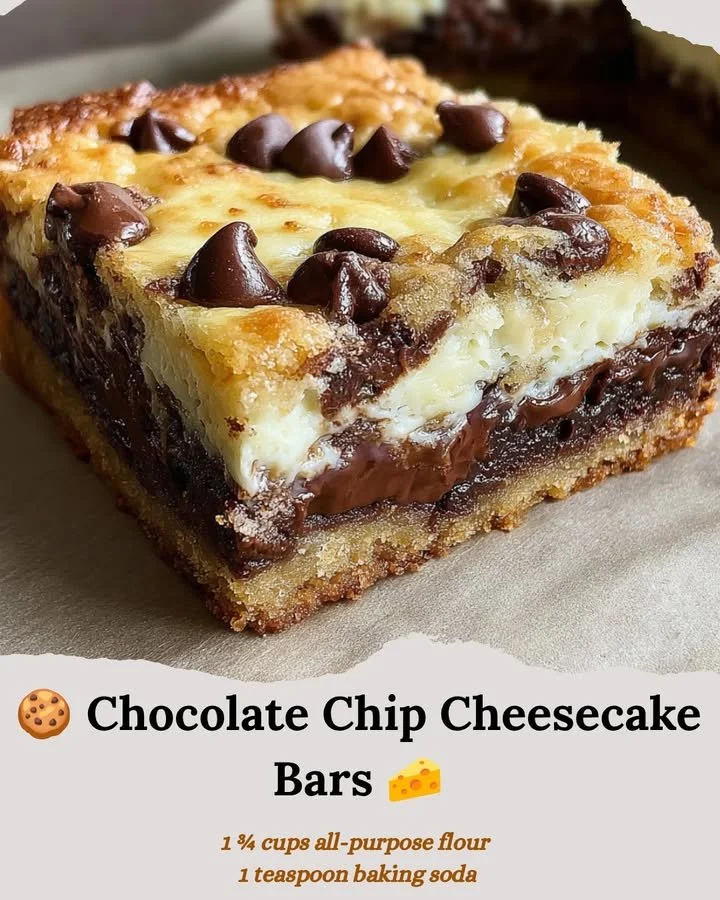
Lastly, when cutting the bars, use a sharp knife that’s been warmed slightly under hot water. Wipe it clean between cuts for those beautiful, smooth edges. It makes a world of difference in presentation!
Common Mistakes to Avoid
One common mistake I’ve made in the past is not fully incorporating the eggs into the cream cheese mixture. It’s easy to overlook, but leaving egg streaks can lead to uneven texture in the final product. Ensure you beat them in thoroughly! (See the next page below to continue…)