
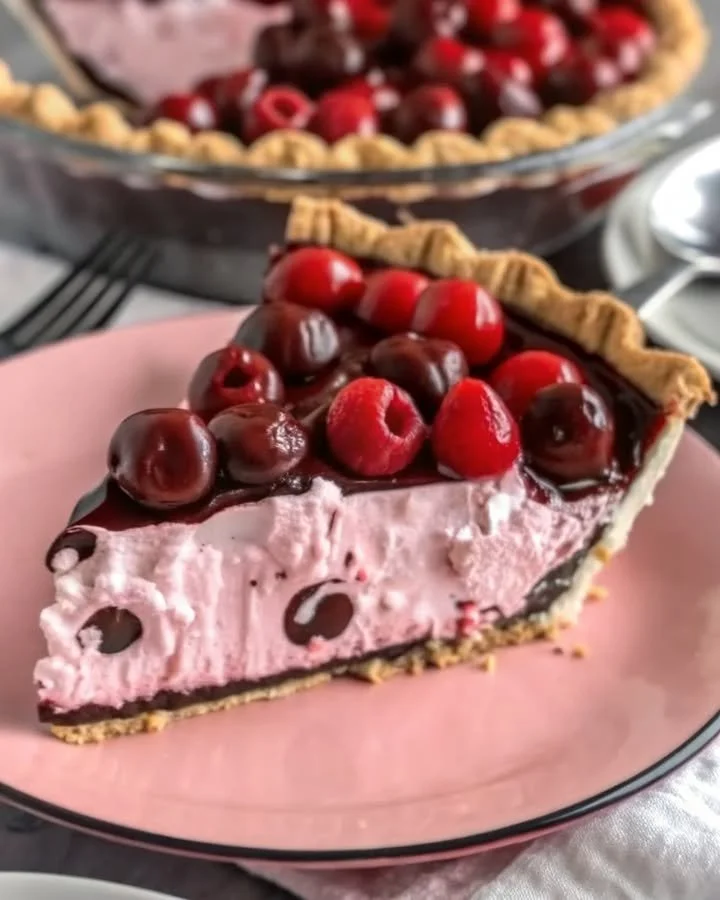
Next, melt the chocolate chips and butter together. I usually do this in a microwave in 30-second intervals, stirring in between to ensure it doesn’t burn. Once melted and smooth, mix in the vanilla extract for that extra flavor kick. Now, it’s time to assemble! Layer half of the chocolate mixture on the bottom of your pie crust, followed by the cherry filling, and then top it with the remaining chocolate. Talk about decadent!
Now, carefully place your pie in the preheated oven. Bake for about 30-40 minutes, or until the chocolate has set and the crust is golden brown. Once it’s out of the oven, allow the pie to cool completely on a wire rack before slicing. Your kitchen will smell heavenly, and the anticipation will be almost unbearable!
Pro Tips for Best Results
If you want that perfect flaky crust, I suggest chilling your pie crust in the fridge for at least 30 minutes before using it. This will help ensure it doesn’t shrink while baking. I tested this three ways, and the chilled crust always came out with the best texture.
Also, feel free to experiment with the types of chocolate you use. I’ve found that dark chocolate looks beautiful when melted and adds a lovely richness to the pie. Don’t be afraid to combine different chocolate varieties for a fun flavor twist!
Lastly, drizzle some extra melted chocolate on top before serving. It adds a gourmet touch and will make your friends and family swoon. Trust me; it’s worth the extra step!
Common Mistakes to Avoid
One mistake I made early on was not properly pitting my cherries. Trust me, you don’t want to bite down on a cherry pit while enjoying your pie! If you’re using fresh cherries, take the time to pit them thoroughly. If you’re pressed for time, frozen cherries are a great shortcut! (See the next page below to continue…)