
Next, in a separate bowl, whisk together the sugars, buttermilk, vegetable oil, eggs, and vanilla extract. Once that’s well combined, slowly pour the wet ingredients into the dry mixture. I use a rubber spatula to fold everything together gently, being careful not to overmix—it’s this simple step that keeps the cake moist and fluffy. If you’re feeling adventurous, this is also the time to add in those chocolate chips for an extra layer of ooey-gooey goodness!
Now, divide the batter evenly between your prepared pans and make sure to smooth the tops with your spatula. Pop them in the oven and let them bake for about 25-30 minutes or until a toothpick comes out clean. As they bake, your kitchen will smell incredible, making it hard to resist sneaking a bite before they cool down. Once baked, let the cakes cool in the pans for about 10 minutes before transferring them to a cooling rack.
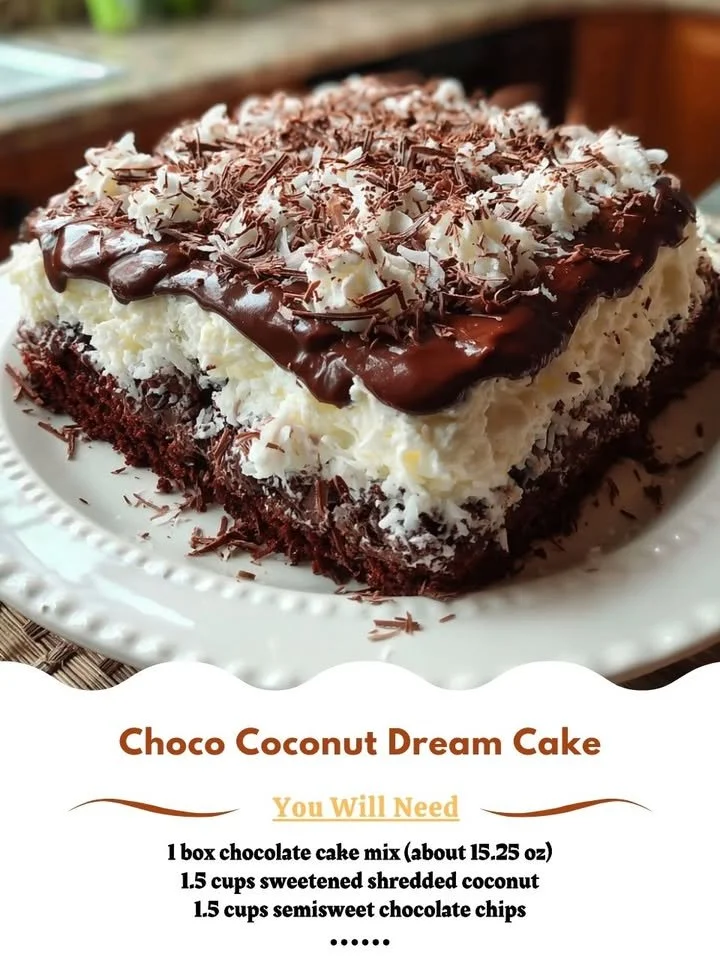
Finally, once they’ve cooled completely, it’s time to assemble! I usually place one cake layer on my serving platter and slather a generous amount of frosting on top before adding the second layer. If you’re feeling fancy, sprinkle a layer of shredded coconut on top for that true “dream” effect.
Pro Tips for Best Results
I tested this cake three ways before I settled on the final recipe, and I found that using room temperature ingredients makes a huge difference. It helps the batter combine more smoothly and rise better. So, don’t forget to take your eggs and buttermilk out of the fridge ahead of time!
Another tip is to check your cakes a few minutes before the timer goes off. Ovens can sometimes cook differently, and I’ve learned the hard way that a few extra minutes can turn a moist cake into a dry one. Start checking at the 25-minute mark.
Lastly, if you want to elevate the flavors even more, consider adding a splash of coconut extract in with the wet ingredients. This gives the cake a wonderful aroma and a deeper coconut flavor that I absolutely adore!
Common Mistakes to Avoid
One mistake I made early on was not properly measuring my flour. I once packed it too tightly into the measuring cup, resulting in a dry cake that was simply sad. Always fluff up your flour in the bag before scooping it, and use the spoon-and-level method for perfect measuring every time! (See the next page below to continue…)
Another issue is rushing the cooling process. I remember being so eager to frost my cake that I didn’t let it cool completely! The frosting melted and slid off, creating a chocolatey mess on my kitchen countertop. Lesson learned: patience is essential!
Also, be cautious about overmixing after adding the wet ingredients to the dry. Doing so can lead to a dense, heavy cake instead of the light and fluffy treat we all want. Just mix until you see no dry ingredients; a few lumps are perfectly fine.
Lastly, if you’re making this cake for a special occasion, ensure you have enough time for baking, cooling, and decorating. Trying to rush the assembly can lead to unnecessary stress and mistakes.