
Next, in a large mixing bowl, I beat the softened cream cheese with granulated sugar until smooth and creamy—this is when the magic happens! The texture transforms, and the sweetness begins to shine through. I then add in the vanilla extract, followed by the eggs, one at a time, ensuring each is fully incorporated before adding the next. Finally, I fold in the sour cream, which adds a rich tang that balances perfectly with the sweetness. Once everything is blended, I pour this luscious mixture over the crust and tap the pan gently on the counter to release any air bubbles.
I place my cheesecake in a water bath (a little tip I’ve learned to prevent cracks) and bake it at 325°F for about an hour until it’s slightly jiggly in the center but set around the edges. The tantalizing smell wafts through my kitchen, and I can hardly wait for it to cool! Once it’s done, I let it cool at room temperature for an hour before transferring it to the refrigerator. I like to keep it chilled for at least four hours—overnight is even better—as this allows the flavors to develop fully!
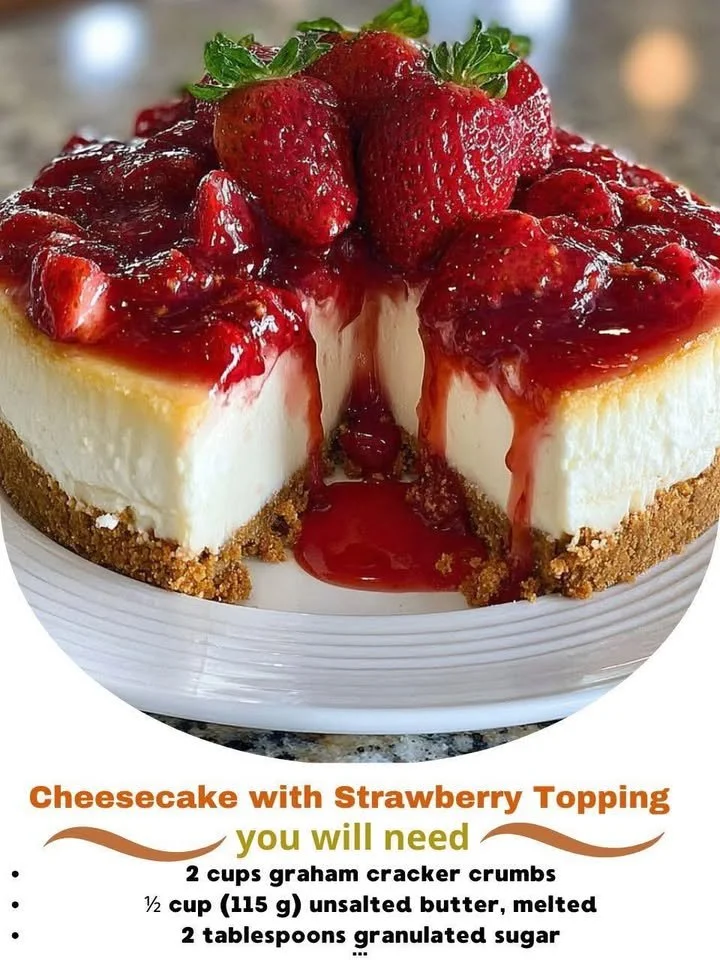
As the cheesecake sets, it’s time to prepare the strawberry topping. I combine sliced strawberries with sugar and lemon juice in a bowl, allowing the mixture to macerate for about 15-20 minutes. This simple process allows the strawberries to release their juices and create a vibrant, sweet topping that is the crowning glory of this cheesecake. When it’s finally time to serve, I slice the cheesecake and spoon the glossy strawberry topping over each slice, and oh my, it’s a sight to behold! I can hardly resist a piece for myself at this point!
Pro Tips for Best Results
I’ve tested this cheesecake recipe several times, and trust me, allowing it to chill overnight makes a world of difference! The flavors settle beautifully, and aiming for a smooth texture is easier when it has more time in the fridge. I also recommend using room-temperature ingredients whenever possible. This small step ensures they blend seamlessly, avoiding any lumps and giving you that ultra-creamy texture that every cheesecake craves.
Also, I swear by the water bath method to prevent cracks. It’s super simple: just wrapping the springform pan with aluminum foil and placing it in a larger pan filled with hot water creates a gentle cooking environment. I’ve had plenty of cheesecakes crack before I learned this trick! Lastly, don’t skip the sour cream; it truly adds depth and tang, enhancing the overall flavor of your cheesecake.
I also like to experiment with the sugar levels in the strawberry topping. If your strawberries are particularly sweet or if you prefer a more balanced flavor, adjust the sugar accordingly. I’ve played around with different amounts, and I’ve learned that sometimes less is more, especially when it comes to fresh fruits.
Common Mistakes to Avoid
One common mistake I see is overmixing the batter, which can introduce air and lead to cracking during baking. When you mix, aim for a smooth consistency without lots of air bubbles, as this will help your cheesecake remain dense and creamy. Another pitfall is not baking the cheesecake long enough. It can be tricky to judge doneness—you want it to be set around the edges but still slightly jiggly in the center. Don’t be tempted to take it out too early, as it will continue to firm up as it cools! (See the next page below to continue…)