
All‑butter pie crust starts by cutting very cold butter into flour and salt until you have a mixture of small, flour‑coated butter pieces. Ice water is then sprinkled in just until the dough holds together when pressed, leaving visible bits of butter throughout. The dough is gathered into discs, chilled well, and then rolled out and fitted into a pie plate; as it bakes, the cold butter pieces steam and puff, creating those signature flaky layers.
Equipment
- Large mixing bowl, or a food processor if you prefer.
- Pastry cutter, two knives, or your fingertips for cutting in butter (if not using a processor).
- Measuring cups/spoons and a liquid measuring cup for water.
- Rolling pin and lightly floured work surface.
- 9‑inch pie plate.
Ingredients
This is a standard all‑butter crust that makes 2 crusts (enough for a double‑crust pie or two single crusts).
- 2½ cups (about 310 g) all‑purpose flour.
- 1 cup (2 sticks / 225 g) very cold unsalted butter, cut into small cubes.
- 1 teaspoon salt.
- 1–2 teaspoons sugar (optional, for sweet pies).
- ½ cup (8–10 tablespoons / 120–150 ml) ice water, added gradually as needed.
- Optional: 1–2 teaspoons vinegar or lemon juice to help tenderize and prevent over‑developing gluten.
Instructions And Steps
Begin by mixing the dry ingredients and cutting in the butter. In a large bowl, whisk together the flour, salt, and sugar (if using) so the salt and sugar are evenly distributed. Add the cold, cubed butter to the flour mixture. Using a pastry cutter, two knives, or your fingertips, cut or rub the butter into the flour until the mixture looks like coarse crumbs with pea‑sized pieces of butter still visible.
Alternatively, you can pulse the flour, salt, sugar, and butter together in a food processor until the same texture is reached—coarse meal with some small visible butter bits—but take care not to over‑process into a paste.
Next, add the ice water and bring the dough together. Drizzle a few tablespoons of ice water over the flour‑butter mixture and gently toss with a fork or your hands. Continue adding ice water a tablespoon at a time, mixing just until the dough begins to clump together when you squeeze a bit in your hand; you’re aiming for a shaggy dough that holds together when pressed but is not wet or sticky.
You may not need the full ½ cup of water, or you may need a little extra, depending on flour and humidity. Avoid over‑working the dough; big streaks of butter are good—they’re what make the crust flaky.
Turn the mixture out onto a lightly floured surface and gently gather it into a ball with your hands, pressing and folding just enough that it comes together into a cohesive mass. Divide the dough in half with a knife or bench scraper.
Shape each half into a flat disc about 1 inch thick, smoothing any cracks at the edges by pressing gently. Wrap each disc tightly in plastic wrap and chill in the refrigerator for at least 1–2 hours (and up to a few days) to allow the flour to hydrate and the butter to firm up again. Proper chilling is key to preventing shrinkage and ensuring flakiness.
When you’re ready to use the crust, let one disc sit at room temperature for a few minutes so it softens just enough to roll without cracking. Lightly flour your work surface and rolling pin, then place the disc in the center. Roll from the center outward in all directions, turning the dough a quarter‑turn every few rolls and adding a light dusting of flour underneath as needed to prevent sticking.
Aim for an even thickness of about ⅛ inch and a circle roughly 2–4 inches wider than your pie plate so there’s enough overhang. If the edges crack as you roll, gently pinch them back together.
To transfer the rolled dough to your pie plate, gently roll it up around the rolling pin, then unroll it over the plate, or fold it loosely into quarters and unfold it in the dish. Ease the dough into the corners and up the sides of the plate without stretching it; stretching can cause shrinkage as it bakes.
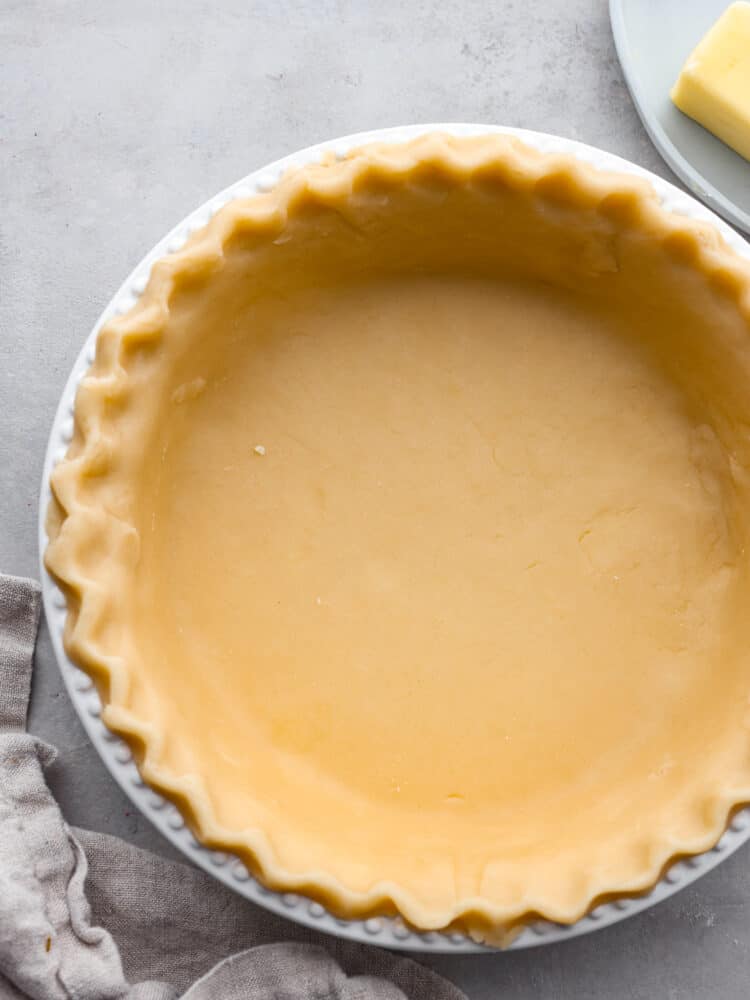
Trim the overhang to about 1 inch beyond the rim, then tuck it under itself along the edge and crimp using your fingers or the tines of a fork. If you’re making a double‑crust pie, add the filling, roll out the second disc, lay it over the top, trim, and crimp the edges together, cutting vents in the top crust.
Chill the shaped crust (or whole pie) again in the fridge for at least 30–60 minutes before baking; this extra chill helps the crust hold its shape and stay flaky. Bake according to your specific pie recipe’s instructions.
For pies that bake with the filling, you’ll usually start with a hot oven (375–425°F) and follow the recipe’s timing and any directions about shielding the edges if they brown too quickly.
If you need to blind bake the crust (for cream pies or other no‑bake fillings), chill the shaped crust, dock the bottom with a fork, then line it with parchment and fill with pie weights or dried beans.
Bake at about 375°F until the edges are set and lightly golden, remove the weights and parchment, then continue baking until the bottom is cooked through and golden for a full blind bake, or only partially baked for pies that will go back in the oven with filling.
Tips And Tricks
Keep everything cold. Cold butter and cold water are the most important elements of a flaky all‑butter crust; warm butter blends too much into the flour instead of staying in visible pieces, and you lose flakiness. If at any point the butter starts to feel soft or greasy while you’re working, pop the bowl or dough back into the fridge or freezer for a few minutes to firm it up again.
Don’t overwork the dough. Handle it as little as possible once you add the water; over‑mixing can develop gluten and make the crust tough and shrink more. It’s okay—and desirable—to see small streaks and flecks of butter throughout the dough; those are what give you flaky layers in the oven.
Measure flour carefully. Spoon flour into the measuring cup and level it off rather than scooping directly from the bag, which can compact it and lead to too much flour and a dry crust.
If your dough seems dry and crumbly, add a teaspoon or two more cold water and gently work it in until the dough just comes together. If it’s sticky, lightly dust with more flour as you bring it together.
Chill before baking. Chilling both the discs and the shaped crust prevents shrinking and helps the crust set before the butter fully melts, which keeps layers defined and flaky.
For extra insurance against soggy bottoms in custard or fruit pies, you can par‑bake or fully blind bake the crust following detailed blind‑baking instructions.
However you use it, a good all‑butter pie crust gives you a deeply flavorful, tender, and flaky foundation that instantly elevates any pie—sweet or savory—and is versatile enough to become your go‑to pastry for everything from apple pie and quiche to pot pies and galettes.