Essential Prep Tips
Only six pantry staples mean you can pull this together on a weekday without a trip to the store.
The blender does all the mixing, eliminating the need for a separate mixing bowl.
Baking powder provides lift, so the cake rises evenly without a heavy crumb.
A springform pan with parchment paper ensures the cake releases cleanly and keeps its shape.
Blending, Baking, and Timing the Cake
Step 1: Place the rolled oats in the blender and pulse until they become a fine, flour‑like powder, about 30 seconds. Scrape the sides to ensure an even grind.
Step 2: Crack the two eggs into the blender, then add the milk, honey, vanilla extract, and baking powder. The liquid ingredients help the blender create a uniform batter.
Step 3: Blend on medium speed for 45 seconds, or until the mixture is smooth, thick, and free of oat clumps. The batter should coat the back of a spoon without dripping.
Step 4: Line a 9‑inch springform pan with parchment paper, allowing excess paper to hang over the sides for easy lift later.
Step 5: Pour the batter into the prepared pan, spreading it gently with a spatula to level the top.
Step 6: Slide the pan onto the middle rack of a preheated 350°F (175°C) oven. Bake for 30 minutes, or until the edges turn a light golden brown and a toothpick inserted near the center comes out clean.
Step 7: Remove the cake from the oven and set the pan on a cooling rack. Let it rest for 10 minutes; this helps the crumb firm up for cleaner slices.
Step 8: Run a thin knife around the edge of the cake, then release the springform latch. Lift the parchment paper with a cake server, sliding the cake onto a cutting board.
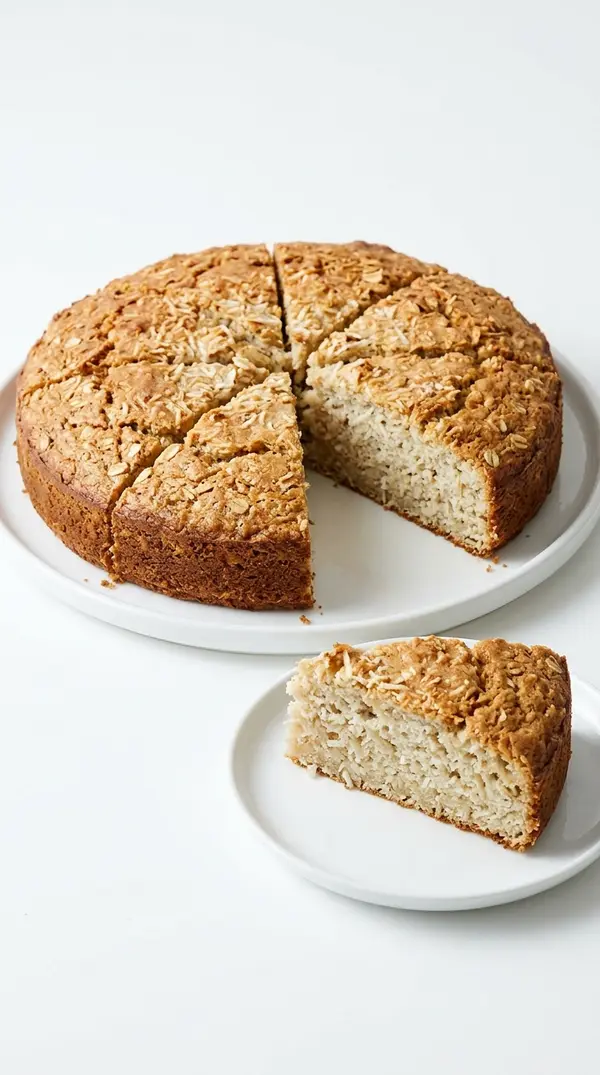
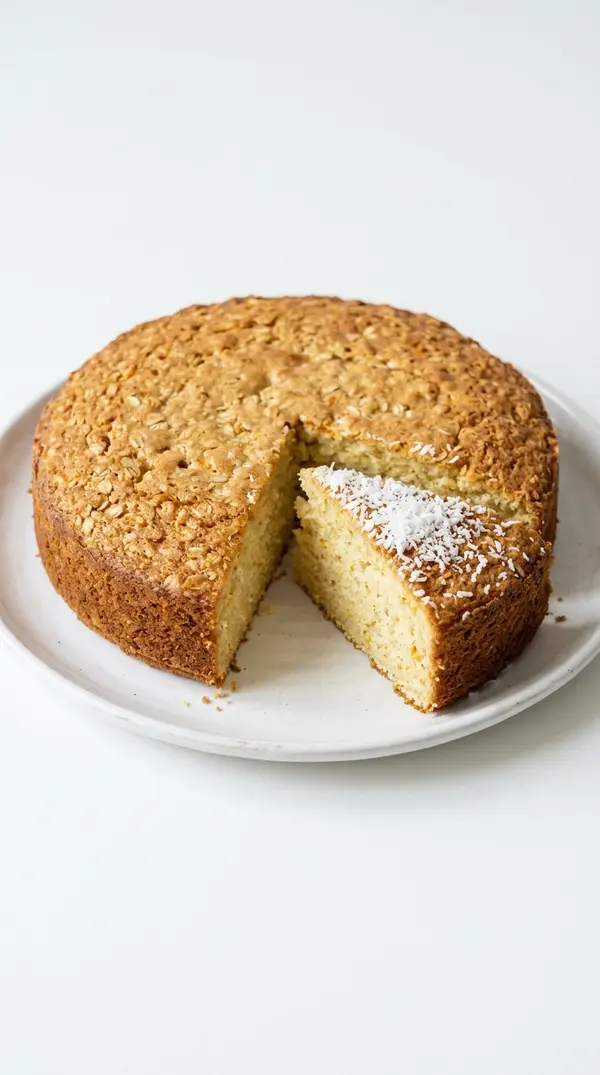
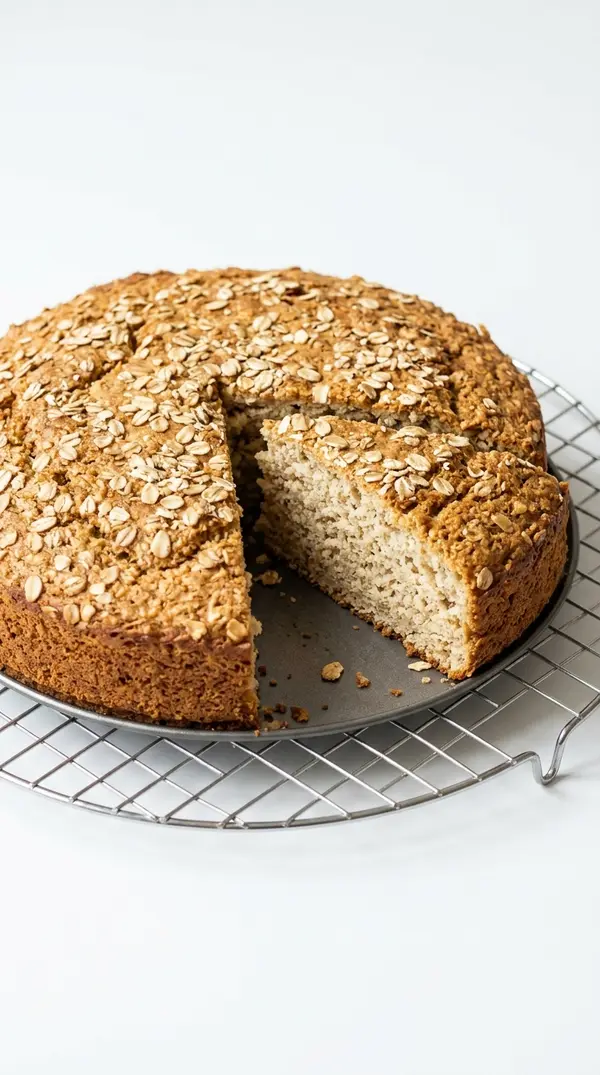
Step 9: Slice a wedge from the center and lift it with a cake server to check the interior texture; it should be tender and slightly springy.
Step 10: Serve warm or at room temperature, optionally drizzled with a little extra honey or a dusting of powdered sugar.
Avoiding a Dense or Crumbly Result
Over‑blending the oats creates a gummy batter; pulse just until fine, then stop.
Using cold milk can cause the batter to separate; let the milk sit at room temperature for 10 minutes before adding.
Skipping parchment paper often leads to a torn bottom; always line the pan to protect the delicate crumb.
Opening the oven door early drops the temperature and may cause the cake to collapse; wait until the timer signals the full 30 minutes.
Under‑baking leaves a wet center; check with a toothpick and add 2‑3 minutes if needed.
Storing while still warm traps steam and makes the cake soggy; cool completely before covering.
Ingredient Changes That Keep Texture Right
Storing the Cake for Soft Slices Later
The cake stays tender for up to three days when wrapped in plastic wrap and stored in the refrigerator. For longer storage, slice and freeze individual pieces on a parchment sheet, then transfer to a zip‑top bag; they thaw quickly in the microwave or at room temperature. Reheat a slice in a 300°F (150°C) oven for 5 minutes to revive a slightly crisp top.
Pairings and Toppings for Every Bite
Serve a warm slice with a dollop of Greek yogurt and a drizzle of honey for a balanced breakfast. For a light dessert, pair a cool slice with fresh berries and a splash of whipped cream. The cake’s subtle sweetness also works well alongside a sharp cheddar cheese board.
Blender Oat Cake Questions FAQ
How do I know when the oats are ground enough?
The oat powder should feel like fine flour between your fingers, with no gritty texture. If you can see specks when you rub a small amount between your thumb and forefinger, blend a few seconds longer.
Can I use a regular cake pan instead of a springform?
Yes, a standard 9‑inch round or square pan works, but line the bottom with parchment and grease the sides. The cake may need an extra 3‑5 minutes in the oven to set fully.
What if I don’t have honey?
Replace honey with an equal amount of maple syrup, agave nectar, or light corn syrup. Each provides similar sweetness and moisture, though the flavor will shift slightly.
Is this recipe gluten‑free?
Rolled oats are naturally gluten‑free, but they are often processed in facilities that handle wheat. Use certified gluten‑free oats if you need a strict gluten‑free cake.
How can I make the cake more protein‑rich?
Add ¼ cup of plain protein powder to the dry oat blend; reduce the milk by the same amount to keep the batter consistency. The cake will have a firmer crumb but retain its sweet flavor.