Equipment Needed
Step-by-Step Instructions
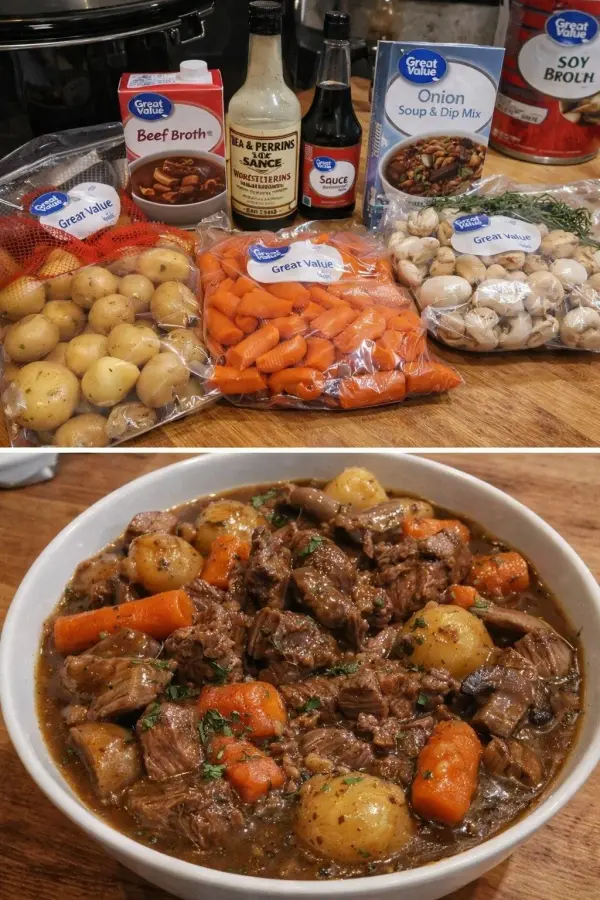
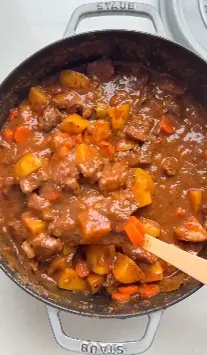
- When I start making this beef stew, the first thing I do is heat olive oil in a large Dutch oven over medium-high heat. Then I add the beef cubes in batches and sear them until they develop a deep brown crust. I learned early on that crowding the pot prevents proper browning, so I take my time with this step because that caramelized flavor adds a lot of richness to the stew.
- Once the beef is nicely browned, I remove it briefly and add the diced onion to the same pot. As the onions cook, they start picking up all those flavorful bits left from the beef. I stir in the garlic and cook it for about a minute until it becomes fragrant. Then I mix in the tomato paste and flour, which helps create the thick base of the stew.
- Next, I slowly pour in the beef broth while stirring so the flour blends smoothly into the liquid. The broth begins to deepen in color as everything comes together. I return the beef to the pot and add the carrots, potatoes, celery, Worcestershire sauce, thyme, paprika, salt, pepper, and bay leaf.
- Finally, I bring everything to a gentle simmer and cover the pot. I let it cook for about 45–60 minutes, stirring occasionally. As it cooks, the beef becomes incredibly tender and the vegetables soften perfectly. Near the end, I sometimes stir in peas for a little color and sweetness before serving.
Pro Tips for Best Results
One thing I learned after making this stew several times is that beef chuck is the best cut to use. I tried leaner beef once, but it didn’t become nearly as tender. The marbling in chuck roast breaks down during cooking and gives the stew a richer flavor.
Another tip is to take your time when browning the meat. I once rushed this step, and the stew still tasted good but lacked that deep, savory flavor. Proper browning creates a base that really elevates the whole dish.
I also like to let the stew rest for about 10 minutes before serving. During that short time, the broth thickens slightly and the flavors settle together beautifully.
Common Mistakes to Avoid
The first mistake I made when cooking beef stew was skipping the searing step. I thought it would save time, but the stew lacked depth of flavor. Now I always take the extra few minutes to brown the beef.
Another mistake is adding all the vegetables too early when cooking for long periods. If they cook too long, they can become mushy. Keeping an eye on the cooking time helps maintain their texture.
I also learned not to rush the simmering stage. Beef stew needs time for the meat to become tender. Cooking it too quickly can leave the beef tough instead of melt-in-your-mouth soft.
One more thing to avoid is adding too much salt early in the process. As the stew reduces, the flavor concentrates, so I prefer adjusting the seasoning toward the end.
Serving Suggestions
When I serve this beef stew, I love ladling it into big bowls while it’s still steaming hot. The rich broth and tender beef make it the kind of meal that instantly feels comforting.
One of my favorite ways to enjoy it is with a slice of crusty bread on the side. The bread is perfect for soaking up every bit of that savory sauce.
Sometimes I also serve it over creamy mashed potatoes or even rice. The stew becomes even more satisfying when paired with something that absorbs the flavorful broth.
Variations & Customizations
One variation I enjoy is adding mushrooms to the stew. They soak up the broth and add an earthy flavor that pairs beautifully with the beef.
I’ve also tried adding a splash of red wine when deglazing the pot. It deepens the flavor and makes the stew taste even more complex.
Another version I like includes sweet potatoes instead of regular potatoes. They add a slightly sweet contrast to the savory broth that works surprisingly well.
How to Store, Freeze & Reheat
Whenever I make this stew, I almost look forward to the leftovers because the flavors become even better the next day. I store it in an airtight container in the refrigerator for up to four days.
This stew also freezes beautifully. I usually let it cool completely before placing portions into freezer-safe containers for up to three months.
To reheat, I prefer warming it slowly on the stovetop over medium heat. Sometimes I add a splash of broth or water to loosen the sauce as it reheats.
Conclusion
Every time I make this Beef Stew, it reminds me why simple one-pot meals are so comforting. The tender beef, hearty vegetables, and rich broth come together in a way that feels both cozy and satisfying. I love how little prep it requires and how the entire meal cooks together in one pot. Whether you’re making it for a busy weeknight dinner or a relaxing weekend meal, this beef stew is always a warm and comforting dish to share.