
Next, in a new bowl, blend the softened cream cheese and sugar until it’s smooth and creamy. This part is my favorite because the sweet aroma fills the kitchen! Add in the vanilla extract and mix well. Now, beat in the eggs, one at a time, ensuring each one is fully incorporated before adding the next. This gives the cheesecake that rich texture we all love. After that, stir in the sour cream and the mashed bananas until it’s all well combined.
Once those flavors meld together, pour your cheesecake mixture over the crust in the springform pan and smooth the top with a spatula. Now, let’s get it into the oven! Bake for about 60 minutes, or until the center is set and just slightly jiggly. It will continue to firm up as it cools. When it’s out, let it cool at room temperature for a bit before refrigerating it for at least 4 hours (or overnight, if you can wait!).
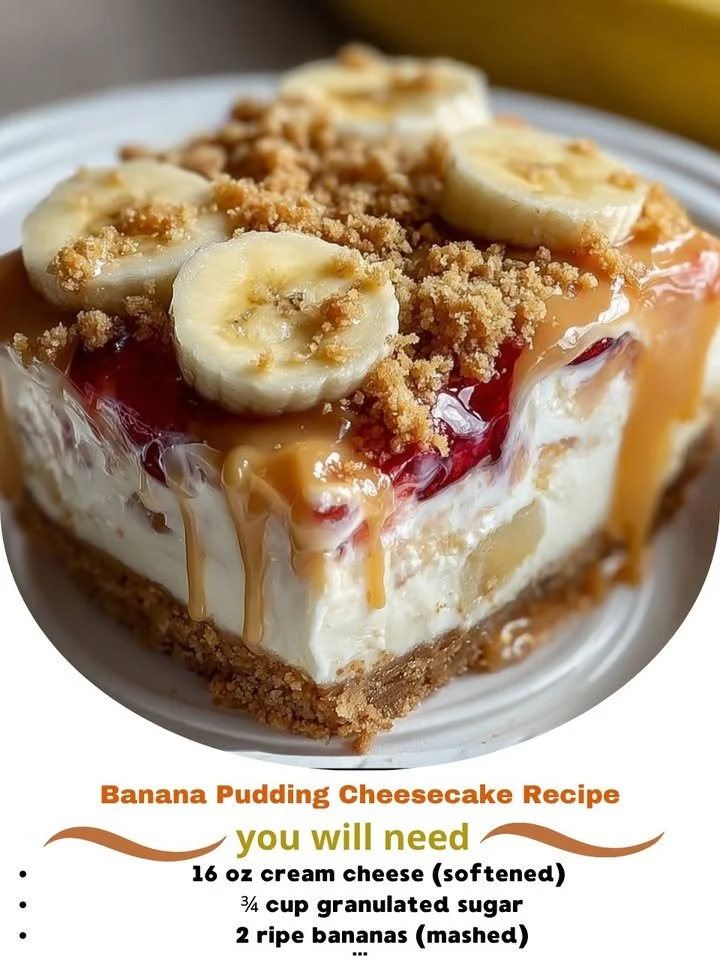
Finally, when you’re ready to serve, whip up some cream and spread it on top of the cheesecake, garnishing it with fresh banana slices. The anticipation is almost too much to bear, but trust me—it’s worth the wait as you slice into that creamy, dreamy dessert.
Pro Tips for Best Results
I tested this three ways: with the bananas mixed in, layered, and as a topping. My personal favorite method is mixing the bananas directly into the cheesecake filling. This way, you get that lovely banana flavor in every single bite.
I also discovered that letting the cheesecake sit in the fridge overnight does wonders for the flavors to meld together. The wait can be tough, but trust me, you will savor the result. The flavors are always more pronounced after a good night’s rest!
Lastly, make sure your cream cheese is really softened before you start mixing. If it’s even a bit cold, you’ll find it tougher to get that smooth texture, and nobody wants a lumpy cheesecake!
Common Mistakes to Avoid
One common mistake I made was not letting my cheesecake cool gradually before placing it in the fridge. If you rush it, the sudden change in temperature can lead to cracks on the surface. So, remember to let it cool on the countertop first! (See the next page below to continue…)