Method: From Banana Mash to Chocolate Block
Step 1: Step 1: Place the three peeled bananas in a medium bowl. Use a fork to mash them until the mixture is chunky but still shows small banana pieces; this should take about a minute.
Step 2: Step 2: Tip the 1/2 cup of smooth peanut butter directly onto the mashed bananas, letting the cup glide so the butter spreads evenly across the surface.
Step 3: Step 3: Sprinkle the 1/4 cup of unsweetened cocoa powder over the banana‑peanut butter mixture. The cocoa should sit on top before you begin stirring.
Step 4: Step 4: Stir and fold with the fork for roughly one minute, scraping the sides and bottom until the batter turns smooth, glossy, and uniformly chocolate‑brown.
Step 5: Step 5: Line a standard loaf pan (about 8×4 inches) with parchment paper, allowing excess to hang over the sides for easy removal later. Transfer the batter into the pan, spreading it evenly with the fork.
Step 6: Step 6: Place the pan in the refrigerator. Let the fudge chill for 6 to 8 minutes, or until it feels firm to the touch and no longer yields under light pressure.
Step 7: Step 7: Lift the parchment paper to un‑mold the chilled block onto a cutting board. Peel away the parchment completely, revealing a solid rectangle.
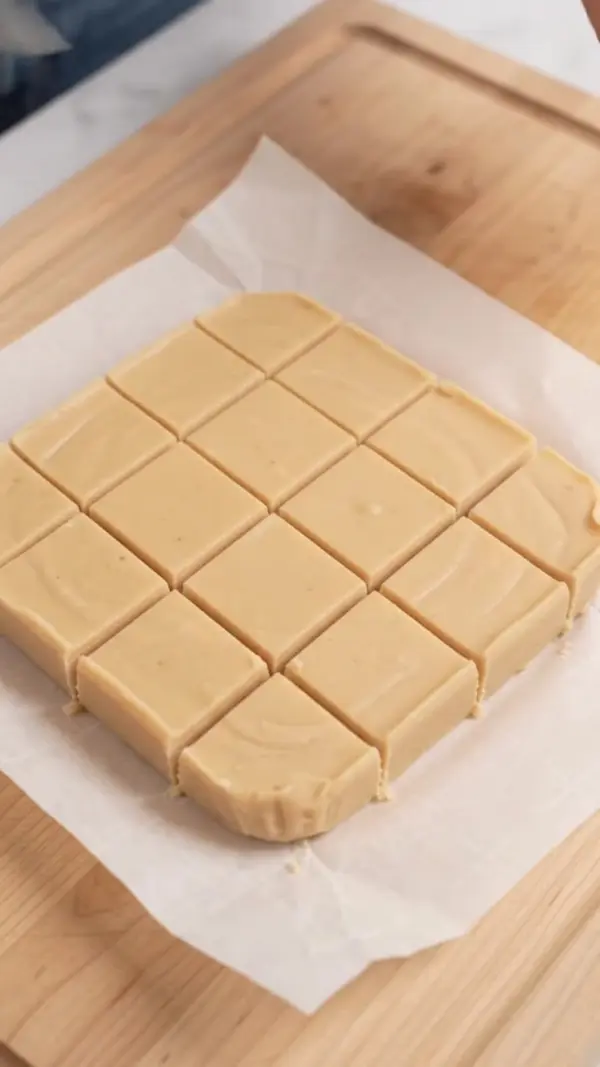
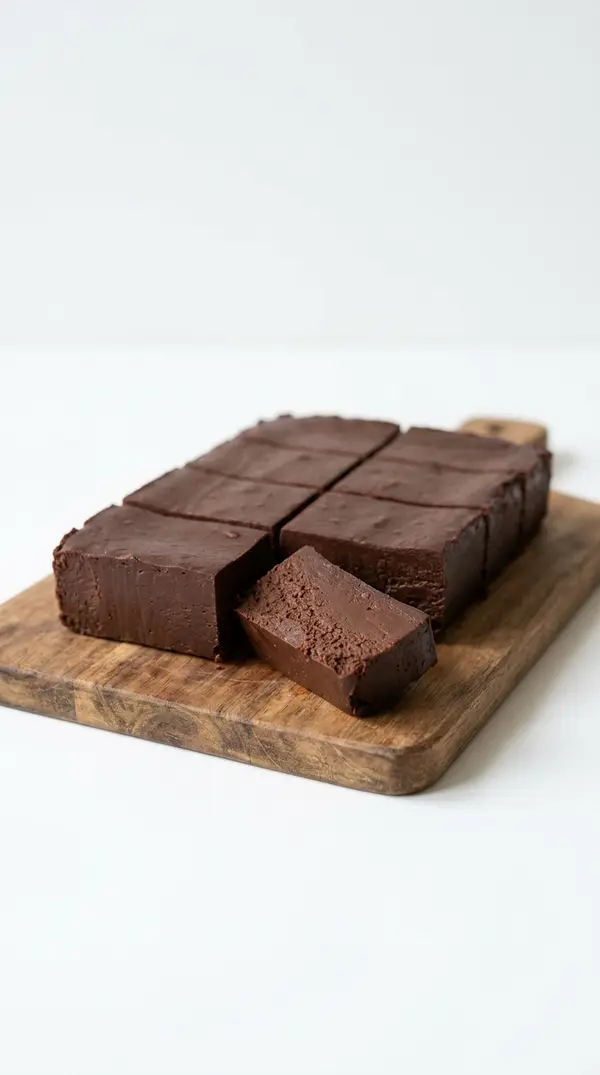
Step 8: Step 8: Using a sharp chef’s knife, cut the block into eight equal rectangular pieces. A quick wipe of the blade between cuts keeps each slice clean.
Step 9: Step 9: Pick up one piece and hold it up; you’ll see a dense, matte interior that holds together without crumbling. Serve immediately or store as directed below.
Avoiding Grainy Texture and Cracks
Fudge remains soft: Ensure the refrigerator is set to at least 35°F and give the mixture the full 8‑minute chill; a warmer fridge will leave the fudge pliable.
Banana pieces stay visible: Mash the bananas more thoroughly before adding peanut butter; smaller pieces blend into a smoother batter.
Sticking to parchment: Lightly oil the parchment before pouring the batter, or use a silicone liner for an even easier release.
Bitter cocoa flavor: Use a high‑quality unsweetened cocoa; low‑grade cocoa can taste harsh, especially without added sweeteners.
Uneven slices: Chill the block a minute longer before cutting; a firmer block yields cleaner, uniform pieces.
Dry texture: If bananas are overly dry, add a teaspoon of water or a splash of milk when mashing to maintain moisture.
Swaps and Add‑Ins That Still Work
Almond butter instead of peanut butter: Provides a nutty twist while keeping the same fat content for proper setting.
Dark chocolate chips folded in: Add 2 tbsp of chips after the batter is smooth for pockets of melted chocolate.
Cinnamon or espresso powder: Sprinkle ¼ tsp of either into the cocoa before folding for a warm spice or coffee note.
Shredded coconut on top: Press a thin layer of unsweetened coconut onto the surface before chilling for a subtle texture contrast.
Extending Shelf Life Without Losing Creaminess
Store the sliced fudge in an airtight container in the refrigerator for up to five days; the cold environment maintains its firm texture. For longer storage, wrap the whole block tightly in plastic wrap and freeze for up to three months. Thaw frozen pieces in the fridge for an hour before serving; you do not need to re‑chill after thawing. If you prefer a softer bite, let a frozen slice sit at room temperature for ten minutes before eating.
Pairing Suggestions for Every Craving
Serve each rectangle on a small dessert plate with a drizzle of melted chocolate or a dollop of whipped cream for extra indulgence. Pair the fudge with a glass of cold milk or a cup of strong coffee for a balanced snack. It also works as a topping for vanilla ice cream; crumble a piece over the scoop for texture and flavor contrast.
Banana Peanut Butter Fudge Questions FAQ
How long does the fudge need to chill?
The fudge should chill for 6 to 8 minutes in a refrigerator set to at least 35°F. This time allows the banana starch and peanut‑butter fat to solidify, giving each slice a firm, sliceable texture.
Can I use chunky peanut butter?
Chunky peanut butter adds texture but can prevent the batter from becoming fully smooth. If you prefer a smoother finish, stick with smooth peanut butter; otherwise, blend the chunky version briefly with a fork to break up larger pieces before mixing.
Is it safe to use overripe bananas?
Overripe bananas work well because they’re sweeter and mash more easily, contributing to a softer interior. Just be sure the bananas are free from mold or off‑flavors; otherwise, the fudge may inherit undesirable tastes.
What if I don’t have parchment paper?
A silicone loaf pan works as a direct substitute; it eliminates the need for parchment and makes unmolding effortless. If you must use a metal pan, lightly coat it with a thin layer of neutral oil before adding the batter.
Can I add a sweetener for a sweeter fudge?
Yes, you can stir in 2–3 tbsp of honey, maple syrup, or powdered sugar after the cocoa is mixed in. Add the sweetener gradually, tasting as you go, to avoid overpowering the natural banana flavor.