
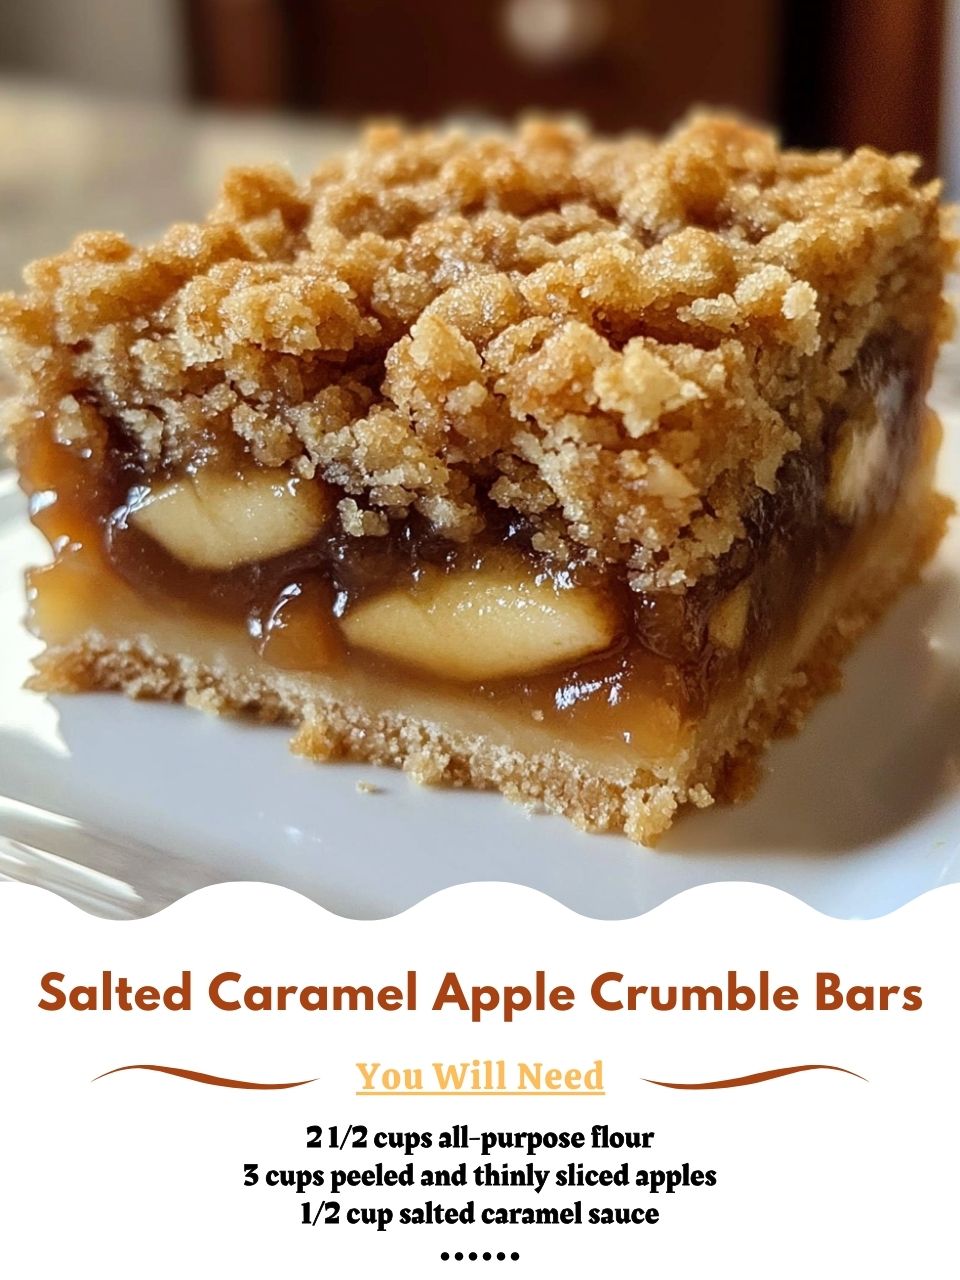
The first time I pulled a pan of Salted Caramel Apple Crumble Bars from my oven, the scent was pure autumnal magic. My kitchen filled with the warm, comforting aromas of cinnamon, baking apples, and brown sugar, with a deep, buttery note from the crumble topping. I had been dreaming of a dessert that combined the ease of a bar cookie with the soulful flavor of a deep-dish apple crumble, and this was it. That first square, still warm, delivered a perfect bite: a firm, buttery shortbread base, a layer of tender, spiced apples, a ribbon of gooey salted caramel, and a crunchy, crumbly oat topping. It was an instant classic, promising cozy evenings and satisfied smiles with every batch.
Why You’ll Love This Recipe
You’re going to love this recipe because it captures all the comforting, nostalgic flavor of a homemade apple crumble but in a neat, portable, and easy-to-serve bar. It’s the perfect dessert for potlucks, lunchboxes, or a sweet treat with afternoon coffee, offering a wonderful symphony of textures and the irresistible sweet-salty combination of caramel and sea salt. Easier than pie but just as impressive, these bars are a guaranteed crowd-pleaser that taste like you spent all day in the kitchen, when really, they come together with beautiful simplicity. It’s the ultimate hand-held fall dessert.
Ingredients
For the Crust & Crumble Topping:
- 2 ½ cups all-purpose flour
- 1 cup old-fashioned rolled oats
- 1 cup packed light brown sugar
- 1 teaspoon ground cinnamon
- ¼ teaspoon salt
- 1 cup (2 sticks) cold unsalted butter, cubed
For the Apple Filling:
- 3 cups peeled, cored, and thinly sliced apples (about 3 medium apples)
- 2 tablespoons all-purpose flour
- 2 tablespoons granulated sugar
- 1 teaspoon ground cinnamon
- ½ teaspoon vanilla extract
For Assembly:
- ½ cup salted caramel sauce (store-bought or homemade), plus more for drizzling
- Flaky sea salt, for garnish
Let’s talk ingredients, because a few choices make all the difference. For the apples, you need a variety that holds its shape when baked. I always use Granny Smith for their perfect balance of tartness and firmness. Don’t use raw, soft apples—they’ll turn to mush. The cold butter is non-negotiable for the crumble; it creates those perfect, pea-sized crumbs that bake up crispy. I’ve tried it with softened butter, and trust me, cold works better. The rolled oats add essential texture and chew. For the caramel, a good-quality salted caramel sauce is key—it’s the flavor heartbeat of the whole bar. And finally, the flaky sea salt on top isn’t just for looks; it brightens every flavor. Don’t skip it; it makes a huge difference.
Equipment Needed
- 9×13 inch metal baking pan
- Parchment paper
- Large mixing bowl
- Medium mixing bowl
- Pastry cutter or two forks
- Vegetable peeler and sharp knife
- Measuring cups and spoons
- Small saucepan (if warming caramel)
Your equipment list is simple and standard. A metal 9×13 inch pan is ideal for even baking and browning. Lining it with parchment paper is my best advice—it creates a sling that lets you lift the entire batch of bars out for flawlessly clean slicing. A pastry cutter makes quick work of cutting the cold butter into the flour-oat mixture for the perfect crumbly texture, though two forks work in a pinch. You’ll need a medium bowl for tossing the apple slices with their spices. If your caramel sauce is thick, a small saucepan to gently warm it makes it easier to drizzle. This isn’t fancy cooking, just cozy, straightforward baking.
Step-by-Step Instructions
I always start by preheating my oven to 350°F (175°C) and lining my 9×13 pan with parchment paper, leaving an overhang on the sides. This simple step is a game-changer for serving. In my large bowl, I combine the 2 ½ cups flour, rolled oats, brown sugar, cinnamon, and salt for the crust and topping. I add the cold, cubed butter and use my pastry cutter to cut it in until the mixture looks like coarse, uneven crumbs with some larger pebble-sized bits. This texture is what gives you both a solid base and a crumbly top. I set aside one and a half cups of this mixture for the topping.
Now, for the base. I take the remaining crumb mixture and press it firmly and evenly into the bottom of my prepared pan. I use the bottom of a measuring cup to really pack it down tightly—this forms the shortbread-like crust. I par-bake this crust for 15 minutes. This sets it so the juicy apple layer won’t make it soggy. I learned this the hard way when I skipped it once and ended up with a slightly soft bottom layer. While it bakes, I prepare the apples.(See the next page below to continue…)