Equipment Needed
Step-by-Step Instructions
- When I start making these muffins, the first thing I do is preheat the oven to 180°C (350°F) and lightly grease a muffin tin. This helps prevent sticking and makes it easier to remove the muffins later. Then I take the boiled broccoli and mash it in a bowl until it’s broken down into small pieces.
- Next, I add the eggs to the mashed broccoli and mix everything together until well combined. The eggs help bind everything and give the muffins structure once baked.
- Then I stir in the grated cheddar cheese. As I mix, the batter becomes thick and slightly chunky. The cheese not only adds flavor but also helps create that golden, slightly crispy top when baked.
- Finally, I spoon the mixture evenly into the muffin tin and gently press it down. I bake them for about 20–25 minutes until the tops are golden and set. Once done, I let them cool slightly before removing them.
Pro Tips for Best Results
One thing I’ve learned after making these several times is to drain the broccoli well. Too much moisture can make the muffins soft instead of firm.
Another tip is to chop or mash the broccoli finely. Smaller pieces help everything hold together better. I also like using sharp cheddar cheese because it gives a stronger, more savory flavor.
Common Mistakes to Avoid
The first mistake I made was not draining the broccoli properly. The mixture turned out too wet and didn’t hold its shape well. Another mistake is using too little cheese. The cheese helps bind the muffins, so it’s important for texture.
I also learned not to overfill the muffin cups. Keeping them evenly portioned helps them cook properly. Finally, avoid underbaking. They should be firm and slightly golden on top before removing from the oven.
Serving Suggestions
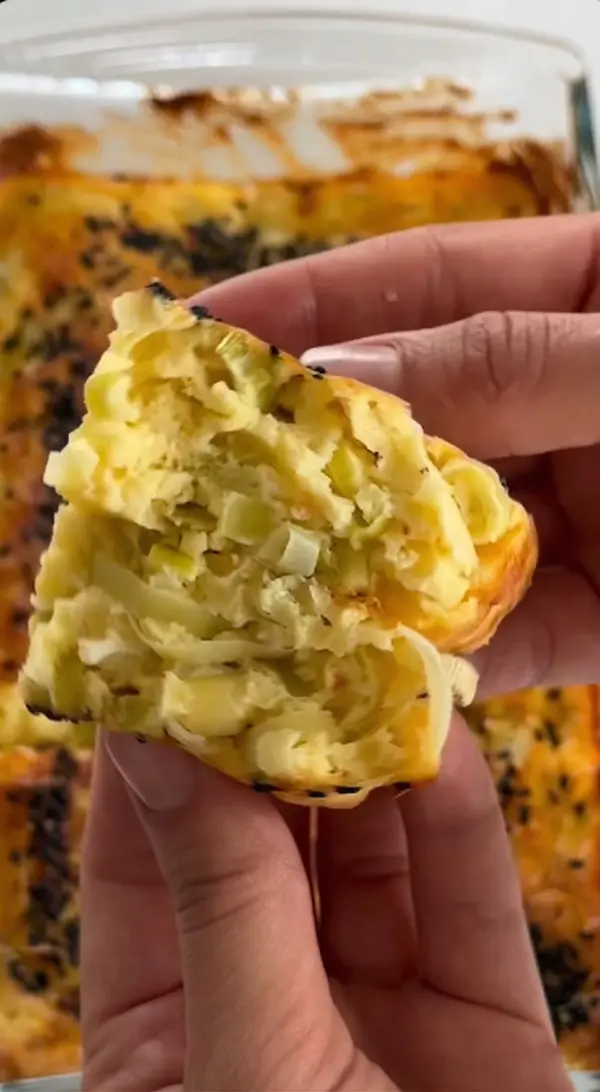
When I serve these broccoli muffins, I like eating them warm right out of the oven. The cheese is still soft and slightly melted, which makes them extra satisfying.
Sometimes I pair them with a simple yogurt dip or a light salad for a balanced meal.
They’re also great as a grab-and-go snack or lunchbox addition.
Variations & Customizations
One variation I enjoy is adding herbs like parsley or chives for extra flavor.
I’ve also tried adding a pinch of garlic powder or black pepper to enhance the savory taste.
Another version I like is mixing in a bit of cooked chicken or turkey for added protein.
How to Store, Freeze & Reheat
Whenever I make these muffins, I store leftovers in an airtight container in the refrigerator for up to three days.
I’ve also frozen them individually, which works great for quick snacks later.
To reheat, I usually warm them in the oven or microwave until heated through.
Conclusion
Every time I make these 3-Ingredient Broccoli Muffins, I’m reminded how simple ingredients can create something truly delicious. They’re easy, practical, and packed with flavor, making them perfect for busy days or quick meals. I love how versatile they are and how they come together with almost no effort. Once you try them, they might become one of your favorite quick recipes too.