Equipment Needed
Step-by-Step Instructions
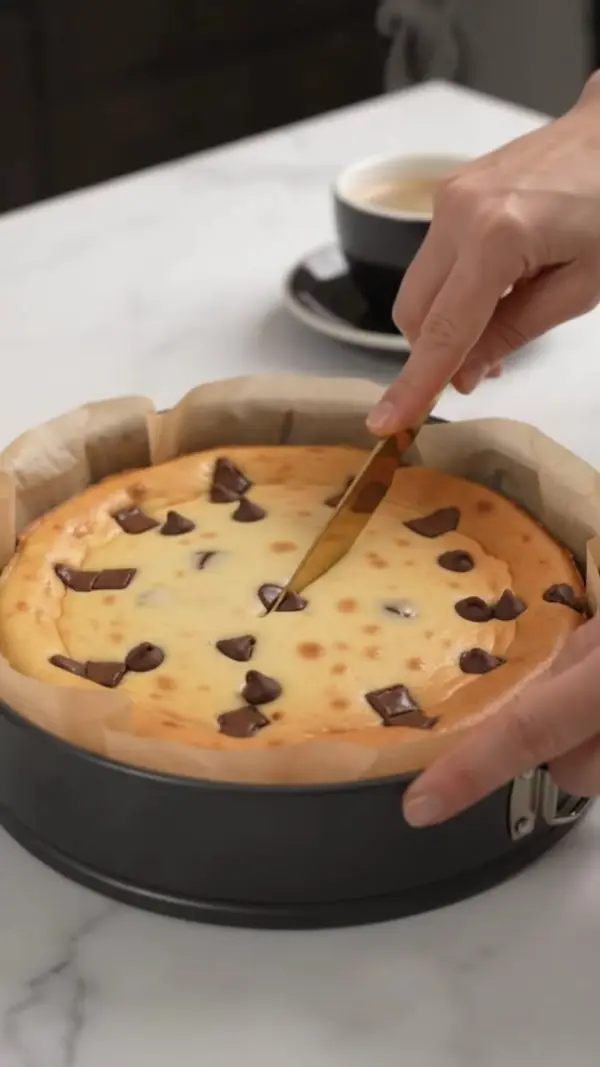
- I start by preheating my oven to 170°C (340°F) and lining a small baking pan with parchment paper. I also make sure the cream cheese is softened so it mixes smoothly.
- Next, I place the softened cream cheese in a large mixing bowl and beat it until completely smooth and creamy. I make sure there are no lumps before adding the other ingredients.
- Then I gradually add the sweetened condensed milk and mix until it is fully incorporated. The mixture should become smooth, creamy, and slightly glossy.
- Next, I add the fresh apricot puree and gently mix until it is evenly distributed throughout the cheesecake batter. The puree gives the mixture a beautiful pale golden color and a fresh fruity aroma.
- Once the batter is ready, I pour it into the prepared baking pan and smooth the top with a rubber spatula.
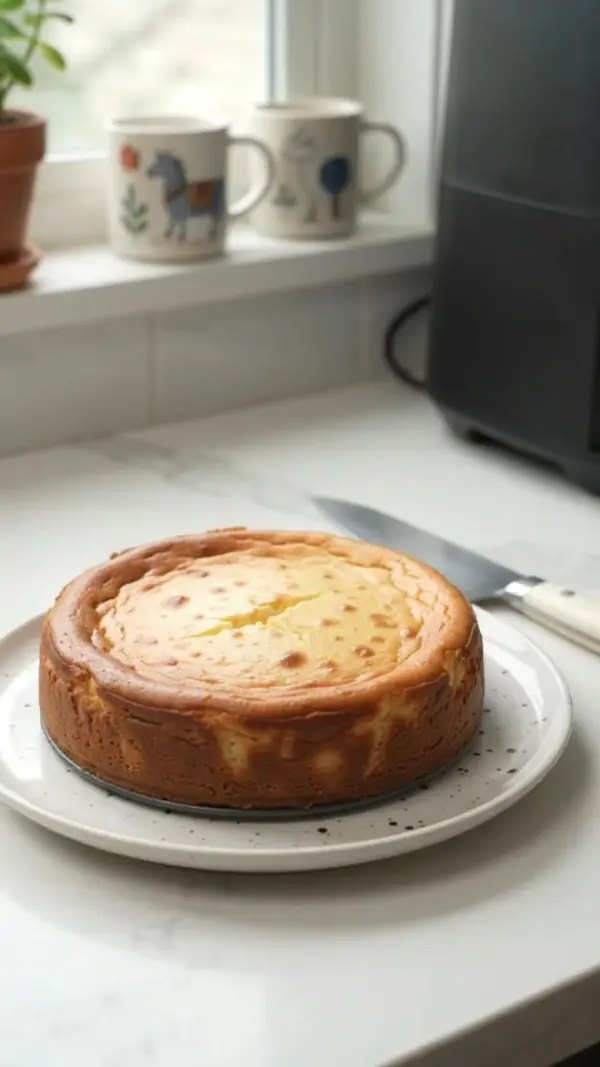
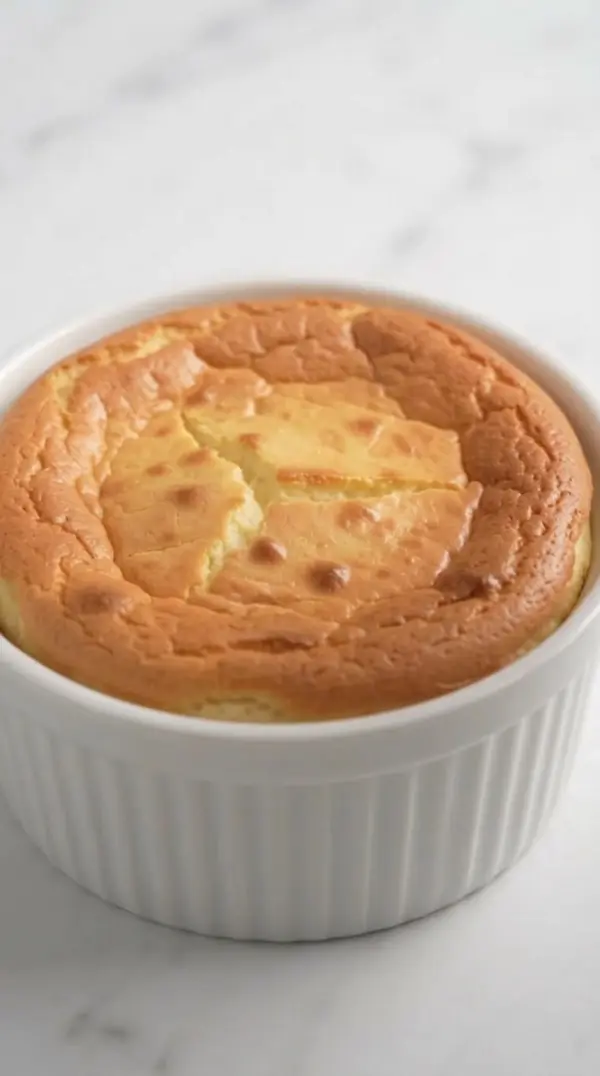
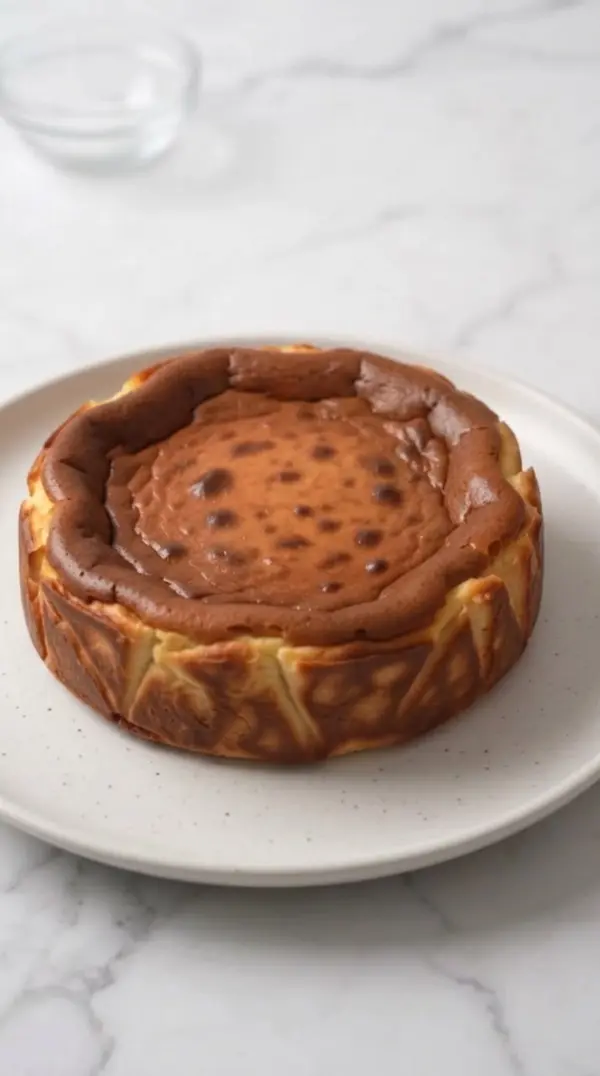
- I place the pan in the preheated oven and bake for about 35 to 40 minutes, or until the edges are set while the center still has a slight jiggle.
- After baking, I remove the cheesecake from the oven and let it cool completely at room temperature. I don’t rush this step because the cheesecake needs time to settle before chilling.
- Once cooled, I transfer it to the refrigerator and chill it for at least 2 to 4 hours. For the best texture, I like to let it chill overnight.
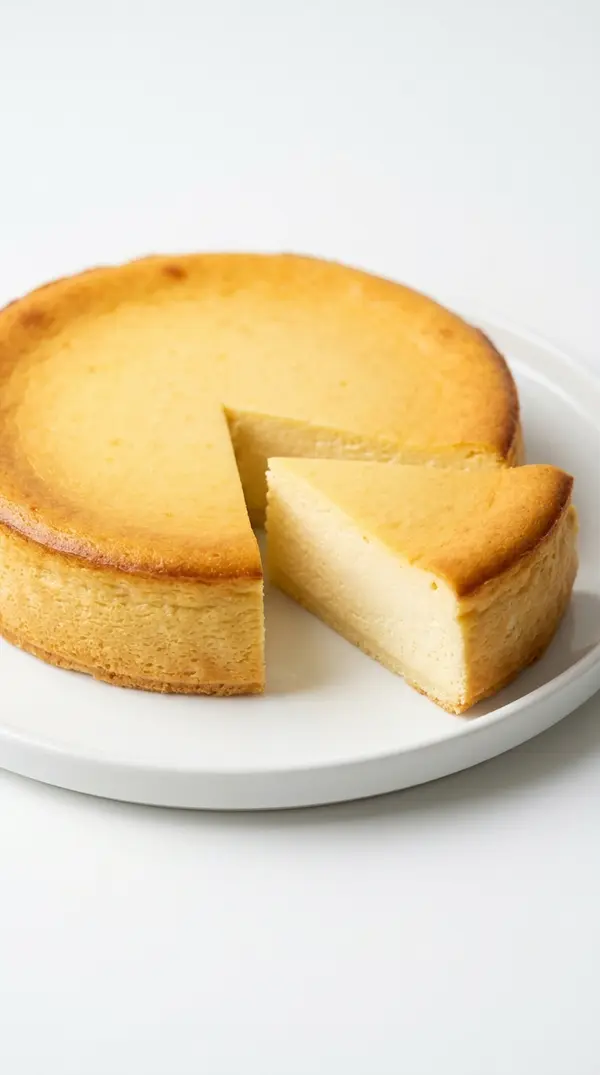
- When I’m ready to serve it, I slice the cheesecake while chilled and enjoy its creamy texture and fresh apricot flavor.
Pro Tips for Best Results
I always recommend using ripe, sweet apricots for the best flavor. Ripe fruit produces a smoother and more flavorful puree.
Make sure the cream cheese is fully softened before mixing. This helps create a completely smooth cheesecake batter.
If your apricots are particularly juicy, make sure the puree isn’t excessively watery. Too much liquid can affect the final texture.
Don’t overbake the cheesecake. The center should still have a slight jiggle when you remove it from the oven because it will continue to firm up while cooling.
Chill the cheesecake thoroughly before slicing. This gives it the smoothest texture and helps create cleaner slices.
Common Mistakes to Avoid
One common mistake is using cold cream cheese. It can create lumps and make the batter difficult to mix smoothly. Another mistake is using very watery apricot puree. Excess liquid can make the cheesecake softer than expected.
Avoid overbaking the cheesecake. A completely firm center in the oven can result in a denser texture after cooling. Don’t slice the cheesecake immediately after baking. Allow it to cool completely and chill properly before serving.
Serving Suggestions
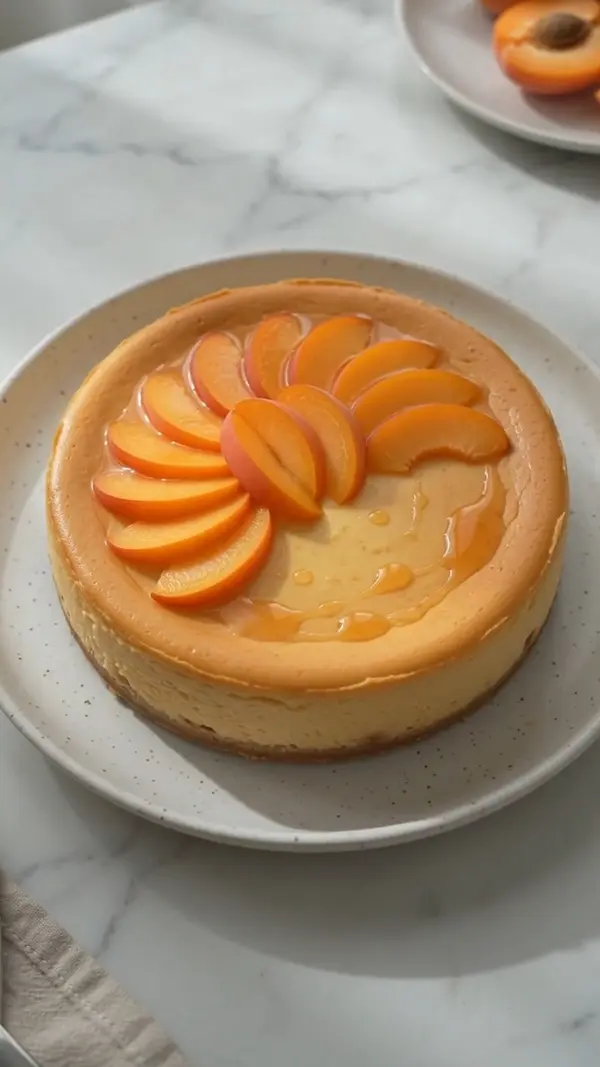
I love serving this cheesecake chilled with a few fresh apricot slices arranged over the top.
A small spoonful of fresh apricot puree can also be added to each slice for an extra burst of fruity flavor.
For a beautiful finish, add fresh mint leaves alongside the apricots.
You can also serve each slice with a little whipped cream for a more indulgent dessert.
Variations & Customizations
For a stronger apricot flavor, add a little extra fresh apricot puree as a topping when serving.
You can add a small amount of vanilla extract for a warmer and more rounded flavor.
For a summer-inspired version, serve the cheesecake with a mixture of fresh apricots, peaches, and berries.
A light drizzle of honey can also complement the natural sweetness of the apricots.
For a little crunch, sprinkle chopped almonds or pistachios over each slice before serving.
How to Store & Freeze
Store leftover cheesecake in an airtight container in the refrigerator for up to 4 to 5 days.
Keep it chilled until you’re ready to serve it. The cheesecake is best enjoyed cold.
To freeze it, cut the cheesecake into individual slices and wrap each slice tightly. Place the wrapped slices in a freezer-safe container and freeze for up to 1 month.
Thaw frozen slices overnight in the refrigerator before serving.
Conclusion
This 3-Ingredient Apricot Cheesecake is a simple and delicious way to turn fresh apricots into a creamy homemade dessert. Cream cheese, sweetened condensed milk, and fresh apricot puree come together to create a smooth cheesecake with a naturally fruity flavor and beautiful golden color.
It’s easy enough for a simple family dessert but special enough to serve at gatherings. If you love fresh fruit and creamy cheesecake, this is definitely a recipe worth saving.