Equipment Needed
Step-by-Step Instructions
- When I start making this fudge, the first thing I do is break the milk chocolate into small pieces. This helps it melt more evenly. I place the chocolate in a heatproof bowl and either melt it gently over a double boiler or in the microwave in short bursts, stirring in between.
- Once the chocolate is fully melted and smooth, I add the Nutella directly into the bowl. As I stir, the mixture becomes thick, glossy, and incredibly rich. The combination of melted chocolate and Nutella creates a silky texture that already looks like fudge.
- Next, I pour the mixture into a parchment-lined square pan. I use a spatula to spread it evenly and smooth the top. I like tapping the pan lightly on the counter to remove any air bubbles and ensure an even surface.
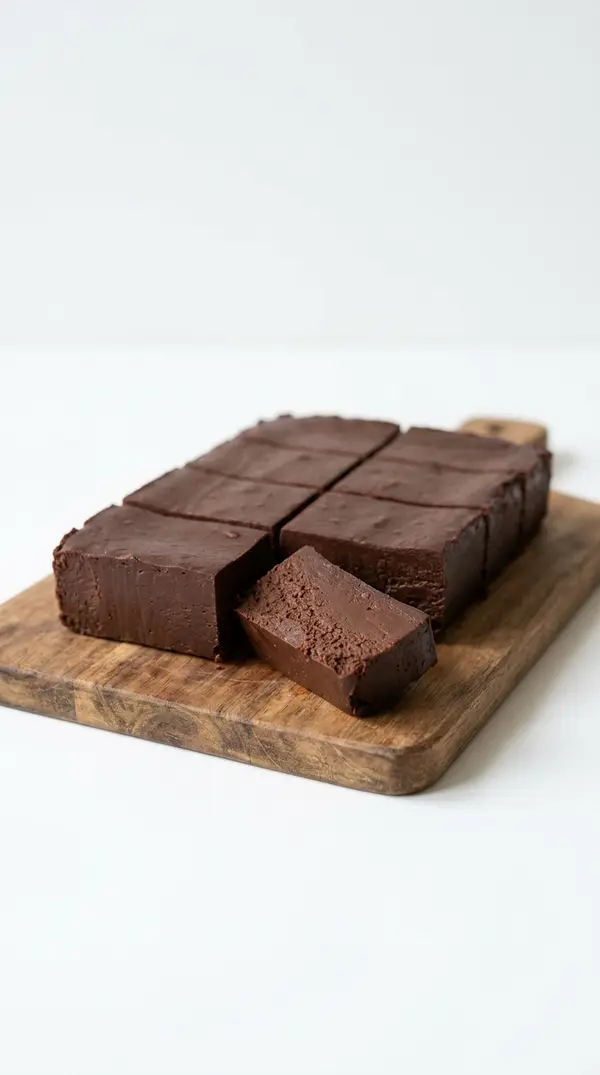
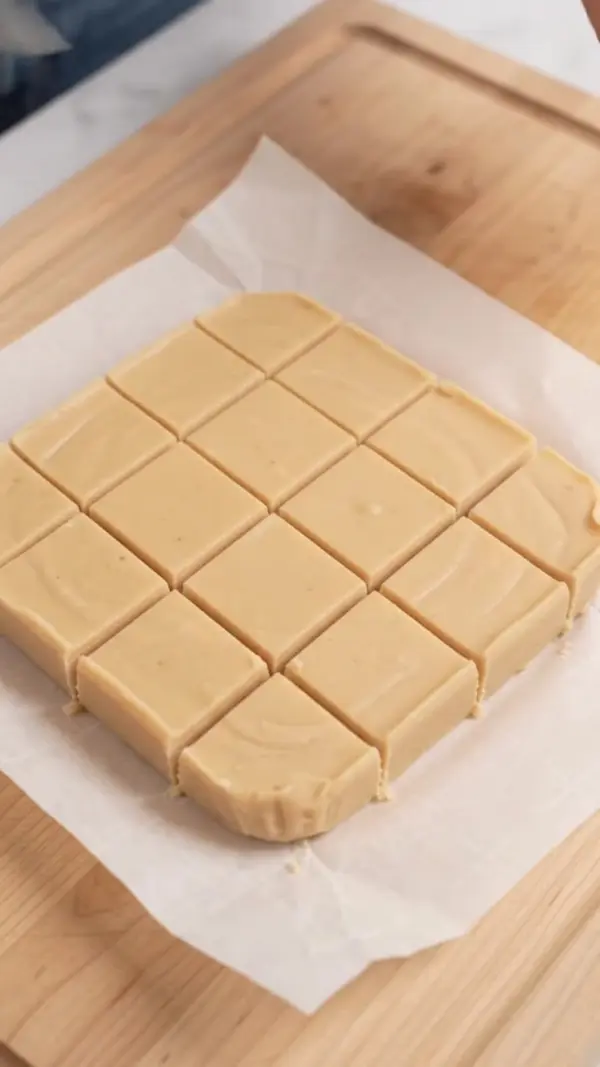
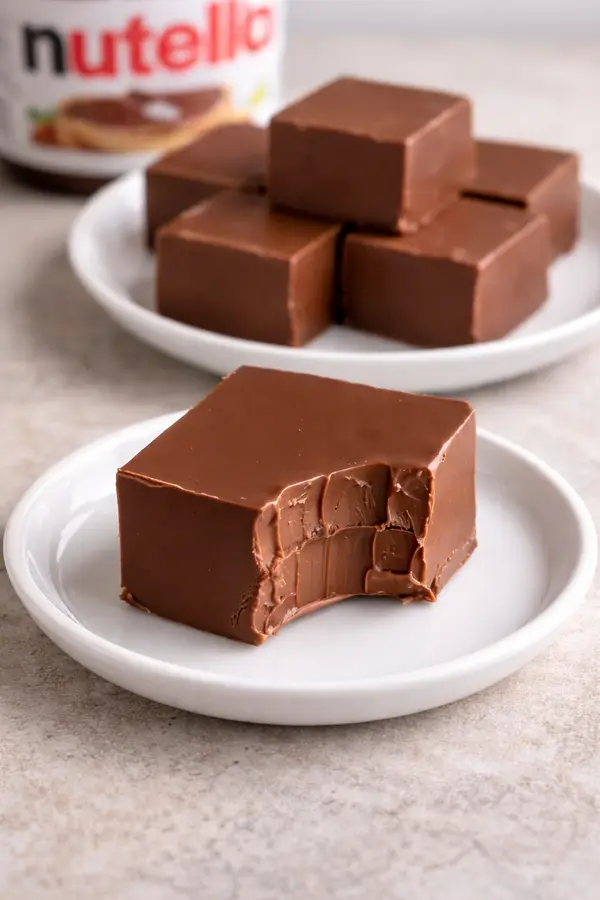
- Finally, I place the pan in the refrigerator and let it chill for about 2–3 hours until fully set. Once firm, I lift it out using the parchment paper and cut it into small squares. The texture is smooth, dense, and perfectly fudgy.
Pro Tips for Best Results
One thing I’ve learned after making this recipe a few times is to melt the chocolate slowly. If the chocolate overheats, it can become grainy instead of smooth.
Another tip is to use good-quality milk chocolate. Since this recipe has only two ingredients, the quality of the chocolate really affects the final flavor.
I also like letting the fudge sit at room temperature for a few minutes before cutting. It softens slightly and makes slicing cleaner and easier.
Common Mistakes to Avoid
The first mistake I made when making this fudge was overheating the chocolate. It seized slightly, which affected the texture.
Another mistake is not lining the pan with parchment paper. Without it, removing the fudge becomes much harder.
I also learned not to rush the chilling time. Cutting the fudge too early can cause it to lose its shape.
Finally, avoid using very thick chunks of chocolate when melting. Smaller pieces melt more evenly and smoothly.
Serving Suggestions
When I serve this Nutella fudge, I like cutting it into small bite-sized squares. It’s quite rich, so smaller pieces are perfect.
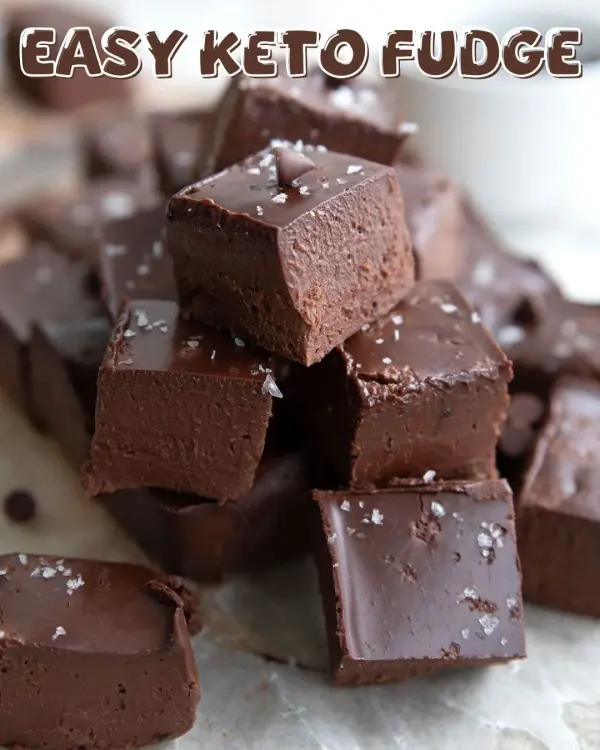
Sometimes I sprinkle a little sea salt on top before it sets. The sweet and salty combination is absolutely delicious.
I also enjoy serving it alongside coffee or tea. The richness of the fudge pairs beautifully with a warm drink.
Variations & Customizations
One variation I’ve tried is adding chopped hazelnuts into the mixture before chilling. It adds a crunchy texture that reminds me of classic chocolate hazelnut treats.
I’ve also experimented with swirling a little white chocolate on top for a decorative finish.
Another version I enjoy is adding a pinch of espresso powder to enhance the chocolate flavor.
How to Store, Freeze & Reheat
Whenever I make this fudge, I store it in an airtight container in the refrigerator. It stays fresh for up to one week.
I’ve also frozen it before, and it keeps well for up to two months. I just thaw it in the fridge before serving.
Since it’s a no-bake dessert, there’s no need to reheat it. I simply let it sit at room temperature for a few minutes before eating.
Conclusion
Every time I make this 2-Ingredient Nutella Fudge, I’m reminded how simple recipes can be incredibly satisfying. With just chocolate and Nutella, you get a rich, creamy treat that feels indulgent and special. I love how quick it is to prepare and how impressive it looks once sliced. If you’re a chocolate lover, this is definitely a recipe you’ll want to keep on repeat.