
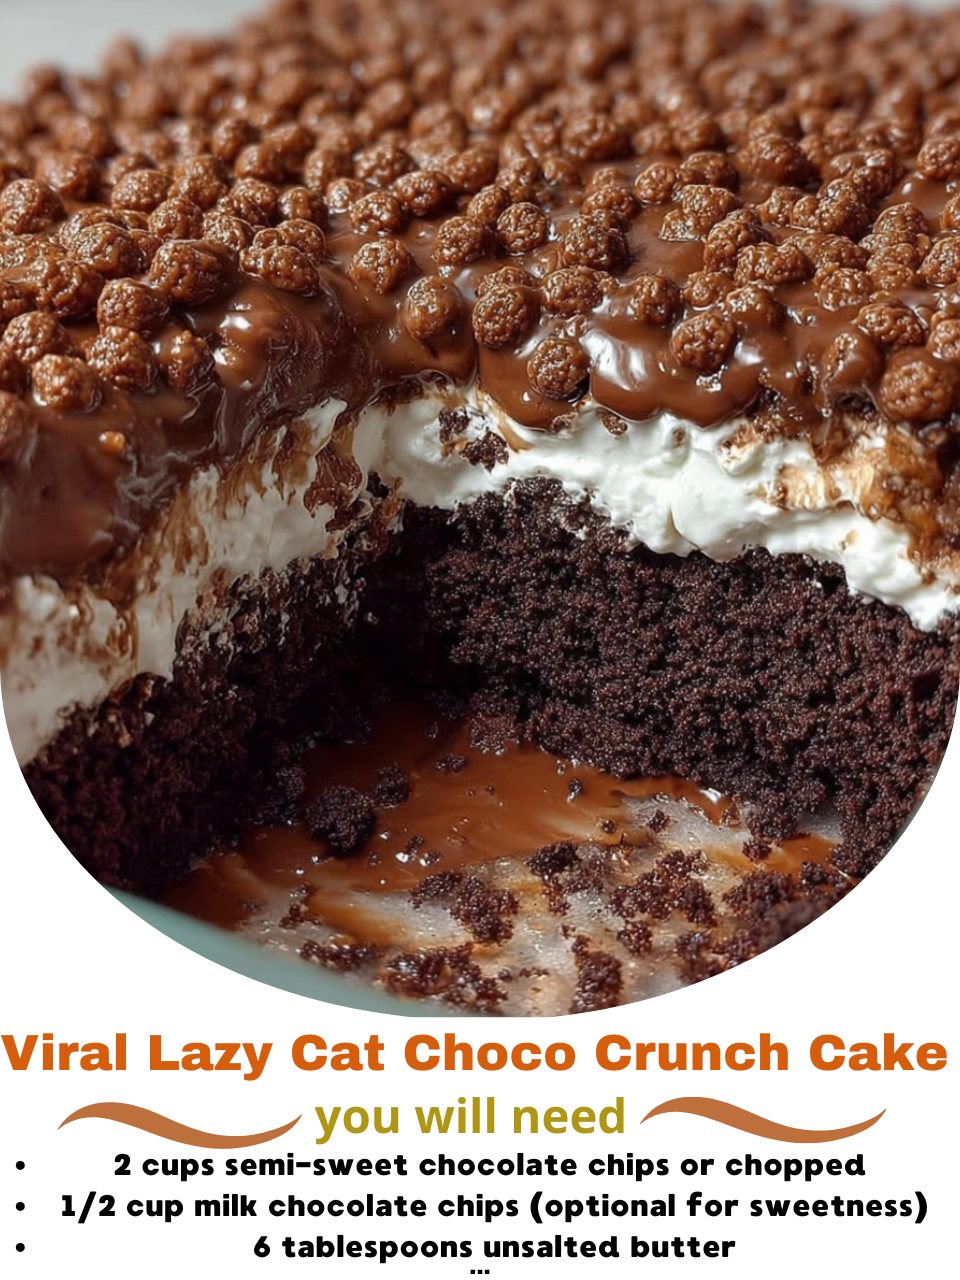
Now, I pour the cereal into the warm chocolate. Using my spatula, I fold and stir with a gentle touch. I want every single piece to be dressed in that luxurious chocolate coat, but I’m careful not to smash the cereal. The sound changes from a slosh to a delightful shush-shush crunch as everything comes together. When no dry spots remain, I quickly scrape the whole mixture into my prepared pan.
I use the spatula to press the mixture into an even layer. I don’t press down too hard, just enough to make it flat and cohesive. Then, if I’m using it, I’ll sprinkle a tiny pinch of flaky sea salt over the top. It elevates the chocolate flavor incredibly. Finally, the hardest part: I transfer the pan to the refrigerator to set completely. I’ve learned this takes a full hour, minimum. Trying to cut it after 30 minutes leads to a delicious but messy chocolate puddle. The wait is always worth it.
Pro Tips for Best Results
I tested the chocolate quality three different ways: generic chips, high-quality chips, and chopped baking bars. The baking bars gave the smoothest melt and richest flavor, but good-quality chips (like Ghirardelli or Guittard) are a fantastic and convenient middle ground. The bargain-brand chips sometimes have additives that make the texture a bit waxy. Trust me, splurge a little on the chocolate here; it’s the star of the show.
Here’s what I learned the hard way about the cereal: it must be freshly crispy. I once used the last bit of Rice Krispies from a box that had been open for a month. They were slightly stale, and even coated in chocolate, they never achieved that satisfying, glass-like crunch. Always use a freshly opened bag or box for the best textural experience.
For the cleanest cuts, run your knife under very hot water, wipe it dry, and then slice. The heat glides through the firm chocolate without cracking it. I cut mine into small rectangles or squares because this cake is incredibly rich. A little goes a long, satisfying way.
Common Mistakes to Avoid
My first-time mistake was rushing the setting process. After 30 minutes in the fridge, the top was set but the center was still soft. When I tried to lift it out with the parchment, it broke in half. Don’t do what I did! Give it a full hour, or even 90 minutes if your fridge is packed. For absolute certainty, you can gently touch the center—it should feel completely firm and cool.
Don’t skip the parchment paper liner. I’ve said it before, but it’s the number one reason people struggle with this recipe. Butter or spray simply isn’t enough to release the chocolate cleanly. The parchment is your guarantee of perfect, photogenic slices. It’s a non-negotiable in my kitchen now.(See the next page below to continue…)