
The first time I ever made these Vintage 7 Layer Bars, I was instantly transported back to the holiday dessert tables of my childhood—the ones stacked with tins, trays, and plates overflowing with homemade treats. As the bars baked, my kitchen filled with the buttery aroma of graham crackers and the warm sweetness of bubbling condensed milk, and for a moment, everything felt nostalgic and familiar. When I finally cut into that first batch, I fell in love with the gooey layers, crunchy textures, and the absolute simplicity of the recipe. It’s a dessert that feels like home every single time I make it.
Why You’ll Love This Recipe
You’re going to love this recipe because it’s one of those rare desserts that delivers maximum flavor with minimal effort, and yet everyone thinks you worked all afternoon. These bars are rich, gooey, crunchy, buttery, and perfectly sweet, thanks to the magical combination of seven classic ingredients. From my experience, they disappear at parties faster than anything else on the table, and people always ask for the recipe. They’re practically foolproof, endlessly comforting, and taste just as incredible warm as they do chilled straight from the fridge.
Ingredients
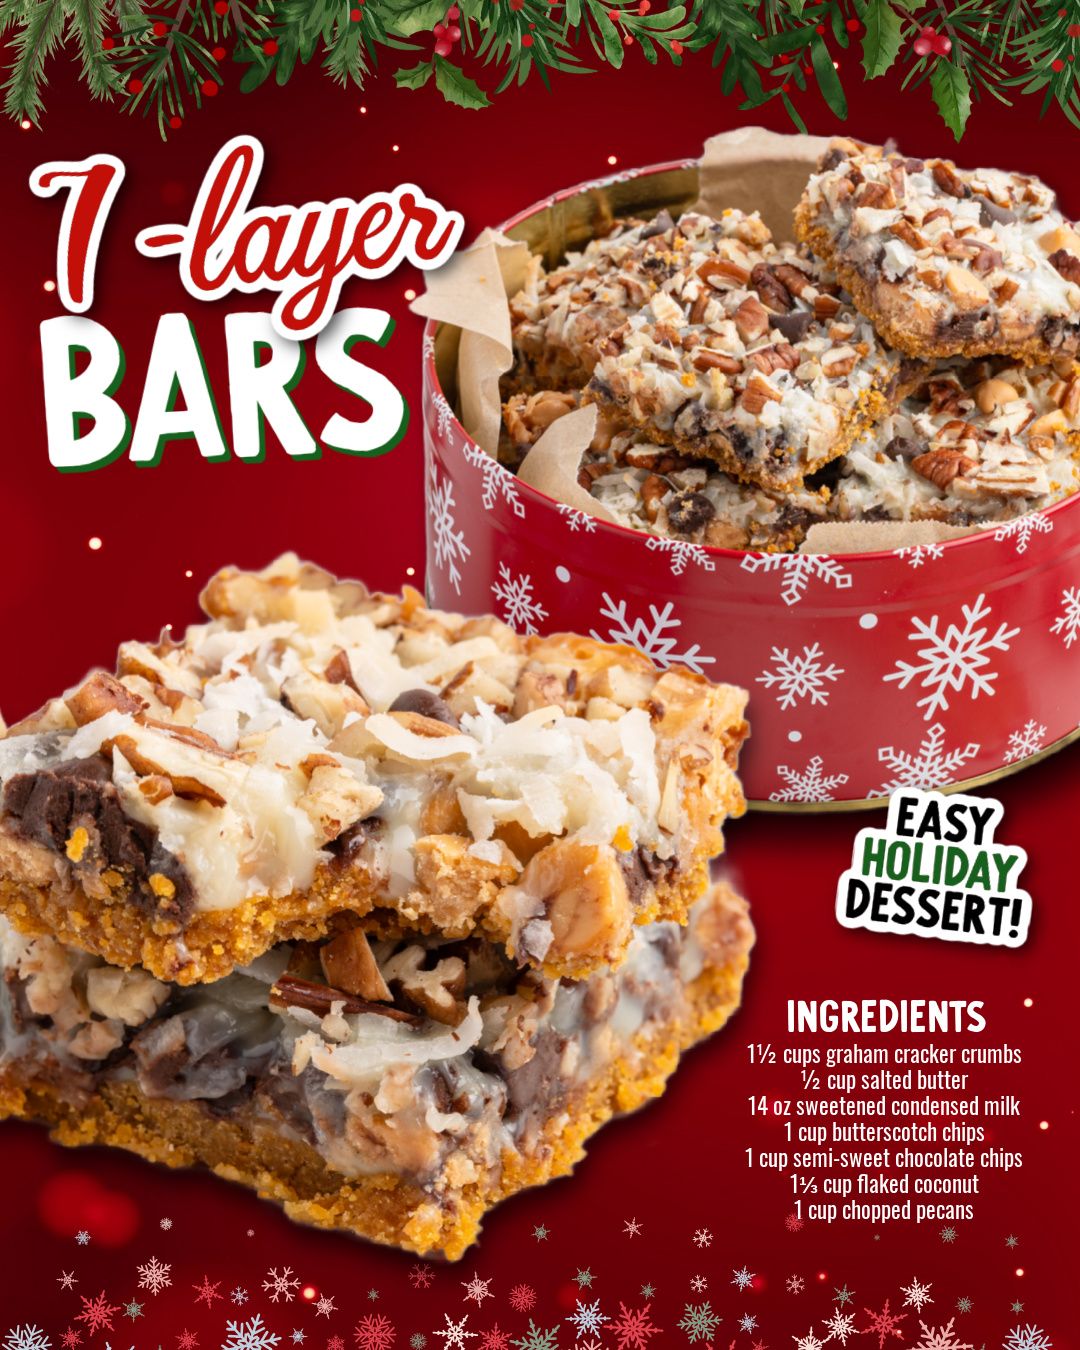
- 1½ cups graham cracker crumbs
- ½ cup salted butter, melted
- 14 oz sweetened condensed milk
- 1 cup butterscotch chips
- 1 cup semi-sweet chocolate chips
- 1½ cups flaked coconut
- 1 cup chopped pecans
I’ve tried these bars using different brands and ingredient variations, and honestly, this classic combination always wins. If you like a thicker crust, you can increase the graham crumbs to 2 cups and add a bit more butter. You can also swap pecans for walnuts or almonds, but pecans give the bars a wonderful buttery crunch that pairs beautifully with the coconut. And trust me—always use sweetened condensed milk, not evaporated milk. They are not interchangeable, and skipping this ingredient means the bars won’t bind together properly.
Equipment Needed
- 9×13-inch baking pan
- Mixing bowl
- Spatula
- Measuring cups
- Parchment paper
- Cooling rack
I personally prefer lining the pan with parchment paper because it makes lifting the whole slab out incredibly easy, allowing you to get clean, perfect slices. A cooling rack helps speed up the setting time, especially if you’re impatient like me and want to dig in as soon as possible. And even though this recipe barely requires any mixing, a good spatula makes spreading the graham layer much smoother. Nothing fancy is needed—this is truly a low-effort, high-reward dessert.
Step-by-Step Instructions
I always start by preheating my oven to 350°F because the layers come together so quickly that the oven needs to be ready. While it heats, I melt the butter and stir it into the graham cracker crumbs directly in the baking pan. I find that mixing the crust right inside the pan prevents mess and saves time. Once the crumbs are evenly coated and moist, I press them firmly into the bottom to create a solid crust. The smell of warm, buttery graham crackers alone is enough to make me excited for what’s coming next.
With the crust ready, I pour the sweetened condensed milk over the top, letting it slowly cascade into every corner. There’s something incredibly satisfying about watching that glossy, thick stream coat the crumbs. I gently use the back of a spoon to spread it evenly without disturbing the crust. This milk becomes the glue that holds everything together, so making sure it’s well-distributed is key. I learned early on that skipping this step leads to uneven pockets that crumble when sliced.(See the next page below to continue…)