
Adding the butter and vanilla while the pan is still on the heat is a common error. This can cause the butter to separate or the vanilla to evaporate too quickly, losing its flavor. Always, always remove the pan from the heat source first. Let the residual heat do the work of melting the butter.
Stirring too soon after adding the butter, or not stirring vigorously enough once you start, can affect the texture. Let the butter melt for a full minute off the heat before you begin to stir. Then, stir with conviction! You’re encouraging the mixture to crystallize into that perfect creamy state. Timid stirring can lead to a sugary, separated result.
Using raw pecans is a missed opportunity. Raw pecans can be a bit bland and release moisture into the hot syrup, potentially making the praline chewier. Toasting them amplifies their nutty flavor and ensures they stay crisp inside the creamy candy. Don’t skip this step; it makes a huge difference.
Serving Suggestions
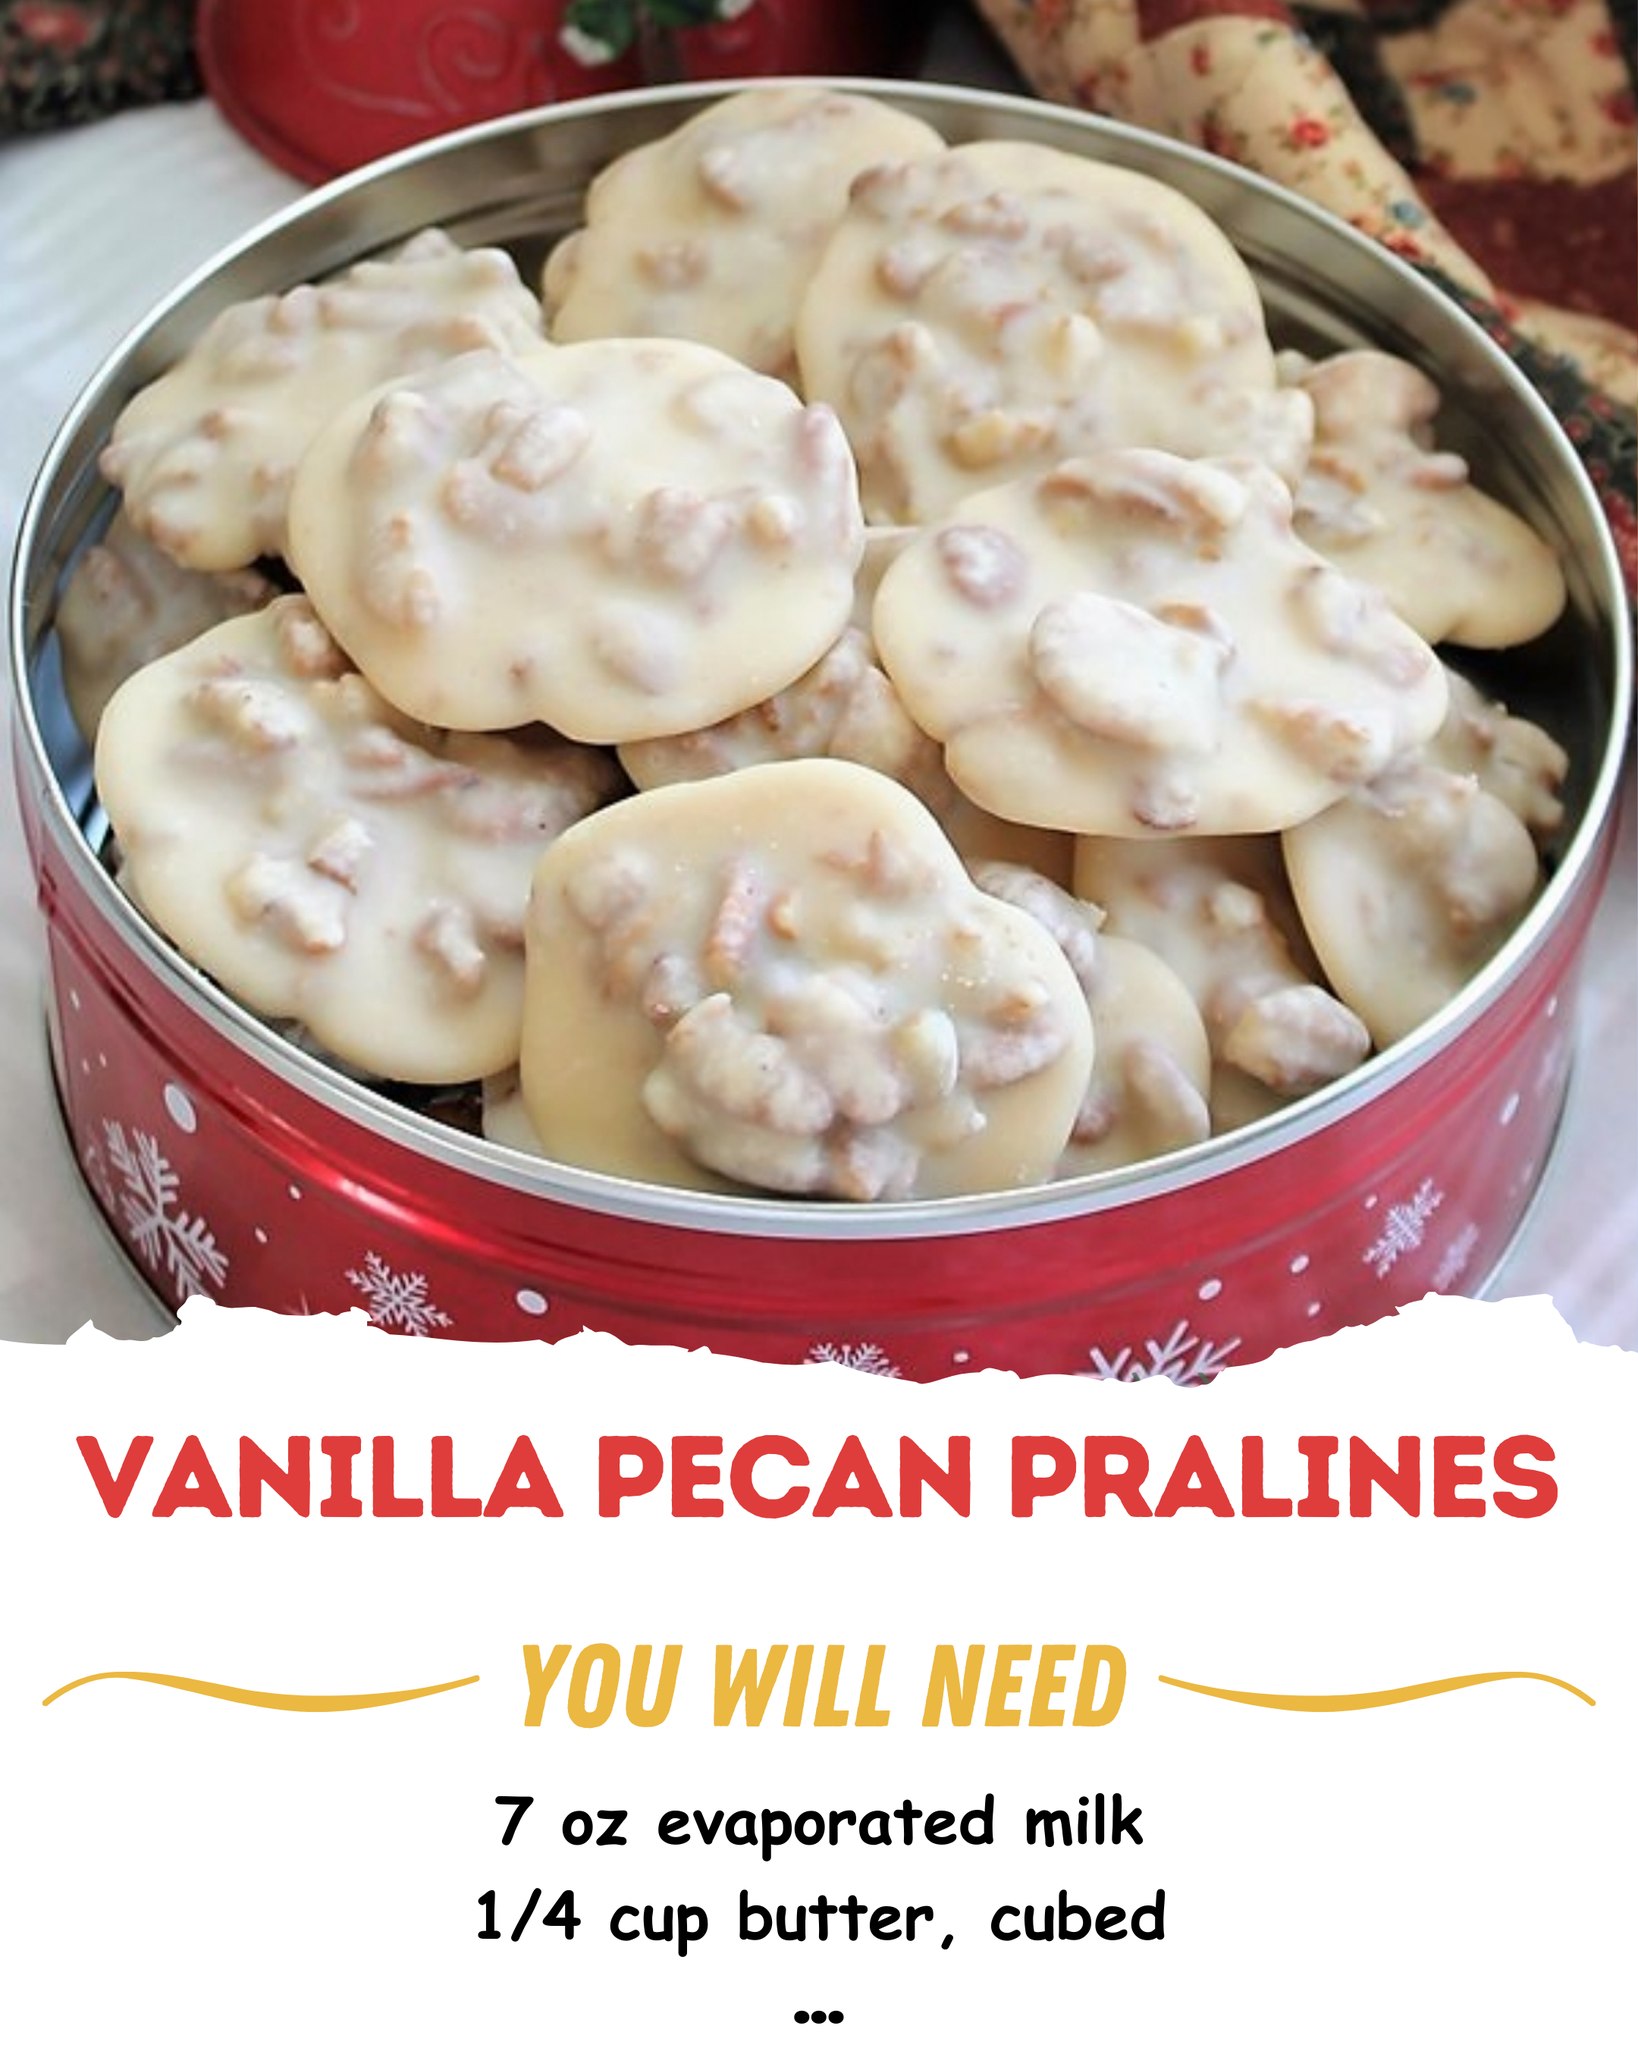
I love stacking these pralines in a decorative tin or arranging them on a vintage cake stand. They look so elegant and rustic at the same time. For a true Southern touch, I serve them alongside strong black coffee or a glass of sweet iced tea. The bitterness of the coffee perfectly balances the praline’s sweetness.
These are my absolute favorite homemade food gift. I wrap each one individually in a small square of wax paper or cellophane, twist the ends, and pile them into a festive box or bag. They’re always received with genuine delight and are far more special than anything store-bought.
For a dessert platter, I’ll pair a few pralines with some fresh fruit, like sliced apples or pears, and a wedge of sharp cheddar cheese. The sweet, salty, creamy, and crisp combination is unexpectedly divine and feels very sophisticated.
Variations & Customizations
For a darker, richer flavor, you can substitute ½ cup of the granulated sugar with packed dark brown sugar. It adds a lovely molasses note. I’ve also added a pinch of cinnamon or a dash of bourbon (in place of a teaspoon of the vanilla) for a warm, grown-up twist.
If you love chocolate, you can stir in ¼ cup of mini chocolate chips after you’ve added the pecans, just as the mixture starts to thicken. They’ll melt slightly and create a swirled chocolate effect. Or, you can drizzle the finished, set pralines with melted dark chocolate.
For a different nut, try using whole or halved roasted almonds or hazelnuts. Just make sure they are roasted and unsalted. You could even use a mix of nuts for a more complex flavor and texture profile.
How to Store, Freeze & Reheat
Store pralines in a single layer in an airtight container at room temperature. Place parchment between layers if you must stack them. They will keep beautifully for up to 2 weeks in a cool, dry place. Do not refrigerate, as the humidity can make them sticky and cause them to lose their perfect snap.
You can freeze pralines for longer storage. Wrap each one individually in plastic wrap, then place them in a heavy-duty freezer bag or airtight container. They will keep for 2-3 months. Thaw, still wrapped, at room temperature for an hour or two to prevent condensation from forming on the candy.
I do not recommend reheating pralines, as they are designed to be enjoyed at room temperature. If they’ve been in a cold place and seem too hard, let them sit in a warm room for 30 minutes. Microwaving will melt them into a puddle.
Conclusion
Making these Vanilla Pecan Pralines is a joyful kitchen adventure that yields the most wonderfully rewarding results. They’ve become my signature treat for the holidays and special occasions, and the process of watching sugar transform never gets old. I hope you’ll gather your ingredients, trust the thermometer, and experience the pure delight of creating these little discs of Southern sweetness. Happy candy-making