
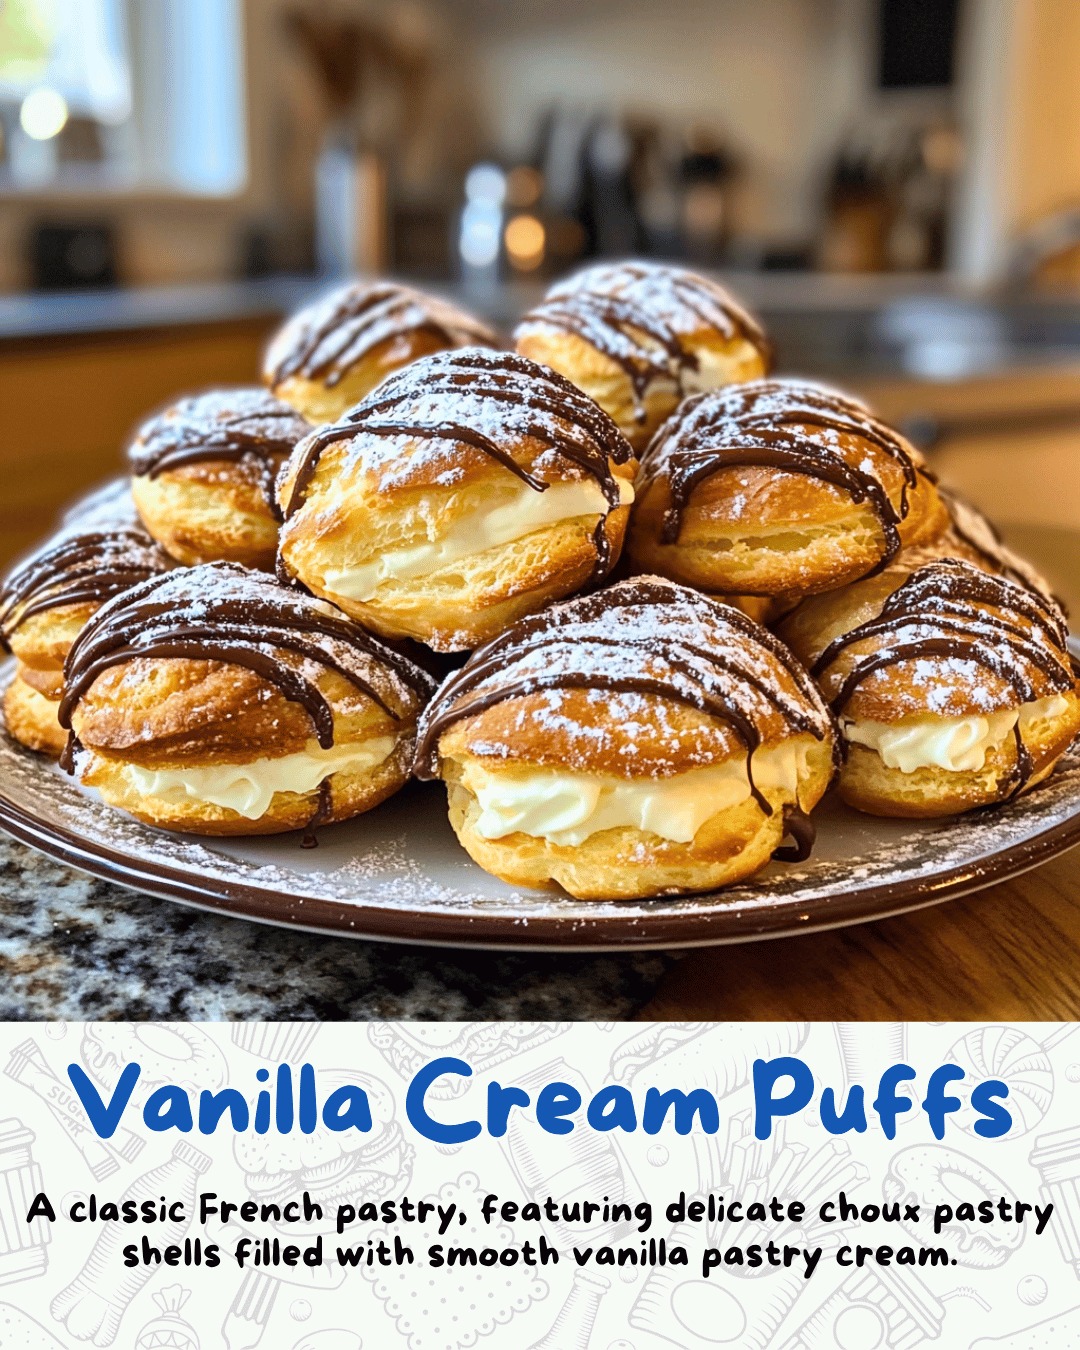
Vanilla Cream Puffs are a bakery-style classic that feels both elegant and nostalgic, with crisp golden shells and a cool, creamy vanilla filling. They look impressive on a platter, yet the process is very achievable at home once you understand the rhythm of choux pastry and pastry cream. This version keeps everything simple and comforting, with a rich vanilla custard lightened by whipped cream for a cloud-like center in every bite.
Equipment You Will Need
- Medium heavy-bottomed saucepan
- Small saucepan (optional, if separating tasks)
- Whisk
- Wooden spoon or heatproof spatula
- Mixing bowls (at least 2 medium, 1 large)
- Fine-mesh strainer or sieve
- Plastic wrap
- Electric hand mixer or stand mixer with whisk attachment
- Baking sheet
- Parchment paper or silicone baking mat
- Piping bag(s)
- Large round piping tip (for shells)
- Smaller round or star tip (for filling, optional)
- Wire cooling rack
- Serrated knife or small paring knife
- Measuring cups and spoons
Ingredients List
For the choux pastry (shells)
- 1 cup water
- ½ cup (1 stick / about 115 g) unsalted butter, cut into pieces
- 1 teaspoon granulated sugar
- ¼ teaspoon salt
- 1 cup all-purpose flour
- 4 large eggs, at room temperature
For the vanilla pastry cream
- 2 cups whole milk
- ½–⅔ cup granulated sugar
- 4–6 large egg yolks (use 6 for a richer cream)
- ¼ cup cornstarch
- Pinch of salt
- 2 tablespoons unsalted butter
- 1–2 teaspoons pure vanilla extract or vanilla bean paste
To lighten the cream
- 1–1½ cups heavy whipping cream, chilled
- 2–4 tablespoons powdered sugar or granulated sugar
- 1 teaspoon vanilla extract (optional, for extra vanilla flavor)
For finishing
- Powdered sugar, for dusting
- Optional: melted chocolate for drizzling or dipping
Step-by-Step Instructions
Start by making the vanilla pastry cream so it has plenty of time to chill. In a medium saucepan, combine the milk, sugar, and a pinch of salt, then place over medium heat and warm until the mixture is steaming and just starting to bubble around the edges.
You want it hot, but not at a rolling boil. While the milk heats, whisk the egg yolks and cornstarch together in a mixing bowl until smooth and slightly thickened; this blend should look creamy and free of lumps.
Once the milk mixture is hot, slowly pour a small amount into the yolk mixture while whisking constantly to temper the eggs. This gentle start prevents the yolks from scrambling. Gradually add the rest of the hot milk in a thin stream, still whisking, until everything is combined. Pour the custard base back into the saucepan and return it to medium heat.
Whisk steadily as it thickens; at first it will feel loose, then suddenly it will begin to tighten up into a smooth, glossy pastry cream. Let it bubble gently for a minute or two to fully thicken and cook out any starchy taste, then remove from the heat.
Stir in the butter and vanilla extract (or vanilla paste) until completely melted and incorporated, leaving the cream silky and fragrant. If any small lumps developed, strain the hot pastry cream through a fine-mesh sieve into a clean bowl.
Press a piece of plastic wrap directly onto the surface of the cream to prevent a skin from forming, then let it cool to room temperature before transferring it to the refrigerator. Chill the pastry cream until very cold and firm, at least a couple of hours or overnight.
When you are ready to bake the shells, preheat your oven to 400°F (200°C). Line a baking sheet with parchment paper or a silicone baking mat. In a medium saucepan, combine the water, butter, sugar, and salt, then bring to a full boil over medium heat, making sure the butter is completely melted.
As soon as the mixture boils, turn the heat to low and add the flour all at once, stirring vigorously with a wooden spoon or spatula. The mixture will look rough at first, then quickly come together into a smooth ball of dough that pulls away from the sides of the pan and leaves a thin film on the bottom.
Continue cooking and stirring this dough for another 1–2 minutes to drive off some moisture; this drying step is key for puffs that rise well and stay hollow inside. Transfer the hot dough to a mixing bowl (or the bowl of a stand mixer fitted with the paddle attachment) and let it cool for a few minutes until it is warm but not steaming.
Beat the dough briefly to help it cool evenly, then add the eggs one at a time, mixing thoroughly after each addition. The dough will look split or curdled when each egg first goes in, then smooth out as it absorbs. After the last egg, you should have a shiny, thick batter that slowly falls from the spatula in a smooth ribbon. If it is overly stiff, you can beat in a small extra amount of beaten egg; if it is very loose and runny, it may spread too much when baked.
Transfer the choux dough to a piping bag fitted with a large round tip. Pipe mounds about 1½ inches wide onto the lined baking sheet, spacing them a couple of inches apart to allow for expansion. If you prefer mini cream puffs, pipe smaller mounds and reduce the baking time.
Dip a fingertip in water and gently press down any sharp points on the tops so they do not burn. For extra lift, you can lightly mist the tray with water or place a small oven-safe dish of water on a lower rack to create a bit of steam in the oven.
Bake the puffs at 400°F (200°C) for 10–12 minutes, until they have risen and started to turn golden. Without opening the oven door, reduce the temperature to 350°F (175°C) and continue baking for another 15–20 minutes, or until the shells are deeply golden, feel light when lifted, and look dry and crisp. Avoid opening the oven in the early stages, as a sudden drop in temperature can cause them to collapse. When they are done, turn the oven off.
Use a skewer or the tip of a small knife to poke a little hole in the side or bottom of each puff to let steam escape, then return the tray to the turned-off oven with the door slightly ajar for about 5–10 minutes to dry the interiors further.
Transfer the shells to a wire rack and let them cool completely. While they cool, prepare the filling. Take the chilled pastry cream out of the refrigerator and whisk it briefly in a bowl to loosen it and restore a smooth texture.
In a separate large bowl, whip the cold heavy cream with sugar and optional vanilla extract until it holds medium to stiff peaks. You want the whipped cream firm enough to support the pastry cream but still soft and airy.
Fold the whipped cream into the pastry cream in two or three additions, using a spatula and gentle motions so you keep as much air as possible. The finished vanilla cream should be light, fluffy, and stable enough to hold its shape when piped.
Taste and adjust for sweetness or vanilla if needed, adding a bit more sugar or extract to suit your preference. Spoon the filling into a clean piping bag fitted with a small round or star tip.
To assemble, you can either slice each puff in half horizontally with a serrated knife or create a small opening in the side or bottom of each shell. For the cut version, gently separate the tops and bottoms. Pipe a generous swirl or mound of vanilla cream onto the bottom half, then place the top back on at a slight angle for a pretty bakery-style look.
For the filled-through-a-hole method, insert the piping tip into the opening and gently squeeze until you feel the shell become heavier and filled. Repeat with all of the shells until you have a tray of puffs ready to finish.
Just before serving, dust the tops with a generous snowfall of powdered sugar. If desired, drizzle or dip the tops in melted chocolate for an extra-special touch. Serve the Vanilla Cream Puffs soon after filling for the best contrast between the crisp shell and creamy interior.
Expert Tips for Success
Using the right dough texture is one of the most important keys to perfect cream puffs. Take your time when adding the eggs and watch the consistency rather than blindly using every drop; the dough should be glossy, thick, and pipeable, not stiff like bread dough and not thin like cake batter.
If the dough is too dry, the puffs will not rise properly; if it is too loose, they will spread and turn flat instead of puffing.
Pay attention to oven temperature and avoid opening the door too early. Starting at a higher heat helps the choux expand rapidly and set its structure, then dropping the temperature allows the insides to dry without burning the exterior.
Poking a small hole in each puff near the end of baking, then letting them sit briefly in the cooling oven, is a simple step that pays off with crisp, hollow shells that do not collapse after they come out.
For the filling, make sure the pastry cream is fully chilled before you whip and fold in the cream. Warm or even slightly warm pastry cream will melt the whipped cream and result in a looser filling that can weep or soak into the shells more quickly.
When whipping the cream, stop as soon as you reach firm peaks instead of over-whipping; grainy cream will give the filling a heavy texture instead of a smooth, cloud-like finish.
Variations and Substitutions
Once you master classic Vanilla Cream Puffs, you can customize them in endless ways. To keep things simple but slightly lighter, you can skip the pastry cream and fill the shells only with lightly sweetened whipped cream, giving a more airy, cloud-like center. For a richer, more pastry-shop style dessert, serve them filled with plain pastry cream without folding in whipped cream, which makes each bite more custardy and decadent.
You can also change the flavor profile of the cream. Stir cocoa powder or melted chocolate into the pastry cream for chocolate cream puffs, or add a spoonful of espresso powder for a mocha twist. Swirl in lemon curd, raspberry puree, or your favorite jam for a fruity accent, or switch vanilla extract to almond, hazelnut, or orange extract to give the filling a different character. The shells themselves can handle those flavor changes without any adjustment to the basic choux recipe.
For substitutions, you have a little flexibility. If you prefer, replace part of the water in the choux dough with milk to create a slightly more tender and flavorful shell. In the pastry cream, you can combine cornstarch with a small amount of flour instead of using only cornstarch, which will give a softer set. If you need a slightly lighter custard, use fewer egg yolks and balance the richness by folding in more whipped cream, adjusting to the texture and flavor you like best.
Serving Suggestions
Vanilla Cream Puffs are beautiful all on their own, but thoughtful presentation can turn them into a true centerpiece. Pile them onto a cake stand in a loose pyramid and dust them generously with powdered sugar for a show-stopping dessert at holidays or celebrations. For a tea party or brunch, arrange them neatly on a platter with fresh berries or sliced fruit tucked around them for color and contrast.
You can also play with size and toppings. Pipe smaller mounds of dough to create mini cream puffs that are perfect for buffets and bite-sized desserts. Dress the tops with a drizzle of dark, milk, or white chocolate, or dip the caps in a simple ganache before assembling. Serve Vanilla Cream Puffs with coffee, hot chocolate, or a glass of dessert wine to highlight the creamy vanilla flavor and crisp pastry texture.
Storage, Freezing, and Reheating
Cream puffs taste best on the day they are filled, but you can manage your time smartly by preparing components ahead. Filled puffs can be stored in the refrigerator in a single layer in an airtight container for up to about 24 hours. Over time the shells will soften as they absorb moisture from the cream, but they will still be delicious, especially if you enjoy a softer texture.
For longer storage, keep the shells and fillings separate. Once the shells have cooled completely, place them in an airtight container at room temperature for up to a day, or freeze them for one to two months. To refresh frozen shells, warm them on a baking sheet in a low oven until they feel crisp and dry again, then cool completely before filling. The pastry cream can be made two to three days ahead and stored in the refrigerator with plastic wrap pressed directly onto the surface.
When you are ready to serve, whip fresh cream, fold it into the chilled pastry cream, re-crisp any frozen shells if needed, and assemble the puffs. This approach keeps your workload manageable while still giving you that freshly baked, freshly filled experience. Dust with powdered sugar or add any final decorations just before bringing them to the table so they look as irresistible as possible.
Frequently Asked Questions
Why did my cream puffs deflate after baking?
Deflation usually means the puffs were either underbaked or too moist inside. Make sure they are deeply golden, feel light and hollow, and then let steam escape through a small hole before giving them a few extra minutes in the turned-off oven so the interiors dry properly.
Can I make these completely ahead of time?
For the best texture, it is better to prepare the shells and pastry cream ahead and fill them closer to serving time. You can bake and even freeze the shells, make the pastry cream up to a couple of days in advance, and then whip and fold in the cream plus assemble on the day you plan to serve.
Do I need a piping bag to make cream puffs?
A piping bag gives the neatest, most even shells, but it is not absolutely required. You can use two spoons to drop mounds of dough onto the baking sheet, and later cut the cooled puffs open and spoon or dollop the filling inside for a more rustic look.
Can I make the filling without cornstarch?
Yes, you can replace the cornstarch with an equal amount of flour, or use a mix of the two. Cornstarch tends to give a firmer, cleaner set, while flour will produce a slightly softer custard, so you may need a bit of extra chilling time if you use only flour.