
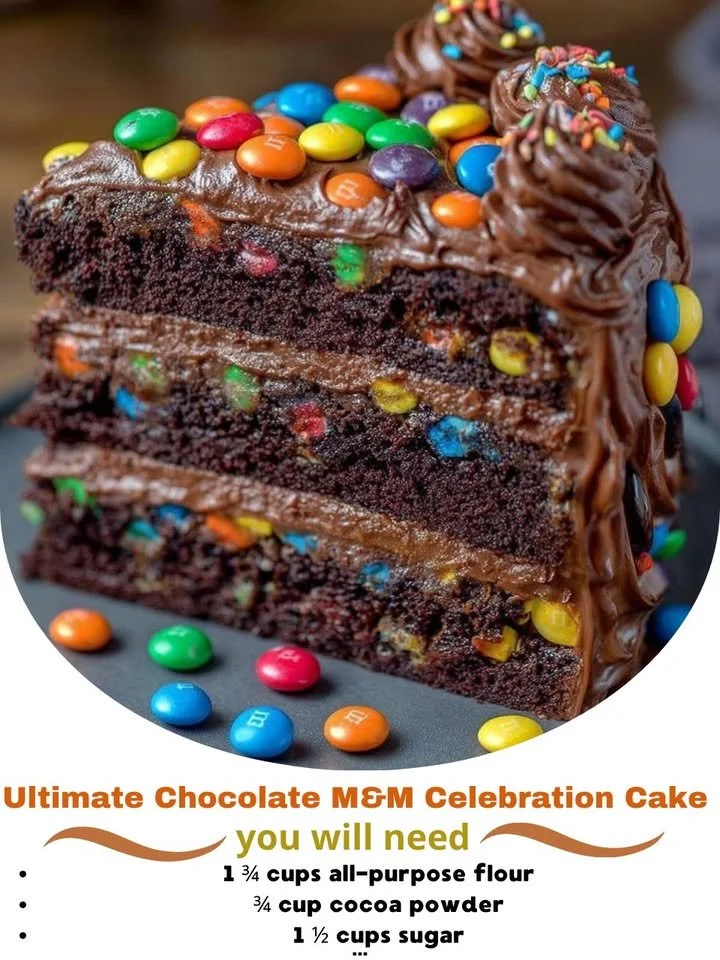
Now, fold in the M&Ms to your batter, reserving a handful for decoration later. Pour the batter evenly into the prepared cake pans. Bake for about 30-35 minutes or until a toothpick inserted into the center comes out clean. When those cakes are in the oven, the aroma of chocolate will have you practically drooling. Once baked, let the cakes cool in the pans for about 10 minutes before transferring them to a cooling rack.
While the cakes are cooling, let’s prepare the buttercream frosting. In another mixing bowl, beat together softened butter and cocoa powder before gradually adding powdered sugar and milk. I like to add a splash of vanilla extract for that extra flavor kick. Beat until light and fluffy, and you’re set! Once the cakes are completely cool, it’s time to frost. Place one layer on a cake stand and spread a generous amount of frosting on top, then gently place the second layer on top and frost the sides and top. Finally, go a little wild and sprinkle those reserved M&Ms on top for that colorful celebration flair.
Pro Tips for Best Results
I’ve tested this cake in a few different ways to make sure it comes out perfectly every single time. One thing that worked really well for me was allowing the cakes to cool completely before frosting. It makes a world of difference in how the frosting sits on the cake and helps avoid any melty disasters!
Another tip? Ensure all your ingredients are at room temperature before mixing. This can really enhance the texture of the cake. I usually take out the eggs and milk about an hour before I start baking. It’s a small step, but it leads to a wonderfully moist cake!
Lastly, don’t skimp on the frosting! I always make a bit extra because, honestly, who can resist a thick layer of velvety buttercream? You can use the remaining icing to pipe fun decorations on top and make it a true showstopper.
Common Mistakes to Avoid
One mistake I made during my initial attempts was skipping the parchment paper lining. Let me tell you, those cakes can be quite tricky to remove from the pans! Every time I’d cut into the cake, I’d end up with chunks torn away. It’s such a bummer after putting so much love into baking. (See the next page below to continue…)