
Do not substitute dark brown sugar for light without knowing the difference. I tried it once for a deeper flavor, and while it was still good, the bars were much darker, almost bitter, and lost that classic, pure butterscotch note. The light brown sugar provides the perfect level of molasses. It’s a subtle but important distinction for the authentic taste.
Skipping the parchment paper sling is a recipe for frustration. These bars are sticky and rich. Trying to pry them out of a greased pan with a spatula will result in broken, messy pieces. The two minutes it takes to line the pan pays off in perfect, intact bars that are easy to serve and gift. Don’t do what I did on my first try!
Finally, don’t cut the bars while they’re warm. I know the aroma is intoxicating, but if you cut into them too soon, they’ll crumble and the butterscotch chips will be molten and messy. The structure needs time to set as it cools. Letting them cool completely in the pan is the final, crucial step for the perfect texture.
Serving Suggestions
I like serving these bars just as they are, cut into small squares on a simple plate. They are incredibly rich, so a small piece is satisfying. They are the perfect partner to a cold glass of milk or a hot cup of black coffee, which cuts through the sweetness beautifully.
For a special occasion, I’ll warm a bar slightly and top it with a scoop of vanilla bean ice cream. The warm, chewy bar with the melting ice cream is a classic dessert combination that never fails to please. A drizzle of caramel sauce on top makes it truly decadent.
These are my go-to dessert for potlucks, picnics, and bake sales. I transport them right in the pan with the parchment or arranged on a disposable tray. They are sturdy, travel well, and are always a massive hit. They have that nostalgic, homemade quality that people genuinely love.
Variations & Customizations
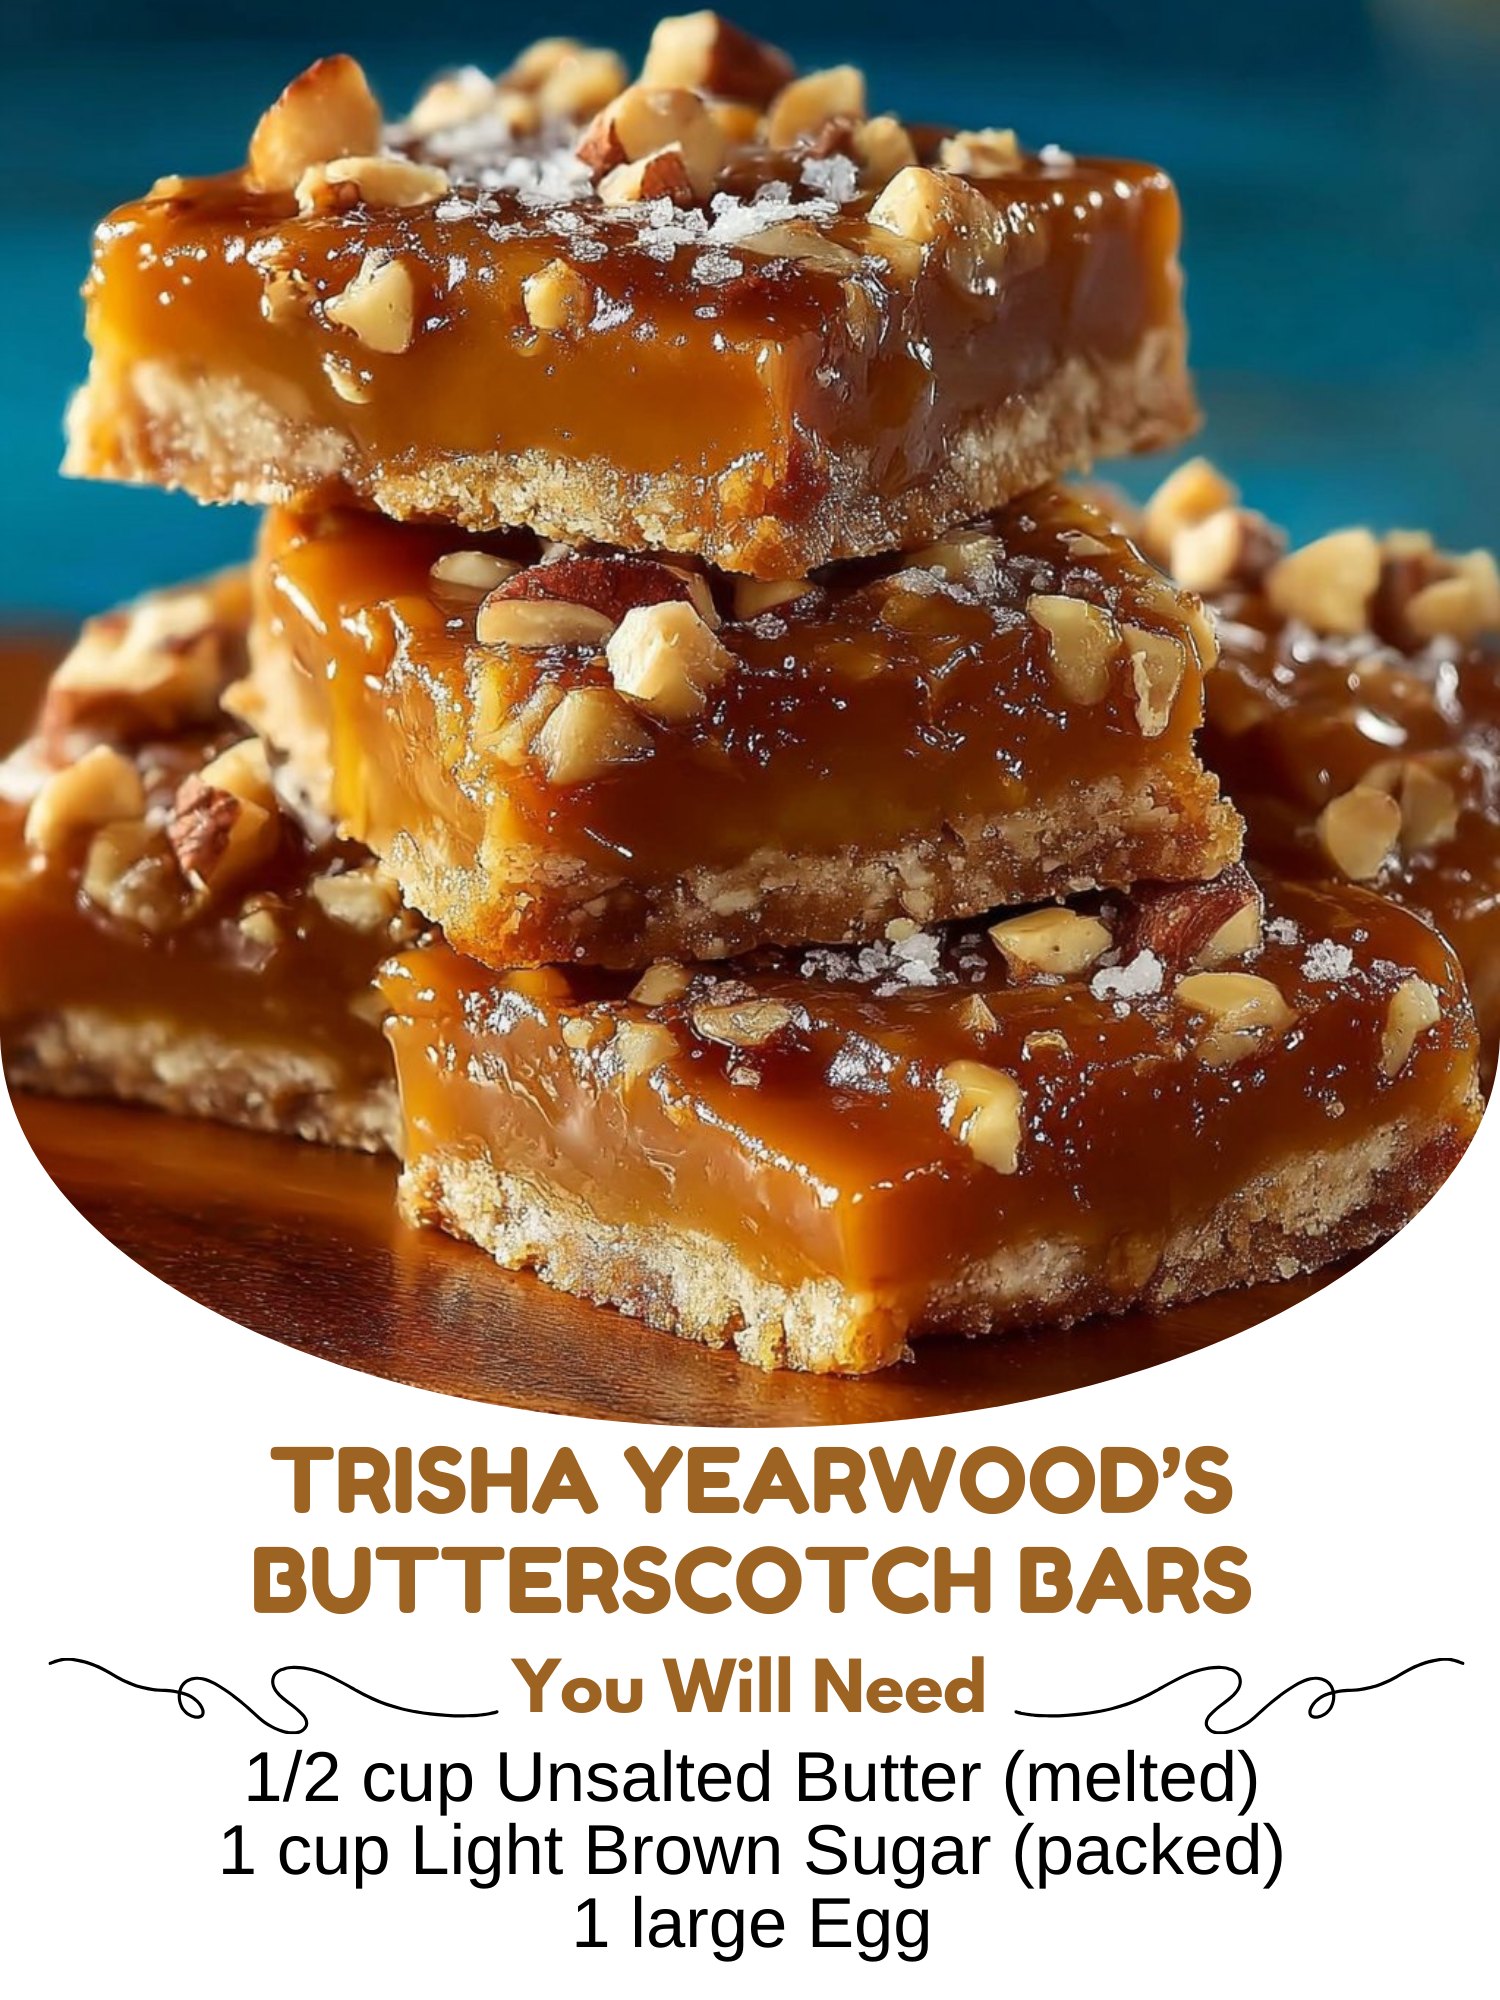
For a nutty crunch, fold in 3/4 cup of chopped toasted pecans or walnuts along with the butterscotch chips. The nuts add a wonderful textural contrast and their flavor pairs perfectly with the butterscotch. I’ve also added 1/2 cup of shredded coconut for a tropical twist, which was a big hit with my family.
You can easily turn these into chocolate chip bars by swapping the butterscotch chips for semi-sweet chocolate chips. For a fun “scotcheroo” style bar, after baking and cooling, melt together 1 cup of butterscotch chips and 1/2 cup of peanut butter and spread it over the top as a frosting. Let it set before cutting.
If you love different flavors, add 1/2 teaspoon of cinnamon or a pinch of nutmeg to the dry ingredients for a warm, spiced version. You could also sprinkle the top with toffee bits before baking for an extra layer of buttery crunch. The basic recipe is a wonderful canvas for creativity.
How to Store, Freeze & Reheat
Storing these is straightforward. Once completely cooled and cut, I store them in an airtight container at room temperature. They will stay soft and delicious for up to 5 days. I place parchment between layers if I’m stacking them. They actually taste even better the next day as the flavors meld.
Yes, you can freeze these bars! I wrap the uncut slab or individual bars tightly in plastic wrap, then in foil or a freezer bag. They’ll keep for up to 3 months. Thaw them overnight in the refrigerator or for a few hours at room temperature. The texture holds up beautifully.
To enjoy a bar warm, I place it on a microwave-safe plate and heat it for 8-10 seconds, just until the butterscotch chips soften slightly. You can also warm it in a 300°F oven for 4-5 minutes. But honestly, they are sublime at room temperature, where all the rich flavors are perfectly balanced.
Conclusion
Trisha Yearwood’s Butterscotch Bars are a testament to the power of simple, heartfelt baking. They’ve brought comfort to my kitchen, joy to my friends, and have become a beloved staple in my recipe box. I hope this recipe brings a taste of that warm, Southern hospitality to your home and becomes a dessert you turn to again and again. Now, go melt that butter and get ready for some delicious magic. Happy baking!