
In a separate bowl, I whisk together the flour, baking soda, baking powder, and salt. I’ve learned not to skip this pre-mixing step because it prevents clumps of baking soda from creating unpleasant bites. Then I slowly add the dry ingredients into the wet mixture, stirring just until the dough forms. When it comes to cookie dough, over-mixing is the enemy—if you’ve ever bitten into a tough cookie, that’s probably why. As soon as the last streak of flour disappears, I fold in the chocolate chips with a spatula.
Before baking, I like to chill the dough for at least 30 minutes, though overnight gives the absolute best flavor. Chilling helps the cookies bake thick instead of spreading too much. When I’m ready to bake, I scoop big, tall balls of dough onto a parchment-lined tray, spacing them widely enough so they can puff up without merging. I always add a few extra chocolate chips on top, pressing them gently into each ball—this small touch makes the cookies look stunning once baked.
I bake them at 350°F for 11–13 minutes, pulling them out when the edges are just barely golden but the centers still look slightly soft. This is the point where the magic happens because the residual heat finishes baking them perfectly without drying them. Once the cookies cool on the tray for a few minutes, they set into thick, irresistible pieces of heaven. I’ve burned my mouth more times than I’d like to admit because waiting feels impossible.
Pro Tips for Best Results
I tested these cookies in three different ways—chilled dough, room-temperature dough, and frozen dough—and without question, chilled dough creates the thickest, puffiest results. When I skipped chilling, the cookies spread more and turned out thinner, so I never skip this step now. Chilling also enhances the flavor, letting the vanilla and brown sugar bloom into a richer, deeper profile that tastes like the best bakery cookies.
Another thing I learned the hard way is that measuring flour correctly is essential. Scooping directly from the bag packs the flour too tightly and results in dry, cakey cookies. Instead, I use the spoon-and-level method: spoon the flour into the measuring cup, then level it off with a straight edge. This one tiny adjustment improved my cookie texture dramatically. Every baker should know this trick.
I also discovered that pulling the cookies from the oven early—before they look fully baked—creates the softest, gooiest texture. The centers will look underdone, but they firm up beautifully. When I used to bake them until they looked done, they overcooked and lost that dreamy bakery softness. So now I trust the process and pull them early.
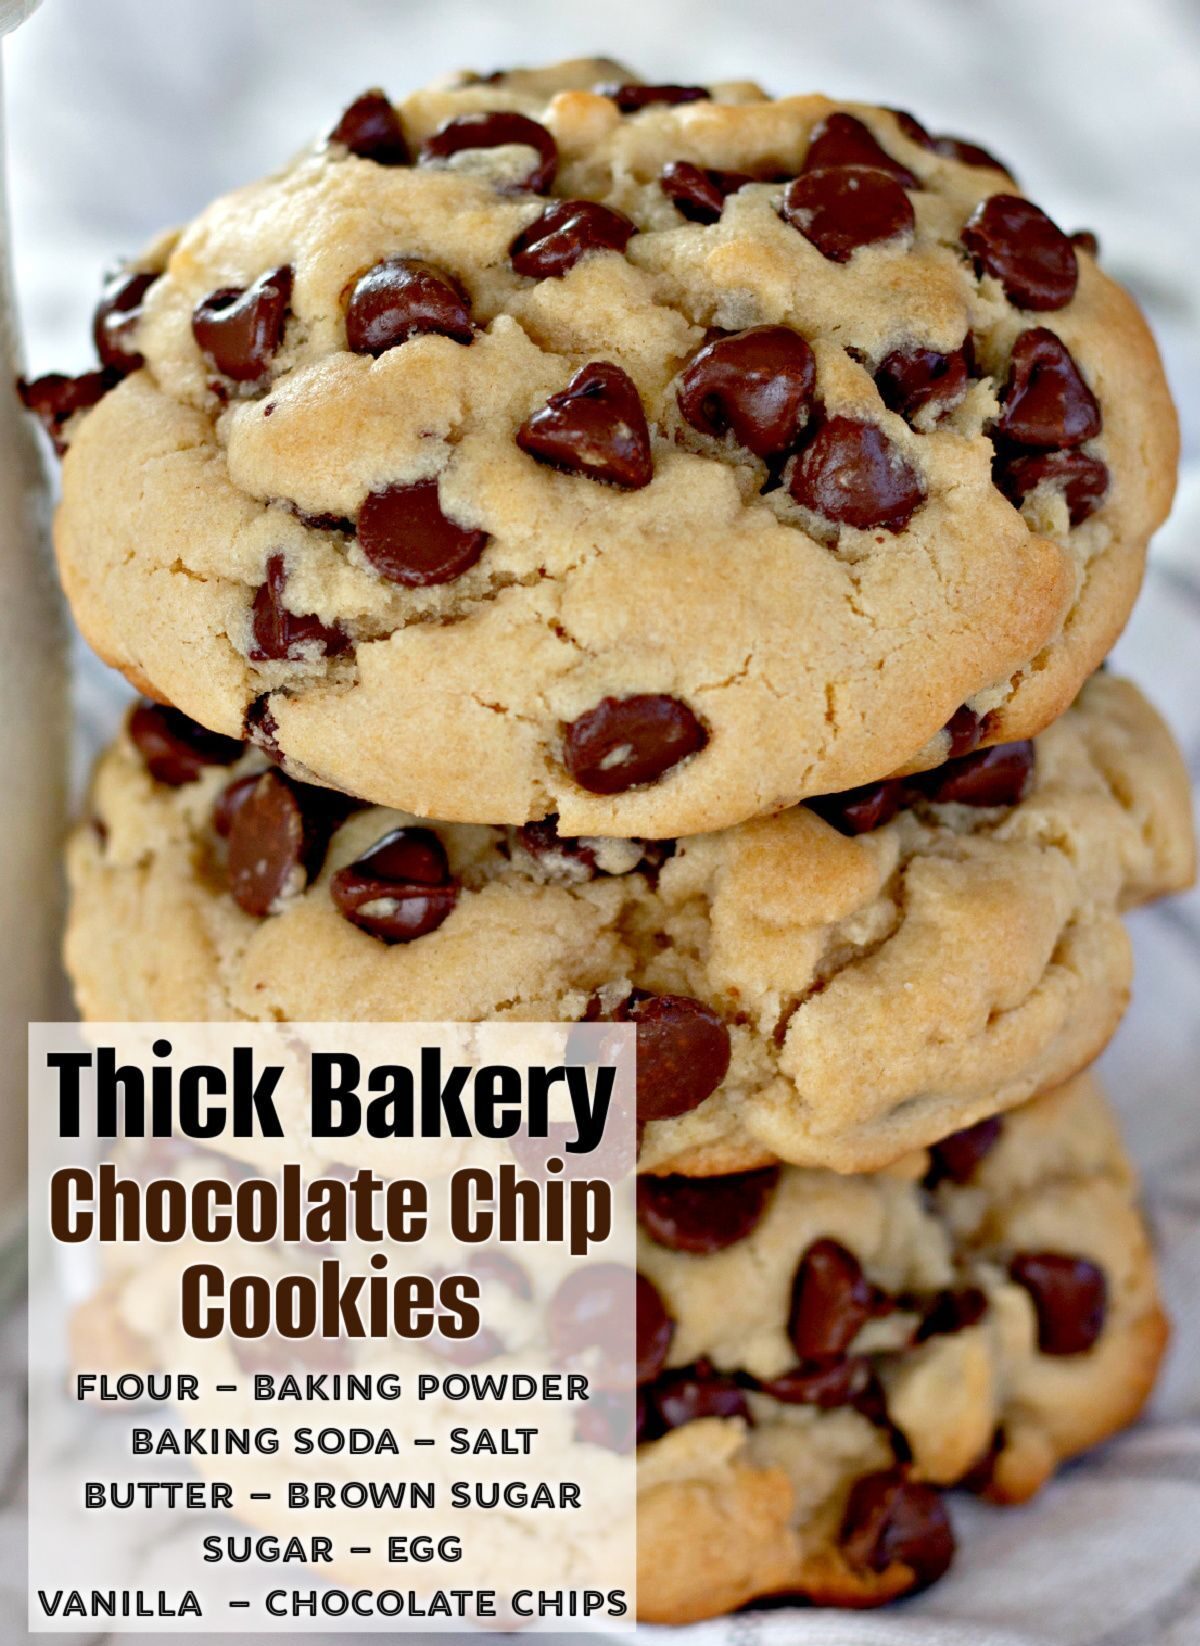
Finally, if you want picture-perfect cookies, press a few chocolate chips on top of each dough ball right before baking. I resisted doing this for years because it seemed pointless, but it truly elevates the appearance. The chips melt just slightly into the top, giving you magazine-worthy cookies without any extra effort.
Common Mistakes to Avoid
The first time I made thick chocolate chip cookies, I made the rookie mistake of not softening the butter properly. Hard butter won’t cream well, and melted butter makes the dough too loose—both lead to flat cookies. Since then, I always set the butter out ahead of time to reach the right consistency. If it’s still too firm, I’ll beat it alone for a minute before adding the sugars.(See the next page below to continue…)