
Now, gradually blend in the flour mixture, alternating with the buttermilk until just combined. The batter should be thick yet creamy. Gently fold in the diced apples and nuts (if using), ensuring they’re evenly distributed. Pour the batter into your prepared cake pan, smoothing out the top with a rubber spatula. Bake for about 30-35 minutes, or until a toothpick comes out clean from the center. That golden-brown top? It’s a sure sign that your dish is almost ready!
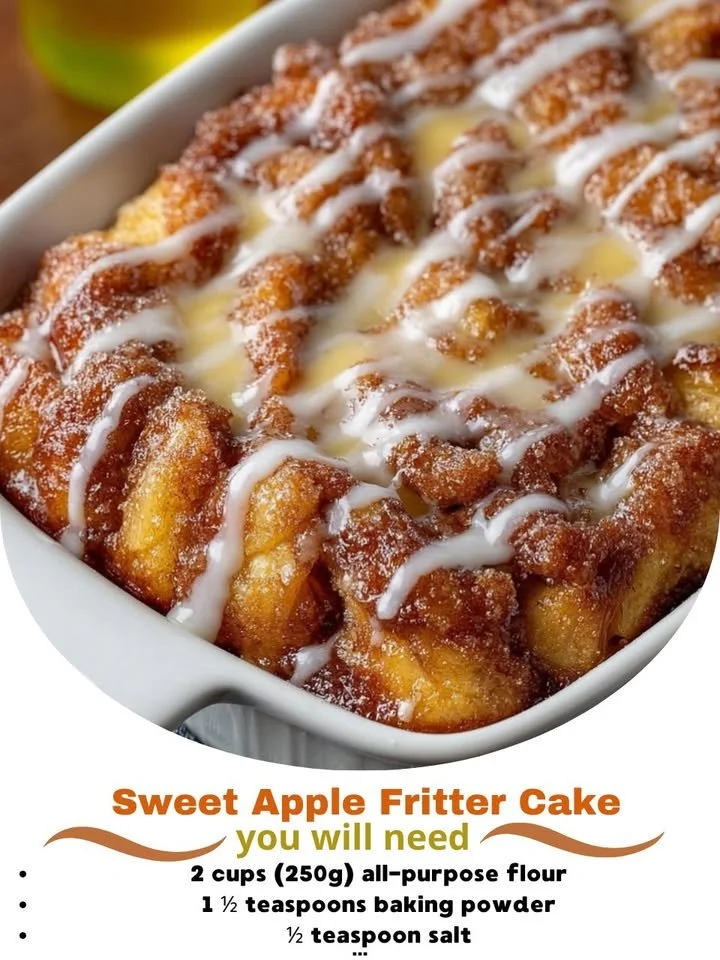
Once it’s done baking, let it cool in the pan for about 10 minutes before transferring it to a cooling rack. The anticipation is the hardest part! While it cools, you can prepare the sweet glaze. Just mix together powdered sugar and a little milk or cream until you reach your desired consistency. Drizzle it generously over the top of your cooled cake and watch it seep deliciously into the cracks!
Pro Tips for Best Results
I’ve tested this recipe using different types of apples, and I can confidently say that Granny Smith adds a lovely tartness that contrasts beautifully with the sweetness of the cake. If you prefer a sweeter cake, Honeycrisp apples work perfectly too! I also found that letting the batter sit for a few minutes before baking can help develop a richer flavor.
Another tip I discovered is to toss the apple pieces in a little bit of flour before folding them into the batter. This simple trick helps prevent the apples from sinking to the bottom of the cake as it bakes, ensuring that every slice has a perfect apple-to-cake ratio.
Lastly, don’t shy away from experimenting with spices! A pinch of nutmeg or even a splash of maple extract can elevate the flavor. My family loved it when I added a sprinkle of nutmeg one time—it brought such a lovely, warm complexity to the cake!
Common Mistakes to Avoid
One common mistake I made during my baking adventures was not measuring the flour properly. Too much flour can lead to a dense cake instead of the fluffy texture we want. I always recommend using the spoon-and-level method for flour measurement to get it just right. After a few trials, it really made a difference!(See the next page below to continue…)