
Finally, the cheesy finish. If I’ve been using an oven-safe skillet, I simply turn off the stove. If I used a regular skillet, I now transfer the mixture to my prepared 9×13 baking dish. I smooth the top with my spoon, then I shower the entire surface with the mixed shredded cheeses, covering every inch. I slide the skillet or dish into the preheated oven and bake for 20-25 minutes, until the cheese is melted, bubbly, and just starting to get golden spots. I let it cool for 5-10 minutes before serving—this lets it set slightly so it’s not lava-hot and scoopable.
Pro Tips for Best Results
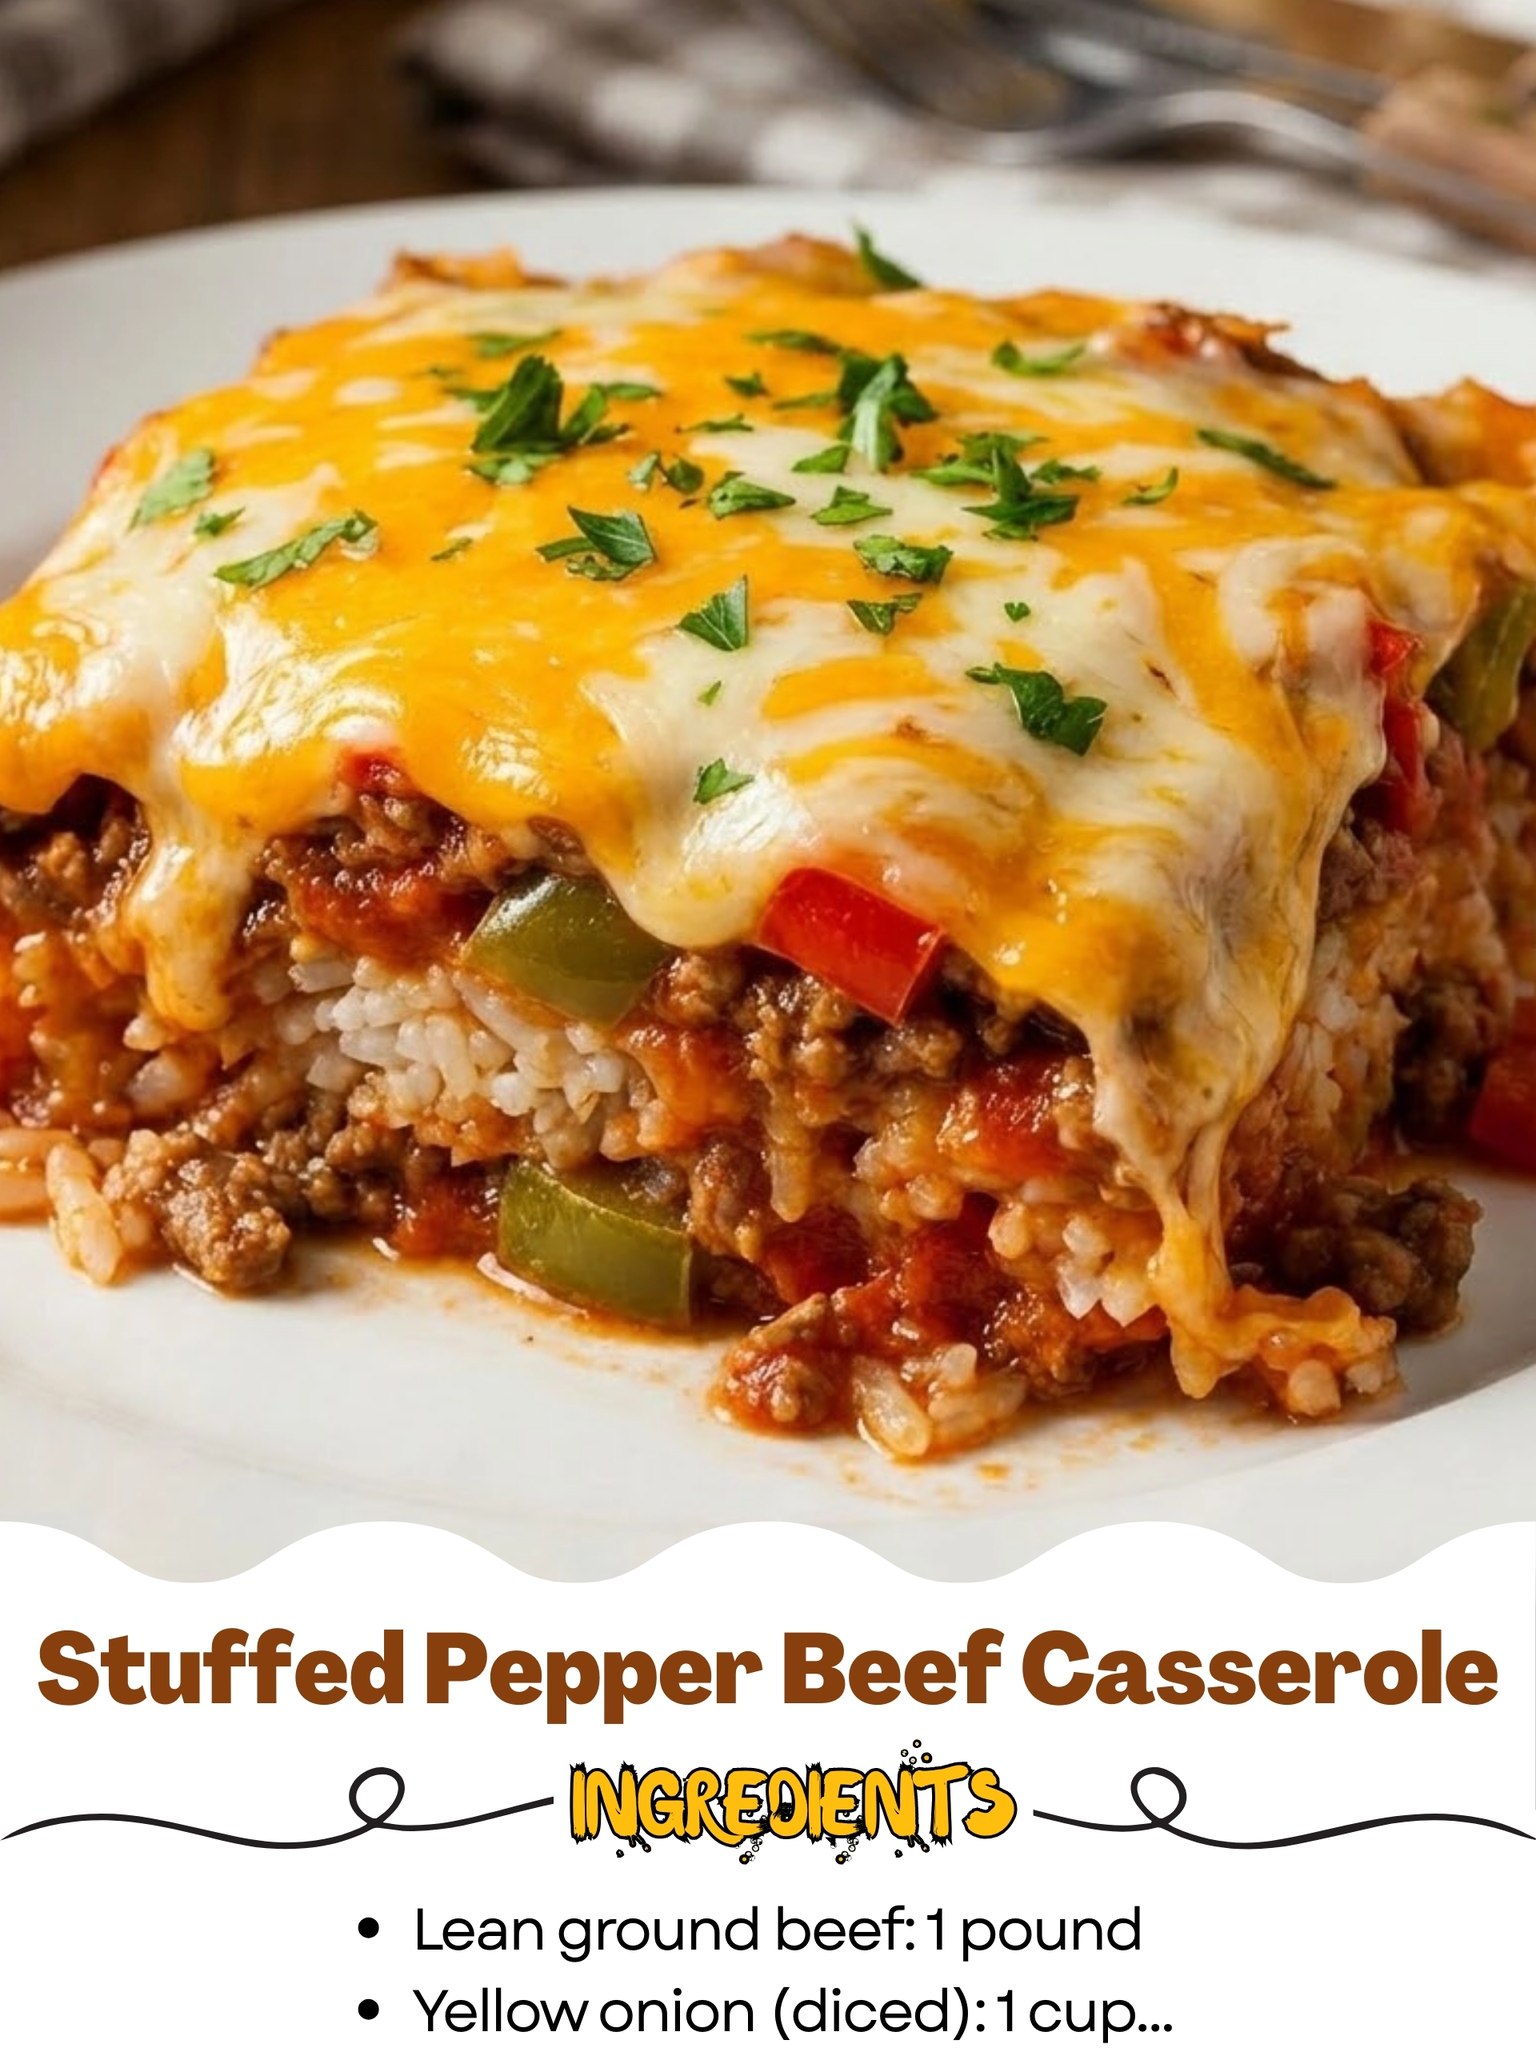
For the best, non-mushy rice texture, I tested this three different ways: with freshly cooked hot rice (turned mushy), with instant rice added dry (absorbed too much liquid), and with day-old, cooled rice (perfect). Trust me, using cooled, previously cooked rice works better. It holds its shape and soaks up the sauce perfectly without becoming gummy.
To build a deeper flavor base, don’t drain all the fat after browning the beef if you’re using a lean blend. There will be just enough to sauté the onions and peppers, and that beefy flavor will cook right into them. I made the mistake of draining it all once, and the veggies tasted a bit flat. That little bit of fat carries so much taste.
If you want a richer, thicker sauce, stir in 2 tablespoons of tomato paste after the garlic becomes fragrant and cook it for a minute before adding the canned tomatoes and sauce. This simple step adds a concentrated tomato depth that really elevates the whole dish. I’ve tried it both ways, and the tomato paste version is my permanent go-to now.
Common Mistakes to Avoid
My biggest first-time mistake was using uncooked rice directly in the casserole. I thought it would cook in the sauce like a risotto. It didn’t. It absorbed all the liquid, remained crunchy, and created a dry, disappointing mess. Don’t do what I did! The rice must be fully cooked and cooled before adding. This is non-negotiable.(See the next page below to continue…)