
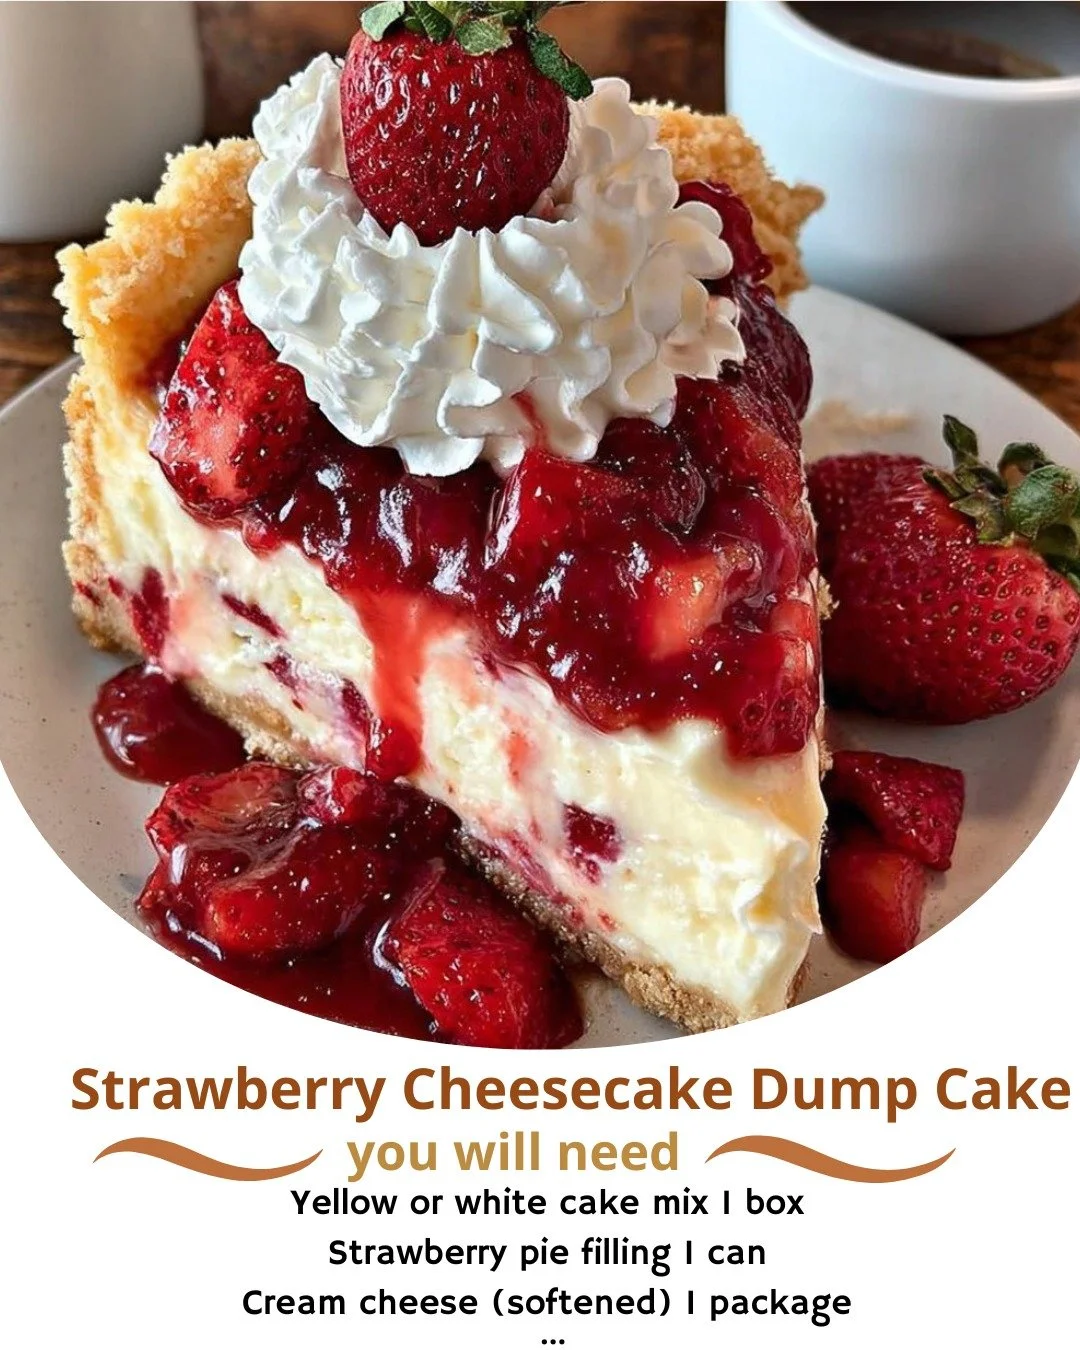
There’s something irresistibly comforting about a warm dessert that makes it feel like a hug from the inside. That’s why I’m excited to share my favorite Strawberry Cheesecake Dump Cake recipe with you! In my little kitchen, this recipe has quickly become a go-to whenever I want to create something sweet without the fuss. It comes together so effortlessly and fills my home with the delightful aroma of strawberries and cream cheese as it bakes.
Why You’ll Love This Recipe
This Strawberry Cheesecake Dump Cake is a delightful mash-up of flavors and textures; the sweet, creamy cheesecake filling pairs perfectly with the juicy strawberries and the crumbly cake topping. It’s perfect for any occasion, from summer cookouts to cozy family nights. Plus, I love how easy it is to whip up—just dump, bake, and enjoy! It’s simple enough for beginner bakers and delicious enough to impress guests. Give it a try, and I promise it will become a new favorite in your home! (See the ingredients in the next page below…)
Ingredients
– 1 box of yellow cake mix
– 1 can (21 oz) of strawberry pie filling
– 8 oz cream cheese, softened
– 1/4 cup granulated sugar
– 1/4 cup milk
– 1/2 tsp vanilla extract
– 1/2 cup unsalted butter, melted
– 1 cup sliced fresh strawberries (optional)
– Whipped cream for serving (optional)
Equipment Needed
– 9×13-inch baking dish
– Mixing bowls
– Electric mixer (optional)
– Measuring cups and spoons
– Rubber spatula
– Oven mitts
Step-by-Step Instructions
To start, preheat your oven to 350°F (175°C). While that’s warming up, grab your baking dish and spray it with cooking spray to ensure the cake doesn’t stick. In a mixing bowl, combine the softened cream cheese and granulated sugar. Use an electric mixer (or a good old whisk if you’re feeling strong!) to beat the mixture until it’s smooth and creamy. Then, pour in the milk and vanilla extract, mixing until well combined. This will be the luscious cream-cheese layer in your delightful dump cake. (See the next page below to continue steps…)
Next, spread the strawberry pie filling evenly on the bottom of your prepared baking dish. This is where you’ll get that burst of juicy strawberry flavor. Once that’s done, pour the cream cheese mixture over the pie filling, spreading it out gently with your spatula. Now for the miracle part: it’s time for the cake mix! Simply sprinkle the dry cake mix evenly on top, creating a nice blanket over everything. Do not stir—just let the magic happen!
Finally, drizzle the melted butter over the top of the cake mix. This is what will create that beautiful, golden brown crust while baking. For an extra touch, I love to add some sliced fresh strawberries on top of the butter. It gives the cake a lovely presentation and a bit more fruitiness. Pop the baking dish into the oven and let it bake for about 40-45 minutes until it’s golden and bubbly. Once it’s out of the oven, let it cool slightly—if you can!
Pro Tips for Best Results
I tested this three ways to get the cream cheese layer just right. One time, I beat the cream cheese until it was super fluffy, and though it tasted great, it didn’t hold its shape as well during baking. I found that mixing until just combined results in a nice creamy layer that holds up beautifully.
Another tip is to make sure your butter is melted but not too hot. If it’s steaming, it could cook the cake mix too quickly. Just let it sit for a minute after melting, and you should be good to go! And if you’re feeling adventurous like I often do, add a pinch of cinnamon to the cake mix for a warm, cozy back note that really enhances the flavors.
Lastly, don’t skip the whipped cream! It’s the perfect topping that adds a light, airy contrast to the thick cheesecake and cake layers. I always make sure to keep a can on hand or whip up some homemade just before serving.
Common Mistakes to Avoid
A big mistake I made the first time was overmixing the cream cheese layer. It’s tempting to get everything super smooth, but overmixing can introduce too much air, leading to a dense texture when baked. Instead, aim for a creamy texture without excessive beating. (See the next page below to continue…)
Another error is skipping the cooking spray on the baking dish. Trust me; you don’t want to wrestle with a stuck cake! I learned this the hard way when half of my beautiful dump cake decided to cling to the dish like it was playing hide-and-seek! So give that dish a nice spray; it’s worth the extra minute.
Also, be mindful of the baking time. Every oven is different, and sometimes I’ve found myself checking on it at the 35-minute mark. If it’s bubbling and golden, it’s usually ready to come out. And don’t forget: it continues to set a bit while cooling!
Serving Suggestions
When it’s finally time to serve this delicious dessert, I like to scoop out generous portions right into bowls while it’s still warm. There’s something about the gooey goodness that makes it hard to resist! A dollop of whipped cream on top adds an extra touch of indulgence.
For a fun twist, I often sprinkle some crushed graham crackers on top of the whipped cream to really channel that classic cheesecake vibe. It not only looks great but adds a nice crunch to each bite. You could also serve this with a scoop of vanilla ice cream for a delightful contrast in temperature.
If you happen to have any leftovers (though that’s rare in my house), this cake is equally delicious the next day chilled. Just pop it in the fridge, and it makes for an easily accessible sweet treat any time.
Variations & Customizations
I love experimenting in my kitchen, so feel free to shake things up! Try swapping out the strawberry pie filling for other fruits like blueberry or cherry; they are all equally delectable. If you’re in the mood for something richer, adding a layer of chocolate pudding beneath the cream cheese is a game-changer!
You can also customize the cake mix to match your mood. A chocolate cake mix creates a decadent chocolate cheesecake dump cake. I’ve even used lemon cake mix for a refreshingly tart summer dessert—absolutely delightful!
For a bit of flair, I sometimes drizzle a homemade sauce over the top. A simple strawberry sauce made by pureeing fresh strawberries with a touch of sugar brings out the freshness. It’s a lovely way to elevate this quick dessert to something that feels a bit fancy!
How to Store, Freeze & Reheat
If by chance you have leftovers (which, let’s be honest, is a rarity), simply cover the dish with plastic wrap or transfer slices to an airtight container. This will keep it fresh in the refrigerator for up to three days. Just make sure to warm it up gently in the microwave before diving back in; trust me, it’s best warm!
If you’d like to store it for a longer period, this cake freezes beautifully. I often slice it into serving-sized pieces and wrap each slice in plastic wrap before placing them in a freezer-safe bag. It can stay frozen for up to three months. When you’re ready to enjoy, just thaw it out in the fridge overnight and heat in the microwave!
Reheating is as easy as pie (or cake, in this case). Place your slice in the microwave for about 30-45 seconds, or until warmed through. The aroma that fills the kitchen will be your favorite part!
Conclusion
And there you have it—the perfect Strawberry Cheesecake Dump Cake recipe that brings joy to my kitchen and hopefully yours too! It’s simple, satisfying, and always a crowd-pleaser. Whether you enjoy it during a family gathering or a cozy night in, it’s sure to be a hit. So, roll up your sleeves, grab your ingredients, and let the sweet aroma of baked strawberries and cream fill your home. Happy baking!