
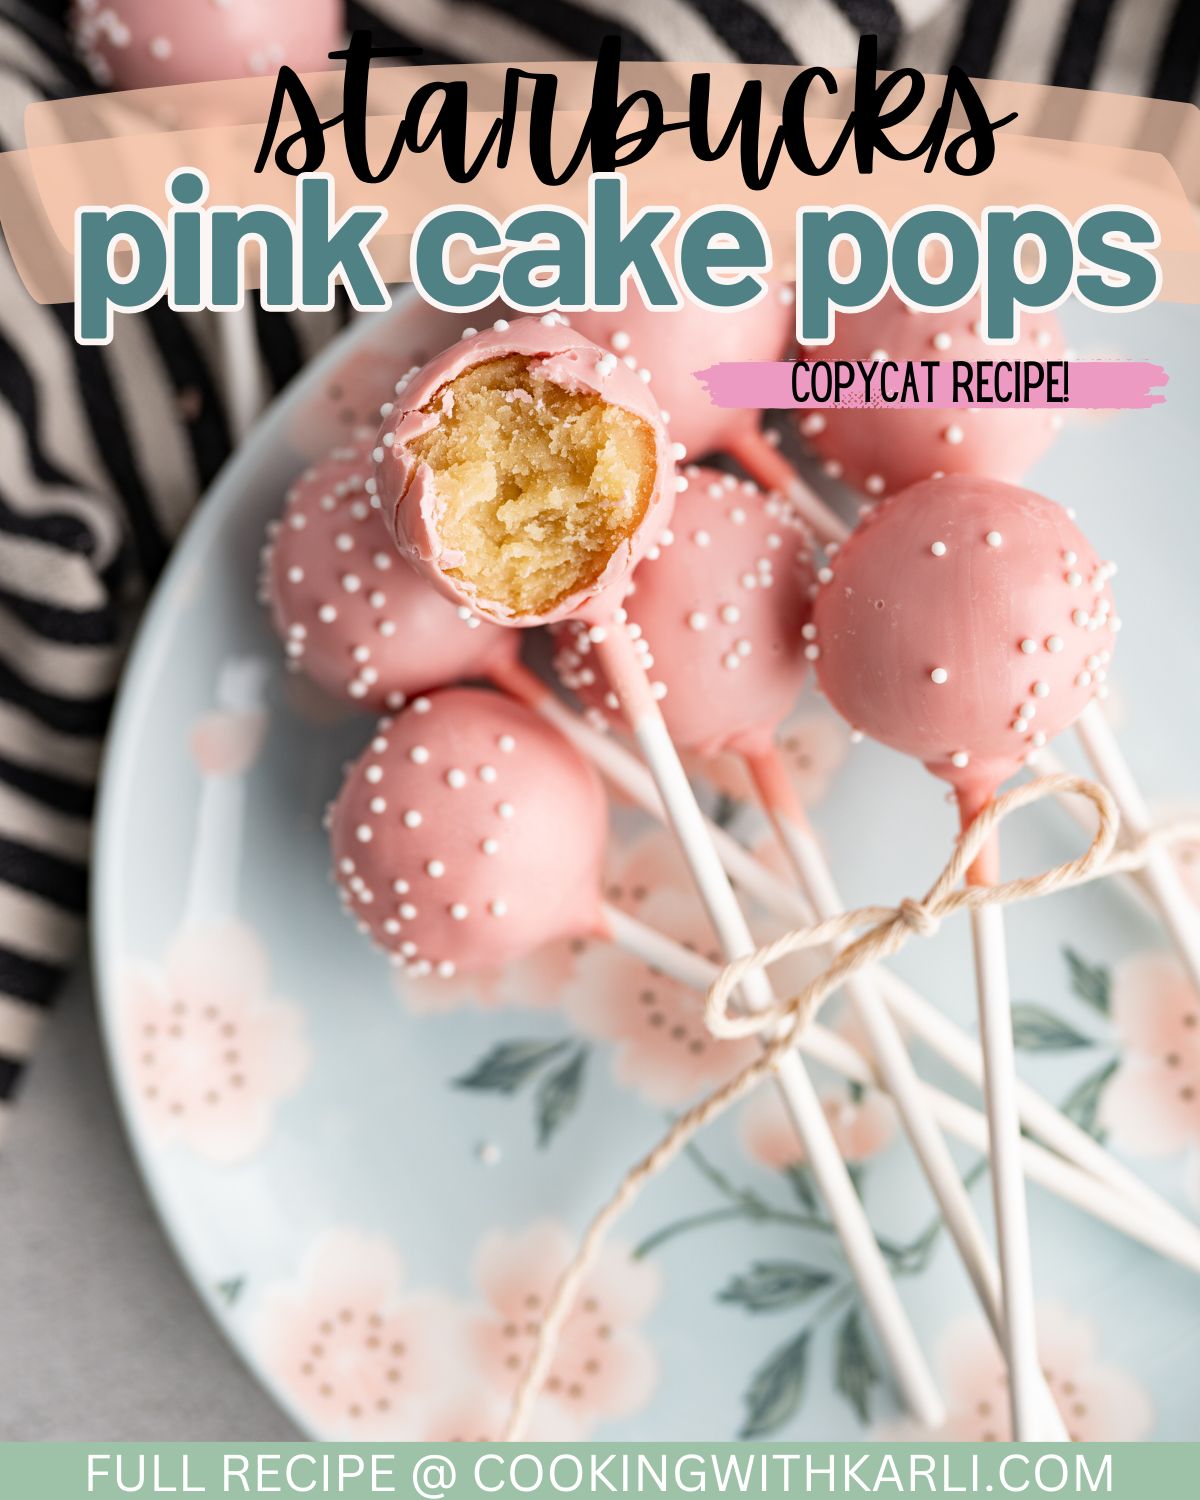
The first time I made these Starbucks Pink Cake Pops in my own kitchen, I couldn’t believe how close they tasted to the real thing. As the warm vanilla cake baked, the sweet, buttery aroma filled the whole house, instantly giving me that same cozy feeling I get when I walk past the bakery case at Starbucks. When I rolled that soft, moist cake mixture into perfect little balls and dipped them into glossy pink candy melts, it honestly felt like magic happening right on my countertop. These cake pops have become one of my favorite treats to make because they’re fun, pretty, nostalgic, and surprisingly simple once you know the rhythm.
Why You’ll Love This Recipe
You’ll love this recipe if you’ve ever wanted that Starbucks cake pop experience without paying Starbucks prices — and because making them at home gives you complete control over texture, sweetness, and how beautifully pink and polished they look. I’ve tested this copycat recipe more times than I will admit, and I can promise you that you’ll feel proud and delighted when you bite into that soft center. There’s something so satisfying about having a treat that tastes like your favorite coffee-shop indulgence but comes straight from your own hands.
Ingredients
- 1 box vanilla cake mix (plus ingredients required on the package)
- 1 cup vanilla frosting (store-bought or homemade)
- 2 cups pink candy melts
- 1 tablespoon vegetable oil (optional, for thinning coating)
- White sprinkles
- Lollipop sticks
The ingredients are wonderfully simple, and what I love about using a boxed cake mix is the consistent texture every single time. If you prefer homemade cake, you can definitely bake one from scratch — just make sure it’s a soft vanilla cake that will crumble smoothly. I’ve also used both store-bought frosting and homemade frosting, and honestly, both work equally well. The candy melts are important because they set firmly and have the right smooth finish; adding a tiny bit of oil makes the coating easier to work with. And of course, the sprinkles give them that iconic Starbucks look.
Equipment Needed
- Baking dish
- Mixing bowls
- Baking sheet
- Parchment paper
- Cake pop sticks
- Microwave-safe bowl
- Cooling rack
Each tool plays a role in making this process run smoothly. When I first made cake pops, I underestimated how helpful parchment paper was — but trust me, don’t skip it. Your cake pops will rest on it while they set, and nothing sticks. A microwave-safe bowl makes melting the candy melts fast and easy, and a baking sheet helps you keep everything stable while chilling. The cake pop sticks are necessary, of course, and a cooling rack helps cool the cake faster if you’re trying to save time.
Step-by-Step Instructions
The first step is baking your vanilla cake. I usually bake mine in a standard 9×13 pan, and as soon as it comes out of the oven, the smell fills the kitchen with the most comforting buttery-vanilla scent. Let it cool completely — I know the wait is tempting to skip, but warm cake will melt the frosting, and the mixture won’t shape properly. Once cooled, I crumble the entire cake into a big mixing bowl, breaking it down with my hands until it resembles moist sand.
Next comes the frosting. I add it gradually because adding too much makes the mixture too sticky. You want it to hold together when pressed but not feel gooey. I’ve tried both adding all the frosting at once and adding slowly, and the gradual method always gives me better control. Once the mixture is perfect, I roll it into smooth balls, each one about the size of a tablespoon. This part is strangely relaxing — like edible arts and crafts.(See the next page below to continue…)