
Next, it’s time to make the creamy filling that’s going to wow everyone. In a large mixing bowl, beat the softened cream cheese and granulated sugar until smooth and fluffy—aim for about 3-4 minutes. I absolutely love this part because the texture instantly transforms, and the smell of sweet cream cheese fills my kitchen! Add in the vanilla extract and mix again before incorporating the eggs one at a time. This prevents overmixing and keeps the filling light. Now fold in the chopped Snickers bars gently, so they get evenly distributed throughout the cheesecake.
Pour the cream cheese mixture over the crust, smoothing the top with a spatula. Now, it’s baking time! Place the cheesecake in the oven and bake for about 50-60 minutes, or until the center is set but slightly jiggly. I usually find the perfect bake when the edges look a bit golden, and the middle still has a gentle wobble. Once it’s done, turn off the oven and crack the door open, allowing the cheesecake to cool slowly. This step helps prevent cracking on the surface.
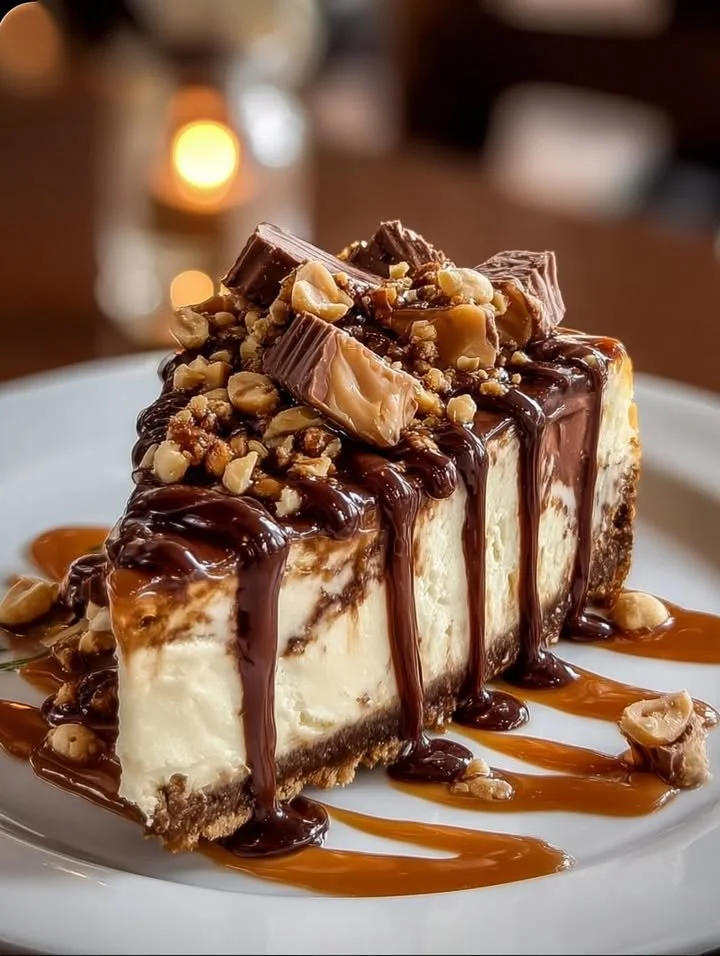
After it has cooled completely, refrigerate it for at least 4 hours—or overnight if you can wait! Just before serving, whip the heavy cream until stiff peaks form and spread it over the cheesecake. Drizzle caramel and chocolate sauce on top, and sprinkle with more chopped Snickers for that extra crunch.
Pro Tips for Best Results
First and foremost, make sure your cream cheese is well-softened before you start mixing. I’ve tested this three ways: cold, room temperature, and barely soft; and there’s a huge difference in texture when it’s properly softened. A smooth mixture is the key to avoiding lumps!
Secondly, don’t skip the cooling step! I once got impatient and put a hot cheesecake directly into the fridge. Big mistake! It cracked like a puzzle piece. Letting it cool in the oven helps maintain its luscious texture.
Lastly, if you want an even better aesthetic for your cheesecake, consider piping the whipped cream on top in a decorative pattern. I love using a star tip for a bakery-style finish that impresses everyone. It makes the dessert that much more inviting!
Common Mistakes to Avoid
One common mistake I made in the beginning was not packing the crust tightly enough. Don’t be shy here—really press it down to form a solid base. It prevents it from crumbling and falling apart when slicing. (See the next page below to continue…)