
Another pitfall is baking too long. It’s easy to assume that things need more time if they’re jiggly; however, remember that the pudding continues to set once it’s out of the oven, and overbaking can lead to a dry texture. I always set a timer to keep myself from wandering off (or getting mesmerized by the smell wafting through my kitchen).
Lastly, be cautious about your oven’s actual temperature. It can be tricky to rely solely on the dial! I once had a baked good go catastrophically wrong because my oven was hotter than I thought. If you know your oven has hot spots or issues, use an oven thermometer to keep things on track.
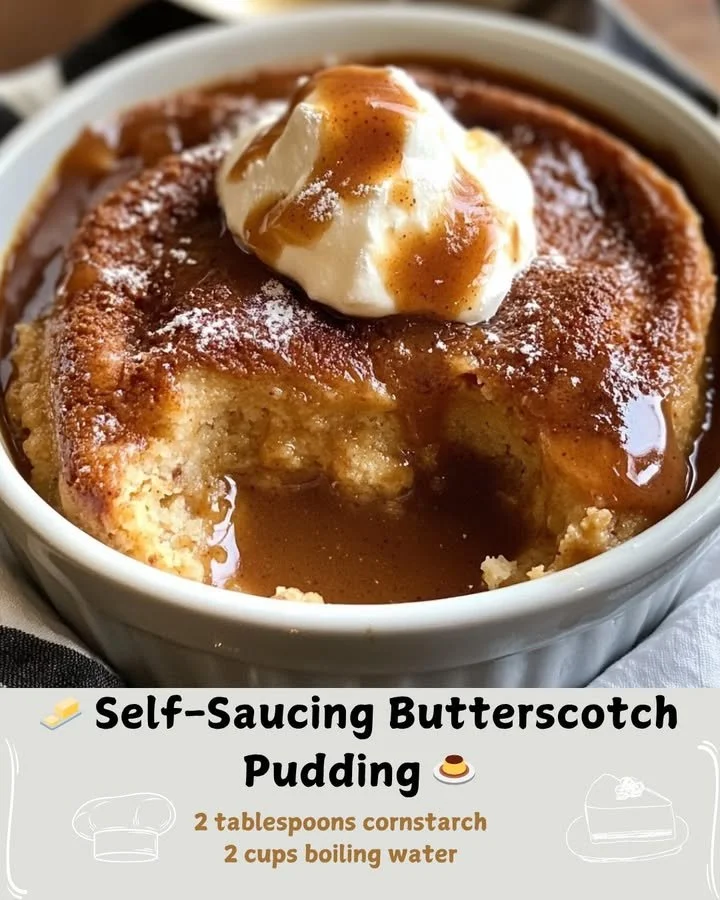
Serving Suggestions
When it comes to serving my self-saucing butterscotch pudding, I love to go simple yet decadent. A dollop of whipped cream or a scoop of vanilla ice cream on top elevates the dessert to a whole new level! The creaminess of the ice cream contrasts beautifully with the warm pudding, and trust me; it’s a match made in heaven.
I often sprinkle some toasted nuts or chocolate shavings on top for an extra crunch. The textures play so well together, and it adds a beautiful touch that will impress anyone at your table. Not to mention, it gives that gourmet flair with just a little extra effort!
Lastly, I enjoy serving it in individual ramekins for a personal touch, especially during gatherings. It makes the presentation feel special and elegant, perfect for a dinner party or celebration. Plus, the smaller portions help everyone savor each bite!
Variations & Customizations
I love how versatile this recipe is! If you’re feeling adventurous, try adding some chocolate chips to the batter for a chocolatey twist. The melted chocolate mixed with the butterscotch sauce is a decadent combination that I guarantee will become a favorite among your friends and family.
Another variation I’ve tested is substituting coconut milk for regular milk. The rich, tropical flavor adds an interesting layer to the pudding that works incredibly well with butterscotch. I was surprised at how much I loved it! You could even add toasted coconut flakes on top for a delightful crunch.
Finally, if you want a more fruity take, mix in some diced apples or pears just before baking. The tang of the fruit balances the sweetness of the butterscotch, and every bite feels like a warm hug of flavors. It’s like having a dessert and a fruit crumble vibe all in one!
How to Store, Freeze & Reheat
Once you’ve devoured what you can, you might wonder how to store the leftovers (if there are any!). I usually cover my dish tightly with plastic wrap or transfer it to an airtight container. Properly stored, it will last in the fridge for about 3-5 days. You can always pop it in the microwave for a quick reheat when dessert cravings strike again!
For those (rare) instances when I want to prepare this ahead of time, I do freeze the pudding. Once it’s cooled, scoop it into a freezer-safe container, leaving some space for expansion. It can last in the freezer for up to three months. Just remember to label it to avoid confusion—frozen desserts have a way of hiding out of sight!
When it’s time to enjoy your frozen pudding, simply take it out the night before and let it thaw in the refrigerator. For a quick reheat, I pop it in the microwave for about 30 seconds or warm it in a low oven until heated through. Just be cautious not to overheat it, as it can compromise that super creamy texture.
Conclusion
I truly hope you find joy in making this self-saucing butterscotch pudding as much as I do. It’s one of those recipes that brings warmth and comfort to my kitchen, and I’m sure it will do the same for you. So grab your apron and get cooking—your taste buds will thank you! Happy baking!