
Next, let’s move on to the cheesecake filling. In a large mixing bowl, beat the softened cream cheese until it’s smooth and free of lumps. Gradually add the powdered sugar, and mix until well combined. In another bowl, whip the heavy cream until stiff peaks form and gently fold it into the cream cheese mixture. And yes, this step adds so much fluffiness! Once it’s all incorporated, add the vanilla extract and a pinch of salt for flavor balance.
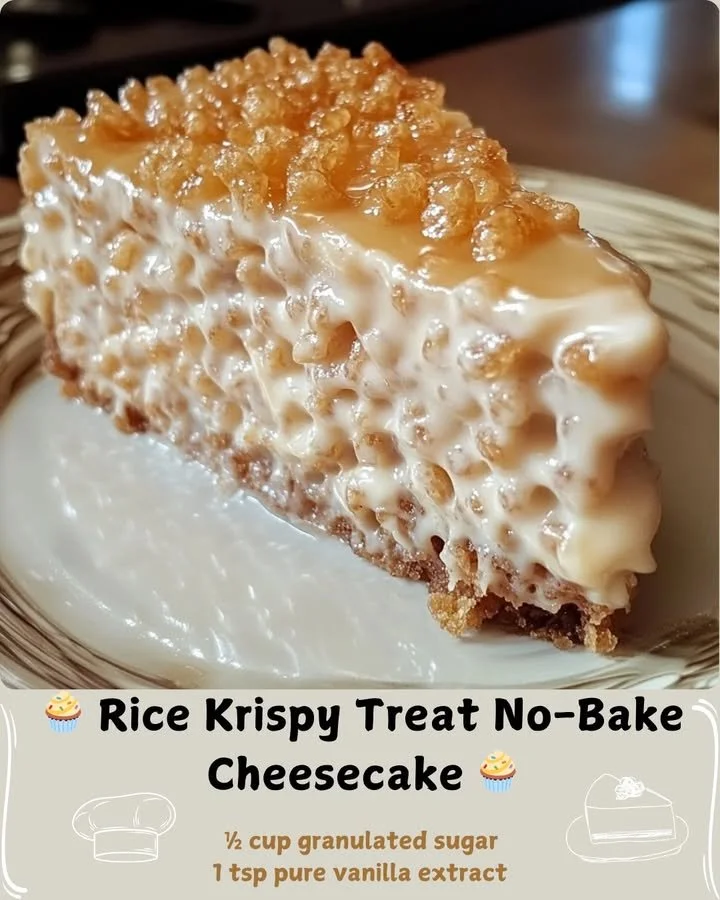
Now comes the fun part: pouring that luscious cheesecake filling over the Rice Krispy base! Make sure to spread it evenly with a spatula, creating a lovely, smooth top. Cover the cheesecake with plastic wrap and pop it in the fridge for at least 4 hours (or overnight is even better—talk about anticipation!). When it’s ready, carefully release the springform pan, slice, and enjoy!
Pro Tips for Best Results
I’ve tested this recipe three different ways to find out what works best. First, make sure your cream cheese is at room temperature before you mix it; this really helps avoid any lumps in your cheesecake filling. Trust me, no one wants a lumpy slice—smooth is the way to go!
Another tip I discovered is to let the Rice Krispy base cool a bit before adding the cheesecake filling. If you pour it on too soon, the heat from the base can cause the filling to melt slightly, which affects that lovely fluffy texture you want. I like to give it around 20 minutes to cool.
Lastly, don’t skip the chilling time. I get it—sometimes, you want to dive right into that cheesecake, but allowing it to set properly is crucial for the best taste and texture. Waiting will only make the flavors meld beautifully, making each bite even more rewarding!
Common Mistakes to Avoid
One common mistake I made on my first try was using too much butter. I felt tempted to throw in extra for richness, but it made the base too greasy, and nobody likes a soggy crust! Stick to the recipe, and you’ll have that perfect crunch. (See the next page below to continue…)