
While the crust bakes for about 10 minutes, I prepare the rhubarb layer. I simmer the chopped rhubarb with sugar, cornstarch, and lemon juice in a small saucepan. At first it looks dry, but after a few minutes it turns glossy and jammy. I cook it just until it thickens—if I overcook it, it becomes too stiff and doesn’t spread nicely.
For the cheesecake filling, I beat the softened cream cheese and sugar until completely smooth. I’ve tried rushing this step before, and tiny lumps stayed in the batter, so now I take my time. I add the eggs one at a time, then mix in vanilla and sour cream. The batter should look silky and slightly thick. I pour it over the cooled crust, gently spoon the rhubarb mixture on top, and lightly swirl it.
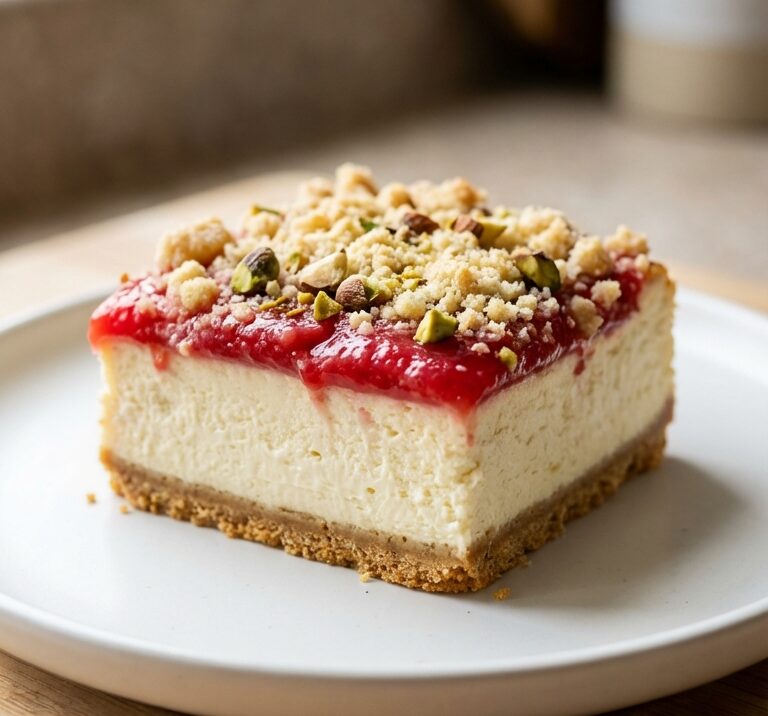
To finish, I make the crumb topping by rubbing flour, brown sugar, and cold butter together until crumbly, then stirring in nuts. I sprinkle it evenly over the top and bake for about 40–45 minutes, until the center is just slightly jiggly. I let it cool completely before refrigerating for at least 3 hours. Waiting is the hardest part, but it makes slicing so much cleaner.
Pro Tips for Best Results
I tested this recipe three different ways, and I can confidently say that room-temperature cream cheese makes all the difference. When I tried using it straight from the fridge, the batter never fully smoothed out. Trust me, give it at least an hour on the counter.
Here’s what I learned the hard way: don’t skip chilling time. I once tried cutting into the bars after only an hour in the fridge, and they completely fell apart. After a full chill, the layers set beautifully and slice like a dream.
Another thing I swear by is lining the pan with parchment. The first time I made these without it, I struggled to lift them out cleanly. With parchment overhang, I just lift the whole slab out and slice neatly.
Common Mistakes to Avoid
I made the mistake once of not cooking the rhubarb long enough. It seemed thick in the pan, but once baked, it turned watery and slightly soaked into the cheesecake. Now I make sure it’s properly jammy before spreading it. (See the next page below to continue…)