
The very first time I made REESE’S FUDGE, the smell alone had me grinning like a kid in a candy store. As the chocolate melted together with the creamy peanut butter, my entire kitchen filled with that unmistakable aroma—the one that instantly reminds you of unwrapping a Reese’s cup and taking that first perfect bite.
I remember standing over the saucepan with my spatula, stirring slowly, watching everything become silky and glossy, and thinking, “There is no way this won’t be dangerously delicious.” When I finally poured it into the pan, swirled more peanut butter over the top, and let it set, I already knew I’d be coming back with a spoon long before it had fully cooled. And yes, I absolutely did.
Why You’ll Love This Recipe
You’ll love this recipe because it gives you the exact flavor of a Reese’s Peanut Butter Cup—creamy, chocolatey, salty-sweet perfection—only in thick, dreamy squares of fudge that take just minutes to make and satisfy every peanut-butter-loving part of your soul.
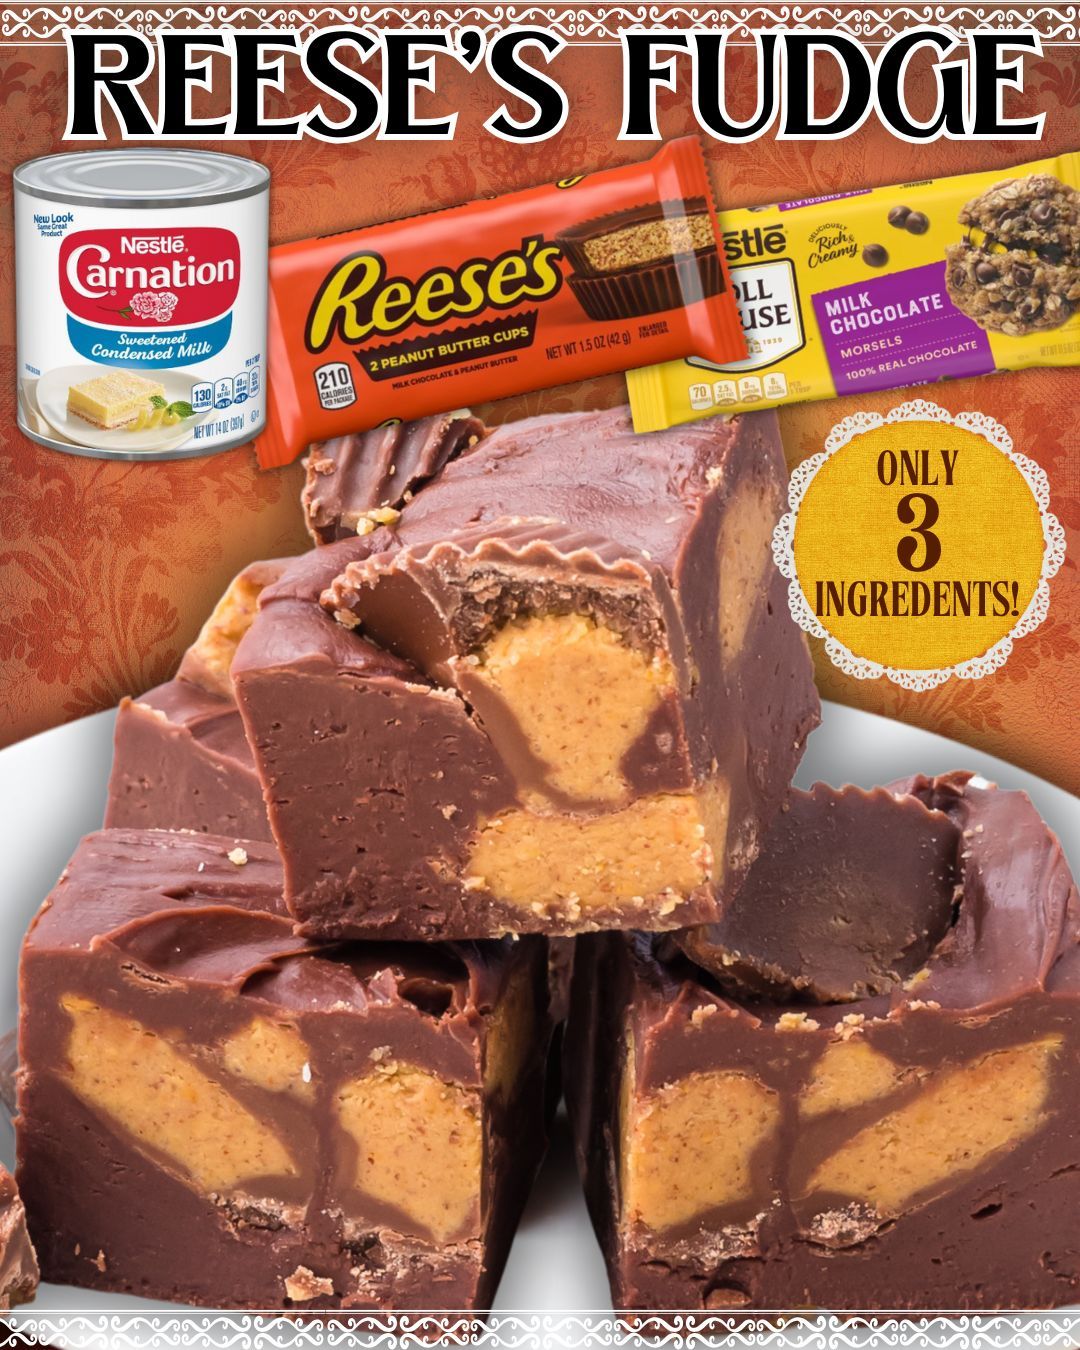
Ingredients
- 3 cups semi-sweet chocolate chips
- 1 (14-ounce) can sweetened condensed milk
- 1 cup creamy peanut butter
- ½ cup peanut butter chips (optional but amazing)
- 1 teaspoon vanilla extract
- ¼ teaspoon salt
- ½ cup chopped Reese’s Peanut Butter Cups (plus extra for topping)
- 2 tablespoons butter
When choosing ingredients, I’ve learned that creamy peanut butter works best—natural peanut butter separates and leaves the fudge gritty, and trust me, I made that mistake more than once. Semi-sweet chocolate chips give the perfect balance, but you can use dark if you prefer a deeper flavor. The chopped Reese’s cups are what make this fudge feel extra decadent; I always add a handful more than the recipe calls for because honestly, can you ever have too much? And while the peanut butter chips are optional, adding them gives pockets of peanut-buttery goodness that make the texture absolutely addictive.
Equipment Needed
- Medium saucepan
- Rubber spatula
- 8×8 or 9×9 baking pan
- Parchment paper
- Mixing bowl
- Measuring cups and spoons
- Sharp knife (for cutting Reese’s cups)
A heavy-bottomed saucepan is essential because it prevents scorching—I once used a thin metal pot and burned the chocolate so badly I had to start completely over. Parchment paper makes the whole slab lift out effortlessly, and if there’s one thing you never want with fudge, it’s the struggle of scraping the pan. A rubber spatula is perfect for stirring and smoothing, and a sharp knife helps chop those Reese’s cups without squishing them into peanut-buttery crumbs. Having everything ready before you start makes the process feel calm and satisfying.
Step-by-Step Instructions
Whenever I make REESE’S FUDGE, the first thing I do is line my baking pan with parchment paper. I leave a little overhang on the sides because lifting the fudge out later becomes so effortless—it’s like removing a perfectly set block of chocolate gold. Once that’s ready, I chop the Reese’s cups and set them aside, stealing a piece or two as a “chef’s treat,” because honestly, who wouldn’t?
Then I grab my saucepan and add the chocolate chips, sweetened condensed milk, butter, and salt. I melt everything over low heat, stirring constantly. White-hot heat is your enemy here—chocolate burns quickly, and once it burns, it’s over. The mixture becomes thick, glossy, and incredibly fragrant. At that moment, once the chocolate is fully melted, I remove it from the heat and stir in the vanilla. Vanilla might seem like a small addition, but trust me, it deepens the flavor and rounds out the sweetness beautifully.
Next, I add half the peanut butter, stirring it directly into the warm fudge until it fully melts. This gives the fudge that signature Reese’s peanut butter flavor throughout. Once it’s evenly mixed, I fold in the chopped Reese’s cups and peanut butter chips. The mixture thickens quickly, so I work fast, scooping and folding until everything is evenly distributed. Then I pour the mixture into the parchment-lined pan, smoothing it in with the spatula, pressing it gently into the corners.
Finally—my favorite part—I dollop the remaining peanut butter on top and use a knife to swirl it around, creating a beautiful marbled effect. I sprinkle extra chopped Reese’s cups on top before refrigerating it for at least 2 hours. The hardest part of this recipe is waiting for it to set. But when I finally cut into it, those thick, creamy squares make every minute completely worth it.
Pro Tips for Best Results
One of the best tips I learned from making this fudge multiple times is to let the chocolate and condensed milk melt slowly. I once turned the heat up thinking it would melt faster, but it burned the chips at the bottom and created a gritty texture. Low and slow gives you silky-smooth fudge every single time.
Another important tip is not to over-swirl the peanut butter on top. I used to get carried away with my knife and ended up mixing it too much, losing the beautiful swirls entirely. Now I do just a few gentle passes—enough to create that signature marbled look without blending it in completely.
If you like thicker fudge, always use an 8×8 pan instead of 9×9. I tested both, and the thicker squares from the smaller pan are far more indulgent and satisfying. The 9×9 works when I’m making a larger batch for a party, but for home enjoyment, the 8×8 is perfection.
Lastly, refrigerate the fudge long enough. I once tried cutting into it after just an hour because I was impatient, and the center was still soft. It tasted amazing, but the pieces didn’t hold their shape well. Two solid hours—or overnight if you can stand the wait—gives the cleanest, most beautiful cuts.(See the next page below to continue…)