
Next, while the crust cools, let’s prepare the cheesecake filling. In a large bowl, beat the softened cream cheese and sugar together with an electric mixer until smooth and creamy. Next, add in the vanilla extract, eggs one at a time, cocoa powder, and red food coloring. You’ll want to mix until everything is well combined and has that beautiful red hue. Gently fold in the sour cream at the end to keep that lovely creamy texture.
Now, pour the cheesecake filling over the cooled oreo crust in the springform pan. Spread it evenly with a rubber spatula, and don’t worry if it doesn’t look perfect; it’ll taste fantastic once it’s baked! Bake in the preheated oven for about 45-50 minutes, or until the edges are set, but the center still has a slight jiggle. Let it cool at room temperature and then chill it in the refrigerator for at least 4 hours, or better yet, overnight for the best flavor.
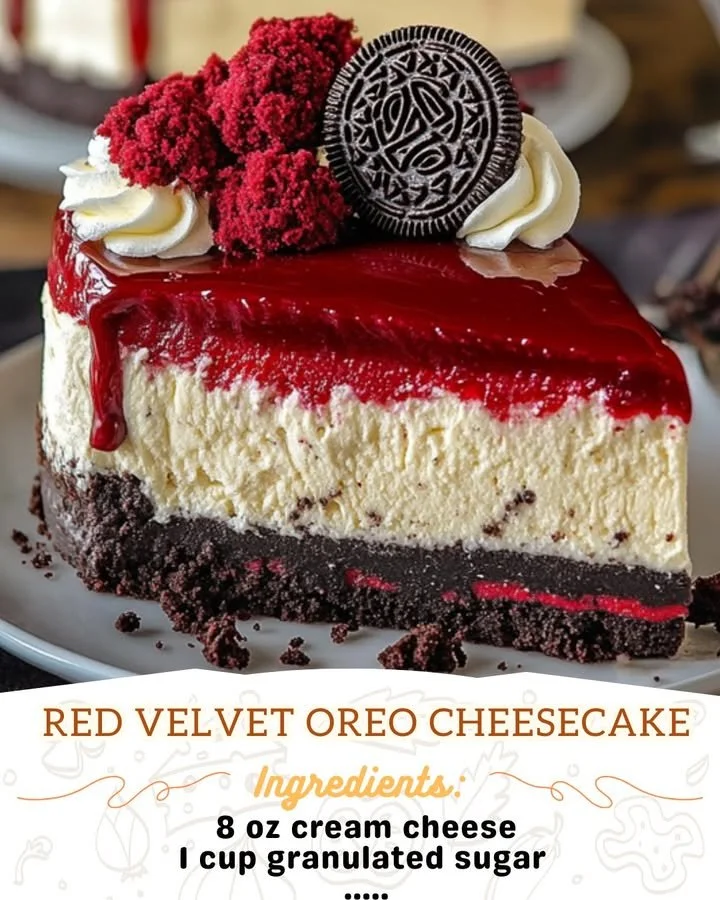
When you’re ready to serve, carefully remove the cheesecake from the springform pan and top it with some mini Oreos for that extra special touch. The creamy texture, combined with the crunch from the Oreo topping, is sure to steal the show!
Pro Tips for Best Results
After making this cheesecake a few times, I’ve discovered a couple of things that really help elevate the final product. First, using room temperature cream cheese is crucial! It blends so much smoother, resulting in a velvety texture. I’ve made the mistake of using cold cream cheese before, and trust me, the lumps are not cute during the mixing.
Second, when it comes to baking your cheesecake, I recommend using a water bath. Wrapping the outside of your springform pan in foil and placing it in a larger pan filled with water helps create steam, which ensures that the cheesecake bakes evenly and doesn’t crack. I tested this three ways, and let me tell you, the water bath method made the biggest difference!
Lastly, don’t rush the chilling process. I know the temptation to dig in right after it cools is real, but letting it set in the fridge overnight means the flavors deepen and the texture becomes creamy and dreamy. It’s simply worth the wait!
Common Mistakes to Avoid
When I first started making cheesecakes, I made a couple of common mistakes that I want you to avoid. First off, overmixing is a big no-no! Once you add your eggs, mix just until combined; overmixing can incorporate too much air, leading to cracks during baking. I learned this lesson the hard way when my first cheesecake looked like it had a volcanic eruption!
Another mistake is rushing the cooling process. If you take it out of the oven and don’t let it cool slowly, the rapid temperature change can cause cracks. I typically leave it in the oven with the door slightly ajar for a while before transferring it to a cooling rack.
Lastly, make sure you don’t skip the chilling time! Cheesecakes taste best when allowed to sit in the fridge, allowing the flavors to meld beautifully. In my excitement, I once served a cheesecake too early, and while it was still delicious, it wasn’t nearly as good as it could have been! (See the next page below to continue…)