
I immediately scrape this clumpy, delicious mass onto my prepared baking sheet. Using the spatula, I spread and press it into a rustic, uneven layer about a half-inch thick. I don’t aim for perfect smoothness; the jagged texture is part of the charm. Then, I press the remaining one-third of my add-ins into the top, along with a light sprinkle of flaky sea salt if I’m using it. This creates a beautiful, textured top. I let it cool completely at room temperature until firm, which takes about two hours.
Pro Tips for Best Results
If you’re using marshmallows or crispy cereal, fold them in last, and only after the chocolate has cooled for 3-4 minutes off the heat. I tested adding them with everything else, and the residual heat made the marshmallows melt into goo and the cereal lose its crunch. Adding them at the very end preserves their perfect texture in the finished candy.
For a more stable candy that snaps cleanly, I always add that tablespoon of fat (coconut oil or shortening). I tried skipping it once, thinking it would be purer, and the chocolate was temperamental and the final bark was prone to soft, crumbly breaks. The fat ensures a smooth melt and a perfect, crisp break when you snap off a piece. It’s a small step with a big payoff.
Toasting your nuts and coconut before adding them is a game-changer I discovered on my third batch. I spread them on a baking sheet and toast at 350°F for 5-8 minutes until fragrant. This deepens their flavor immensely and adds another layer of complexity to the candy. It takes a few extra minutes, but trust me, it makes a noticeable difference in the final taste.
When pressing the mixture into the pan, don’t be afraid to leave it thick and chunky. A thin layer will be more like a brittle, but a thicker layer (about 1/2 inch) gives you those satisfying, substantial chunks that feel like a real treat. I use my hands (lightly greased with a bit of oil) to press and shape it, which gives me more control than the spatula alone.
Common Mistakes to Avoid
The biggest mistake is getting any moisture into your melting chocolate. Even a single drop of water or steam can cause it to “seize,” turning it into a grainy, clumpy mess. I learned this heartbreaking lesson early on. Always ensure your bowl and tools are completely dry, and don’t let the simmering water in your double boiler touch the bottom of the bowl.
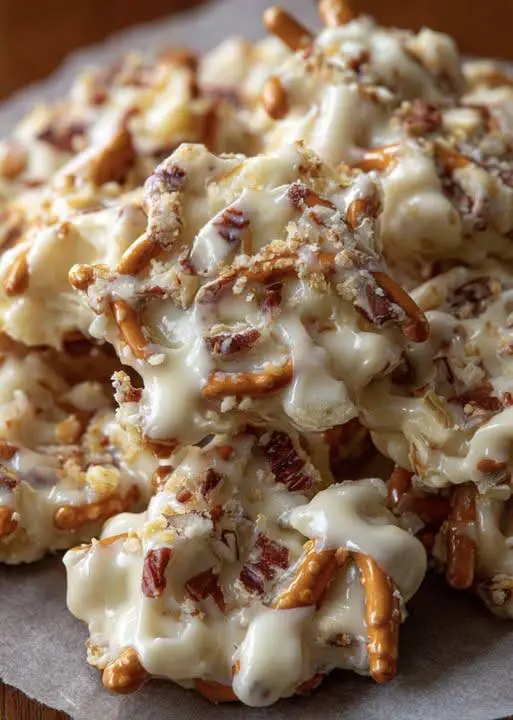
Using stale, soft pretzels or cereal is a texture killer. The magic of this candy is in the contrast between the smooth chocolate and the crispy, crunchy add-ins. If your pantry bits have lost their snap, revive them on a baking sheet in a 300°F oven for 5 minutes to re-crisp before using them. Soft pretzels will make the whole batch seem stale.
Rushing the cooling process by putting the hot pan in the fridge is tempting, but it can cause the chocolate to “bloom”—develop those harmless but unappetizing white streaks from rapid temperature change. For the shiniest, most professional-looking finish, let it set at cool room temperature. I know it’s hard to wait, but patience gives you the best result.(See the next page below to continue…)