
After I get my cream cheese nice and fluffy, I add in the granulated sugar and continue to mix until it’s fully incorporated. The sweetness of the sugar mixing with the cream cheese creates such a tantalizing aroma; I can hardly wait to taste the final result! Next, I gently fold in the milk, vanilla extract, and melted butter until everything is well combined. I love the way everything starts to come together in a creamy batter—a perfect base for my cobbler. Then, I whisk together the flour, baking powder, and salt in another bowl before slowly adding it to my wet mixture, stirring until just combined. It’s essential not to overmix here, as I want that lovely, light texture in the cobbler.
Now, the next step is truly the magic moment! I pour the batter over the pineapple layer in my baking dish, letting it sit for just a minute while I marvel at the contrasting layers. The batter will rise beautifully while baking, creating a fluffy top that’s just heavenly. I then pop it into the preheated oven and let it bake for about 40-45 minutes, or until the top is golden brown and a toothpick inserted in the center comes out clean. I love to peek through the oven window and watch it bubble away; it’s such a thrilling sight!
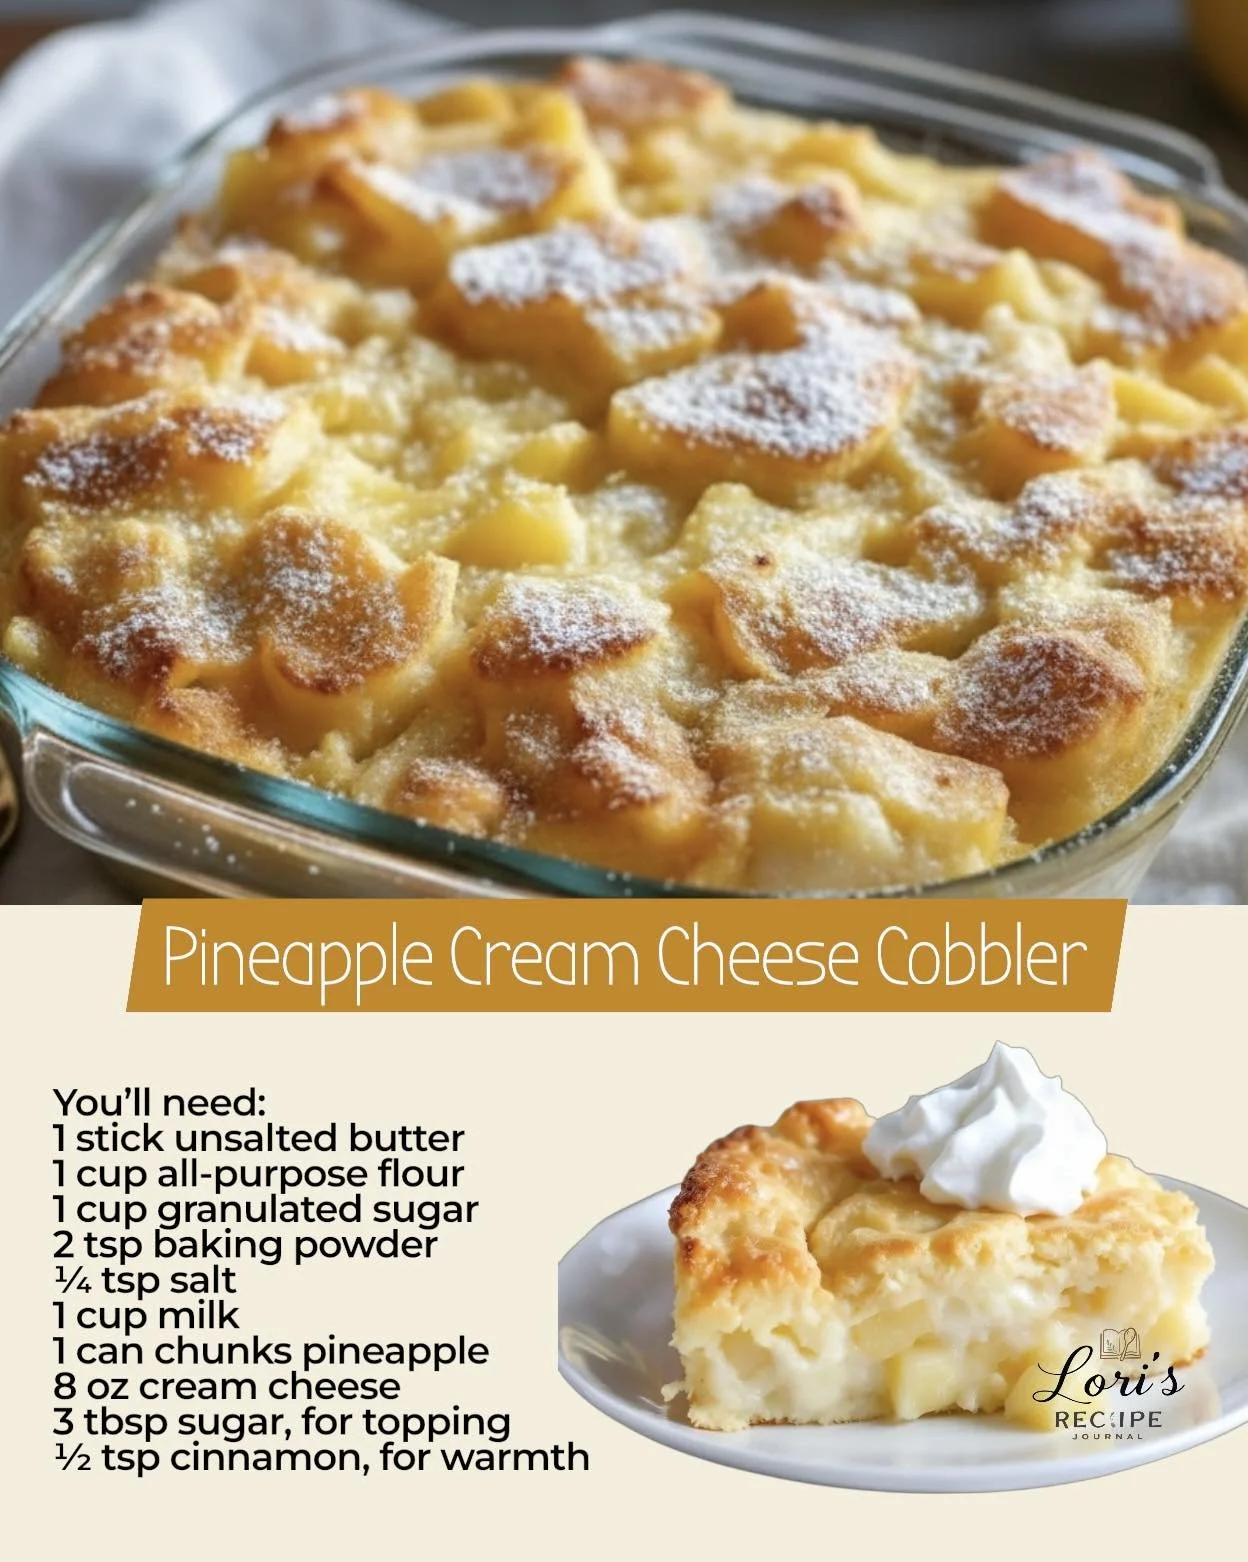
Once my cobbler is done, I take it out of the oven and let it rest for about 10-15 minutes—if I can resist! I serve it warm, perhaps with a scoop of vanilla ice cream on top. The moment I dig in, the sweet, gooey pineapple mingles with the rich cream cheese layer, and I know I’ve created something truly special.
Pro Tips for Best Results
One of my favorite tips for this recipe is to use fresh pineapple whenever possible. The flavor is so much brighter and more vibrant than canned pineapple, adding an extra punch to your cobbler. I tested this three ways—canned versus fresh—and while both are delicious, the fresh option won my heart!
Another pro tip is to ensure your cream cheese is really softened before you start mixing. If it’s too cold, you’ll end up with lumps in your mixture, which isn’t what we want. I usually take mine out of the fridge at least an hour before I plan to start cooking, but a quick zap in the microwave for 10-15 seconds can help if you’re in a hurry.
Lastly, don’t skip the resting time after baking! Allowing the cobbler to sit for a bit helps it set up nicely, making it easier to serve. This gives the top a slightly chewy texture while maintaining the creamy layer underneath. My friends and family always rave about the difference it makes!
Common Mistakes to Avoid
If there’s one mistake I made in my earlier attempts, it was not measuring ingredients accurately. Baking is a science, and a little miscalculation can lead to a very different outcome. I learned that using a kitchen scale can greatly improve the consistency of my results. Over time, I’ve developed a habit of double-checking my measurements, and it’s made a world of difference. (See the next page below to continue…)