
Equipment Needed
- Electric hand mixer or stand mixer
- Medium mixing bowl
- Rubber spatula
- Baking sheets
- Parchment paper or silicone baking mats
- Small food processor or plastic bag and rolling pin (for crushing candies)
- Wire cooling rack
- Shallow bowl for powdered sugar
Step-by-Step Instructions
My process starts with the butter. I make sure it’s truly softened at room temperature—this is crucial for a light, creamed dough. I add it to my mixing bowl with the ½ cup of powdered sugar and beat them together on medium speed for a full 2-3 minutes. I don’t rush this. You want it to become very pale, fluffy, and almost whipped. This incorporates air, which is part of what gives the baked cookie its tender crumb. While that’s happening, I whisk together my flour and cornstarch in a separate bowl to ensure they’re evenly combined.
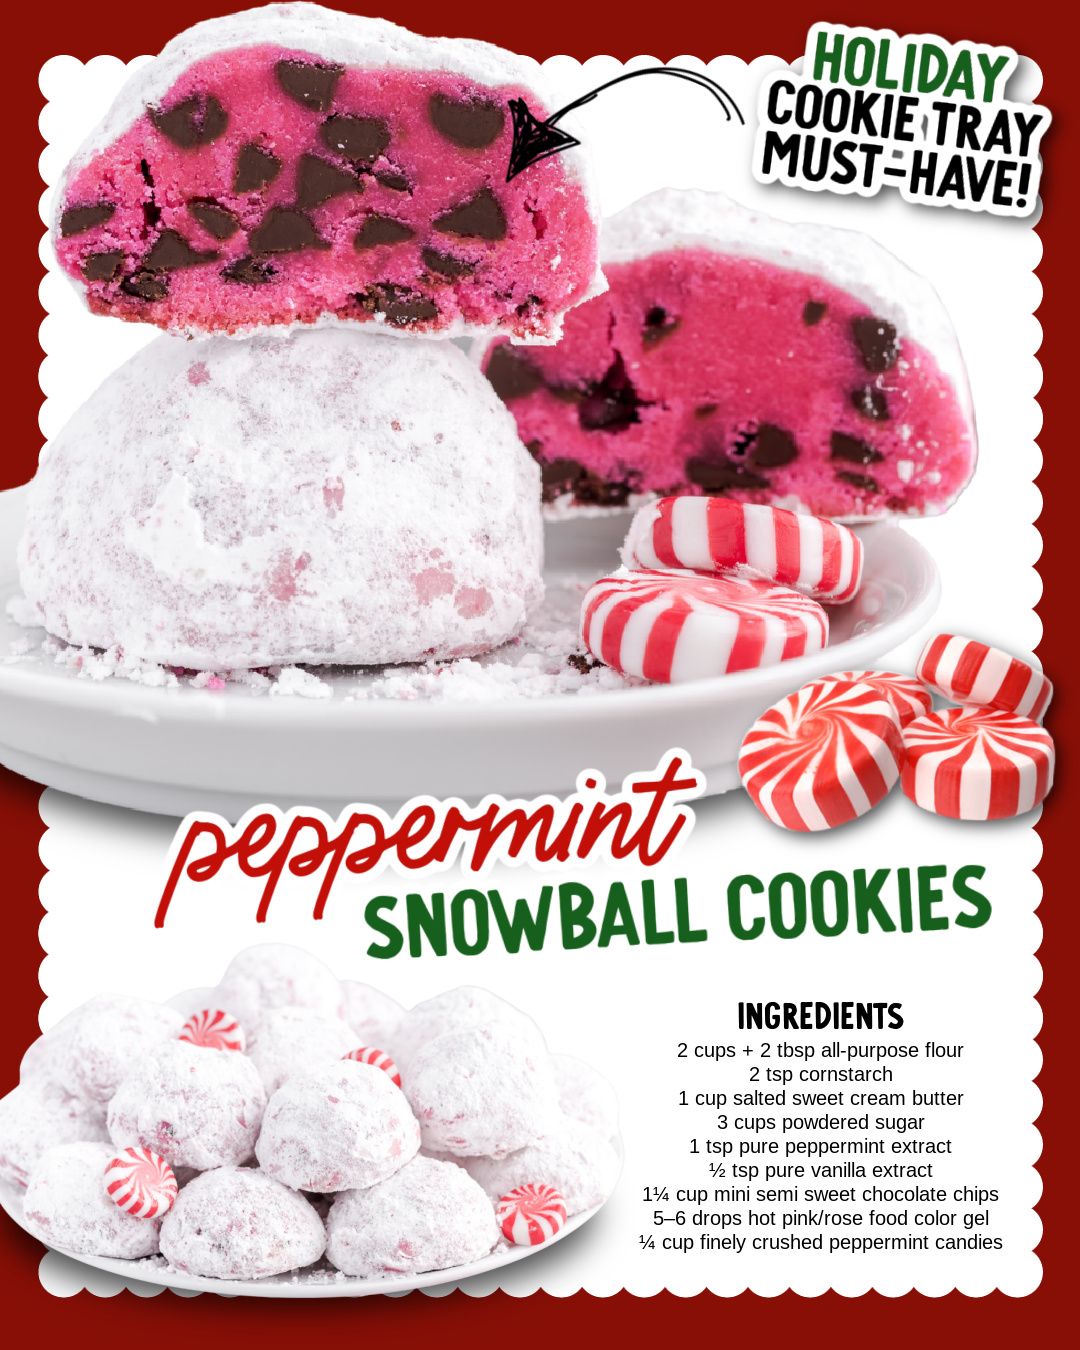
Once the butter mixture is light and fluffy, I add my extracts and the food coloring gel. I start with 5 drops of the pink gel, mix it in, and then decide if I want a deeper hue. The scent of peppermint that fills the air is instant holiday magic. Then, with my mixer on low, I gradually add the flour-cornstarch mixture. I mix just until the flour disappears and a soft dough forms. It will be quite crumbly at first, but it comes together as you mix. I then use my spatula to fold in the mini chocolate chips, ensuring they’re evenly distributed.
Now, for the shaping. I preheat my oven and line my baking sheets with parchment. I use a small cookie scoop (about 1 tablespoon) to portion the dough. Here’s my tactile tip: I roll each portion firmly between my palms into a smooth, tight ball. This compacting is important—it prevents the cookies from spreading too much and keeps that perfect snowball shape. I place them about 2 inches apart on the baking sheet. They won’t spread much, but they need a little room.(See the next page below to continue…)