
Next, add the flour, baking powder, and salt to the mixture. Just a gentle fold will do! I find that mixing in the dry ingredients carefully helps maintain that beautiful texture we’re aiming for. Once everything is combined, toss in the chocolate chips and give it one final stir, making sure they are evenly distributed throughout the batter. You’ll want to taste the batter—just to ensure it’s as delightful as it smells, of course!
Pour the batter into your prepared baking pan, smoothing out the top with a spatula. It feels like I’m spreading peanut butter on warm toast—just heavenly! Bake in the preheated oven for about 25-30 minutes, or until the edges are golden and a toothpick inserted in the center comes out with a few moist crumbs (no one likes a dry cake!). Once baked, let it sit for about 10 minutes before taking it out of the pan to cool completely.
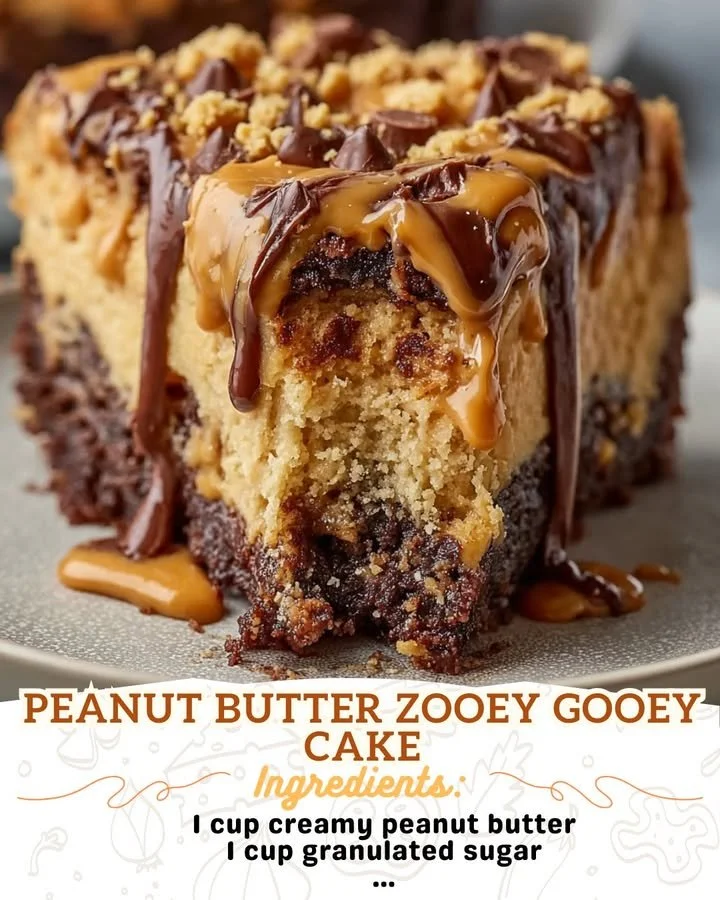
As it cools, my kitchen fills with an even sweeter aroma, making it hard to resist sneaking a taste. When it’s ready, cut it into squares and serve—feel free to top it with extra chocolate chips or a drizzle of chocolate sauce for that extra indulgence!
Pro Tips for Best Results
When I first made this cake, I tried using both creamy and crunchy peanut butter. While both options worked, I found that creamy peanut butter created that ultimate gooey texture I was searching for. So, my tip is to stick with creamy peanut butter for a consistently delightful result!
If you want to add a little more dimension to the flavors, I tested adding a pinch of cinnamon to the dry ingredients, and let me tell you, it was a game-changer! That hint of warmth paired perfectly with the rich peanut butter.
Lastly, I always recommend letting the cake cool completely before cutting into it. It may be tempting to dive in right away, but giving it time to set ensures cleaner slices and a more enjoyable eating experience.
Common Mistakes to Avoid
One common mistake I made the first time was not properly greasing the pan. Trust me, nothing ruins a good cake like it sticking to the bottom! I suggest using a generous amount of non-stick spray or lining the pan with parchment paper for an easy lift.(See the next page below to continue…)