
I begin by melting the butter in my saucepan over medium heat. When it’s completely melted, I add the sugar and milk, stirring until everything looks smooth and glossy. The most important part here is getting the mixture to a full rolling boil—you’ll see large bubbles forming all across the surface. As soon as it hits that stage, I start my timer. It needs to boil for exactly one minute, and this is crucial. Too short and the cookies won’t set; too long and they’ll turn dry and crumbly.
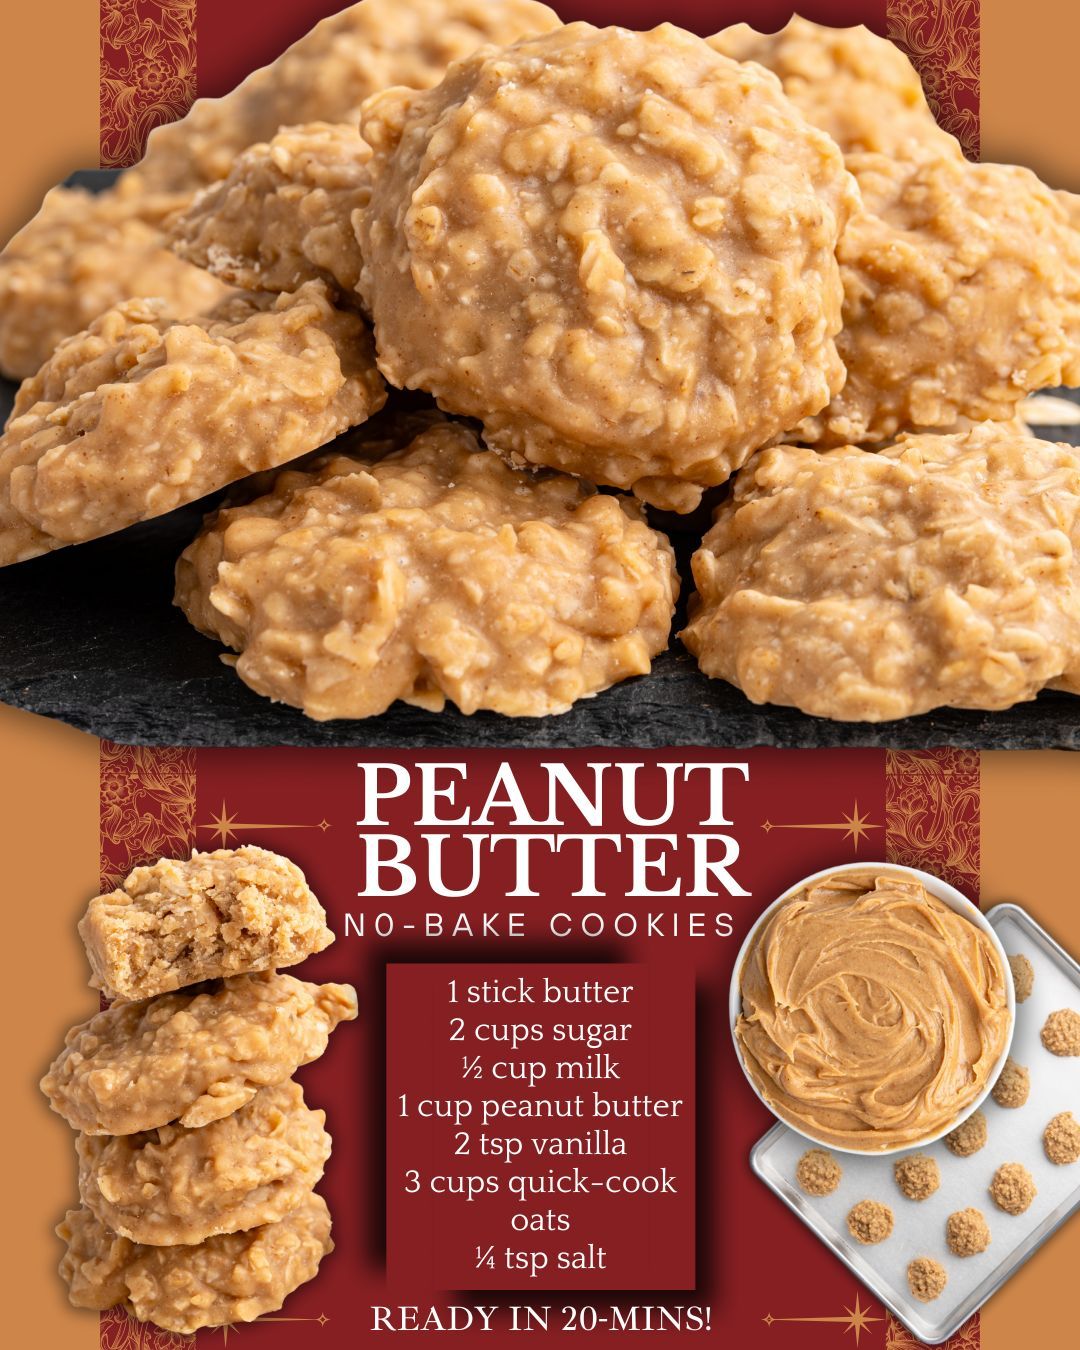
When the timer goes off, I immediately remove the pan from the heat and stir in the peanut butter and vanilla. This is my favorite moment—watching the peanut butter swirl and melt into the hot sugary base, turning it into a thick, creamy caramel-colored mixture. Once everything is mixed, I add the oats. Stirring the oats in feels like folding warm comfort into the pot, and the mixture transforms into something thick, spoonable, and irresistible.
At this point, I work quickly using a cookie scoop to drop little mounds onto the parchment paper. The mixture sets fast, so you don’t want to hesitate. If it starts thickening too much toward the end, I sometimes use my hands (carefully, once it cools slightly) to press the last bits into cookie form. Then I just let them cool for about 20 to 30 minutes until firm.
Pro Tips for Best Results
One of the biggest things I’ve learned is that boiling time is everything. I tested the timing so many times—30 seconds, 45 seconds, 90 seconds—and the only one that consistently works is exactly one minute at a rolling boil. If you start the timer before it reaches a full boil, your cookies will stay gooey forever. If you let it go too long, they end up dry. Once you nail this timing, the rest of the recipe becomes foolproof.
Another tip that made a huge difference for me is preparing the peanut butter ahead of time. I measure it and leave it right next to the stove so that the moment the mixture is done boiling, I can dump it right in. Peanut butter melts very quickly, but your mixture starts cooling the moment it’s off the heat, so you want to work fast to keep everything smooth and workable.
I also found that using quick oats instead of old-fashioned oats isn’t optional if you want the classic texture. Quick oats absorb the mixture better, giving you a cookie that holds together beautifully. Every time I tried old-fashioned oats “just to see,” I ended up with loose, chunky cookies that never felt quite right.
Finally, don’t be afraid to adjust the size of your cookies. Sometimes I make them tiny if I’m feeding a crowd, and sometimes I scoop them larger for a more indulgent dessert. The setting time may vary slightly, but both sizes work wonderfully.
Common Mistakes to Avoid
The first mistake I ever made with no-bakes was stirring constantly while the sugar mixture boiled. I thought I was helping it, but all I did was prevent it from coming to the proper temperature. Once you see a rolling boil—big, steady bubbles—you let it be and just start your timer. (See the next page below to continue…)