
Equipment Needed
- Medium-large saucepan (3-quart is ideal)
- Wooden spoon or heatproof spatula
- Measuring cups and spoons
- Wax paper, parchment paper, or silicone baking mats
- Tablespoon or medium cookie scoop
- Timer
Step-by-Step Instructions
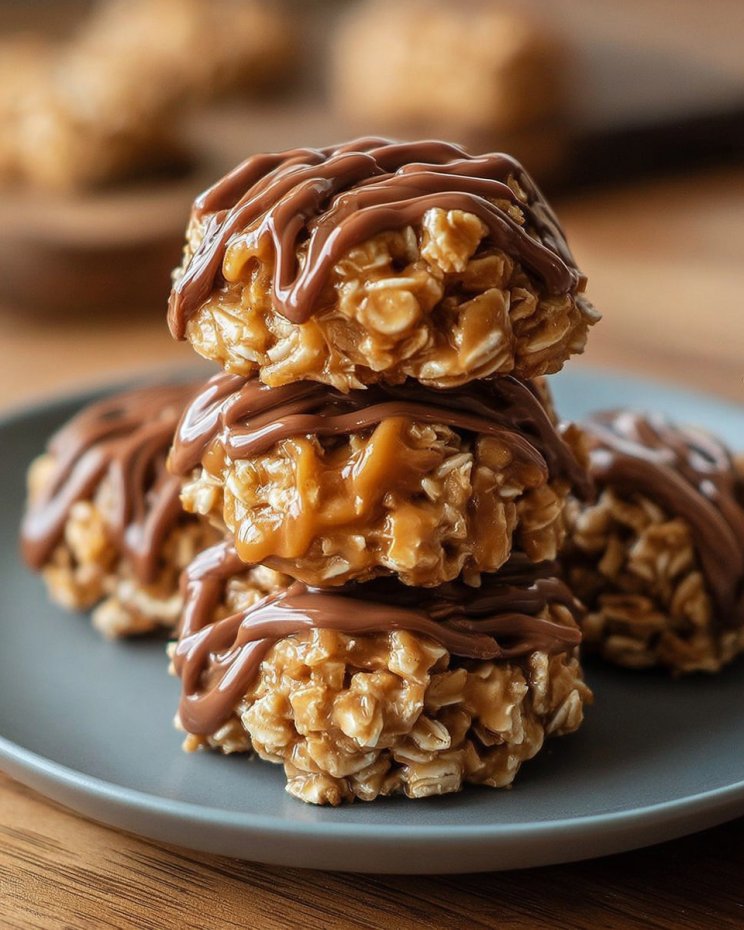
My process always starts with prep. I lay out sheets of wax paper or parchment paper on my counter or a baking sheet—this is your landing zone. I measure out all my ingredients beforehand because once the cooking starts, things move quickly. There’s no time to hunt for the vanilla extract! In my medium saucepan, I combine the sugar, milk, butter, and cocoa powder. I give it a quick stir with my wooden spoon just to combine. It will look like a gritty, dark sludge, but that’s perfect.
I place the saucepan over medium heat. Now, here is the most important part: I stir constantly as the mixture comes to a boil. I mean it—constant, gentle stirring. This prevents the sugar from scorching on the bottom of the pan, which can ruin the whole batch with a bitter flavor. I watch for the moment when bubbles break across the entire surface, not just at the edges. Once it reaches a full, rolling boil, I start my timer.
I let the mixture boil for exactly one minute, continuing to stir. I learned the hard way that timing is everything. Boiling for less than a minute means the sugar won’t reach the right temperature, and your cookies will never set, staying a sticky puddle. Boiling for too long (even 90 seconds) can cause them to become dry and crumbly. I watch my clock intently for that full 60 seconds. The mixture will thicken slightly and become glossy.(See the next page below to continue…)