
Next, I take the saucepan off the heat and mix in the vanilla extract and a pinch of salt. This step adds a wonderful depth of flavor that really makes the squares shine. Now comes the fun part: I fold in the rice cereal! Using a wooden spoon, I carefully mix everything together until all the cereal is evenly coated with the sticky marshmallow-peanut butter mixture. It’s a delightful mess, and trust me, you want to get every nook and cranny coated!
After everything is mixed, I line a 9×13-inch baking dish with parchment paper for easy removal and pour the mixture into it. With a spatula, I press the mixture evenly into the dish. It’s important to get it compact, as this ensures that the squares hold together when cut—and, of course, I can’t resist tasting a little bit of the warm goodness while I work! Finally, I let it cool in the fridge for at least 30 minutes before slicing them into squares, and oh, the anticipation is almost unbearable!
Pro Tips for Best Results
If you want to take your Peanut Butter Marshmallow Squares to the next level, one thing I’ve discovered is that a little extra crunch can go a long way. I tested this recipe three ways: with regular rice cereal, with a mix of crispy rice and chopped nuts, and even with some chocolate chips folded in. Each variation brought a delightful twist, but I found that technically, my families’ favorite was the nutty version. It added a beautiful texture that just elevates the whole treat!
Another tip I have is to be careful with the heat while melting your marshmallows and peanut butter. I learned this the hard way when I accidentally burned the mixture, leaving me with an odd bitterness that even chocolate couldn’t save. Keep your heat low and stir constantly for the best results. The goal here is to create a smooth, velvety concoction that you’ll want to dive into!
Lastly, I recommend letting the squares cool completely before slicing. I know it can be tempting to dig in right away, but patience is a virtue here! When they’re cool, they’re much easier to cut into neat squares, which makes for a better presentation and even better bites.
Common Mistakes to Avoid
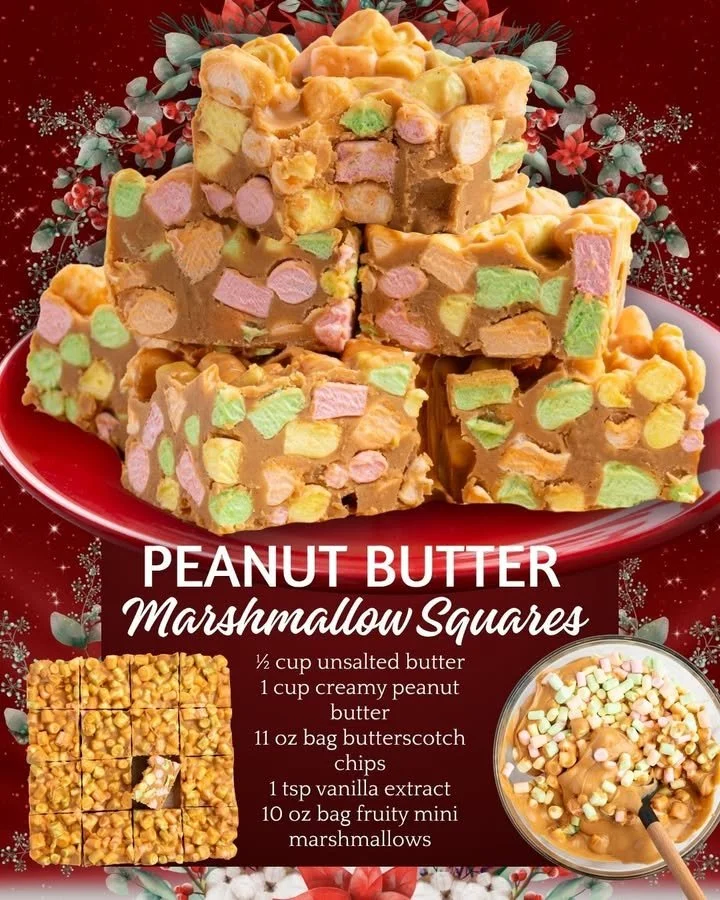
I’ve made my fair share of mistakes while perfecting this recipe, and I’d love to share what I’ve learned to save you from some potential kitchen mishaps! One common mistake I see is not measuring the rice cereal properly. Too little and your squares will be too gooey; too much and they’ll end up dry. Go for the exact 5 cups for the best results. (See the next page below to continue…)
Another is the temptation to rush the cooling process. Cutting into them too soon means a gooey mess that will fall apart. Allow them to chill in the fridge for at least 30 minutes. I learned this lesson when I was too eager to enjoy my creation—it was a delicious disaster that night!
Finally, don’t skip the salt! A small pinch brings out the sweetness and balances the flavors beautifully. I once forgot this step and regretted it; the squares just didn’t have the punch they normally do. So, when you’re following the recipe, a little pinch can make a world of difference!
Serving Suggestions
These Peanut Butter Marshmallow Squares are delicious on their own, but there are plenty of ways to serve them up for even more fun! Personally, I love serving them on a cute platter with a drizzle of melted chocolate over the top. Not only does it elevate the look, but that chocolatey touch is absolutely heavenly. Guests always rave about it when I do!
Another favorite of mine is to serve these squares alongside a scoop of vanilla ice cream, especially during the warmer months. The cold, creamy ice cream pairs perfectly with the chewy, sweet squares, giving you that perfect contrast in temperatures. It’s an easy dessert that feels special!
Lastly, I often package these squares in a decorative tin with a lovely bow if I’m bringing them to a gathering. They make for a fantastic homemade gift that shows you care. Plus, who wouldn’t want a sweet treat to brighten their day?
Variations & Customizations
One of the joys of cooking is the ability to tailor recipes to your own tastes, and these Peanut Butter Marshmallow Squares are no exception. If you’re a chocolate lover like me, you can easily swap out half of the peanut butter for chocolate spread. Just imagine, chocolate-marshmallow squares that are as dreamy as they sound!
You might also want to experiment with different mix-ins. I’ve tried adding sprinkles or using colored marshmallows to create a festive vibe for special occasions. They add fun visual appeal and excitement, especially for kids! If you’re looking to amp up the nutrition, consider tossing in a handful of mini chocolate chips or nuts for a little crunch without sacrificing flavor.
Last but not least, you can adjust the level of sweetness. If you prefer a less intense sweet flavor, use natural peanut butter that has a lower sugar content and cut back a bit on the marshmallows. This opens up a slightly different flavor profile that many people enjoy—just don’t skip the salt!
How to Store, Freeze & Reheat
These treats are perfect for make-ahead snacks or desserts! Once they’ve cooled completely, I simply wrap the squares in plastic wrap or store them in an airtight container. They can easily be stored at room temperature for about 4-5 days, but I like to keep mine in the fridge to extend their freshness. Trust me, a cool square is delightful!
If you’re making these in advance for a party or gathering, you can freeze them as well! Cut the squares into servings and place them in a freezer-safe container separated by layers of parchment paper. They’ll last in the freezer for up to three months. When you want to enjoy them again, just pull them out and let them thaw in the fridge overnight or at room temperature for a few hours.
Reheating is a breeze! If you want to warm them up for that gooey marshmallow texture again, just pop them in the microwave for about 10-15 seconds. Don’t overdo it, though, or you might end up with a marshmallow explosion!
Conclusion
I hope you’re as excited to make these Peanut Butter Marshmallow Squares as I am! They’re not just delicious; they’re a fantastic way to create memories in your kitchen. So gather your ingredients, get your favorite mixing bowl out, and let the magic happen. I can’t wait for you to take that first bite and experience the joy that comes with it. Happy cooking!