
Equipment Needed
- A shallow dish or pie plate (for the coating)
- A baking sheet
- Parchment paper or aluminum foil (for easy cleanup)
- Tongs
- Meat thermometer (the most important tool!)
Step-by-Step Instructions
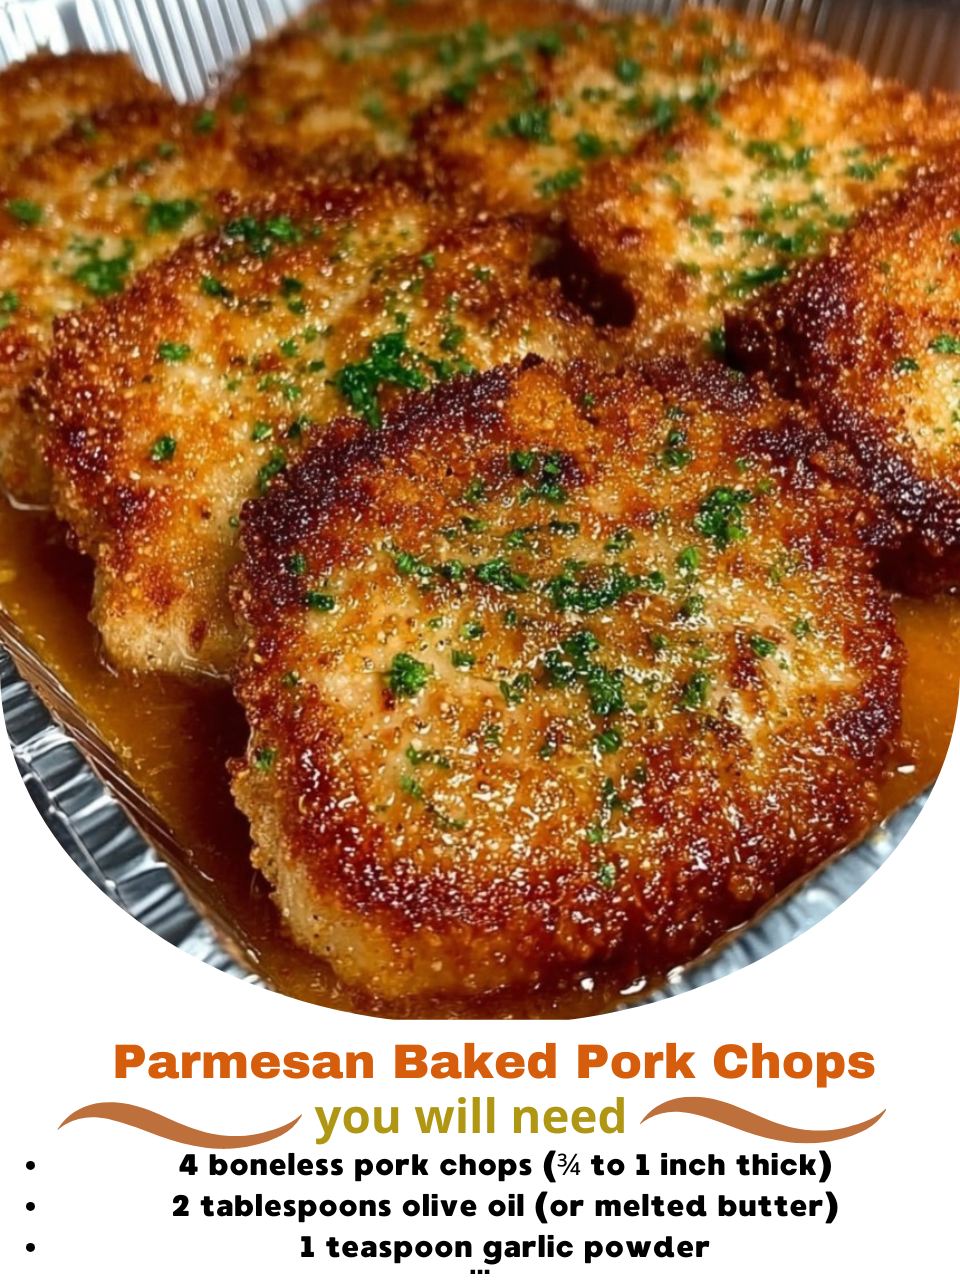
We start with the pork chops themselves. Pat them completely dry with paper towels. This is a small step that makes a huge difference. Any surface moisture will steam the chops instead of letting the crust get crispy, and it will prevent the coating from sticking. I learned this the hard way with a patchy, soggy crust on my first attempt. Once dry, brush both sides of each chop lightly with the olive oil or melted butter. This acts as the glue for our flavorful coating.
Now, we build the superstar crust. In your shallow dish, combine the finely grated Parmesan, breadcrumbs, garlic powder, onion powder, Italian seasoning, paprika, salt, and pepper. Mix it all together with a fork until it’s completely uniform. You’ll see the beautiful, speckled mixture that’s going to transform your dinner. Take each oiled pork chop and press it firmly into the mixture, coating one side. Flip and press to coat the other side, really packing the crumbs and cheese onto the meat. I use the palm of my hand to press and adhere it. A thick, even coating is what you’re after.
Place your perfectly coated chops on a parchment-lined baking sheet. Do not let them touch. This allows hot air to circulate, ensuring they bake evenly and get crispy all over instead of steaming. Pop them into a preheated 400°F oven. The high heat is key—it quickly sets the crust and starts the pork cooking. Now, here is the single most important piece of advice: use a meat thermometer. I never used to, and I always overcooked my pork. Bake for 15-20 minutes, but start checking the internal temperature at the 15-minute mark.(See the next page below to continue…)