
I’ve always had a soft spot for old-fashioned candy recipes, and the first time I made this peanut brittle in my own kitchen, I felt like I had stepped right back into my grandmother’s house during the holidays. The scent of bubbling sugar, butter, and vanilla filled the entire space, and the warm crackle of the brittle hardening on the counter made me downright nostalgic. What surprised me most was how satisfying the whole process felt—watching simple ingredients transform into golden, glossy sheets of candy that snap perfectly with every bite.
Why You’ll Love This Recipe
You’re going to love this recipe because it gives you that same classic, buttery, sweet-and-salty crunch you remember from childhood candy shops, but made fresh right in your own kitchen with ingredients you probably already have—plus, once you get the hang of the timing, it’s shockingly easy and incredibly fun.
Ingredients
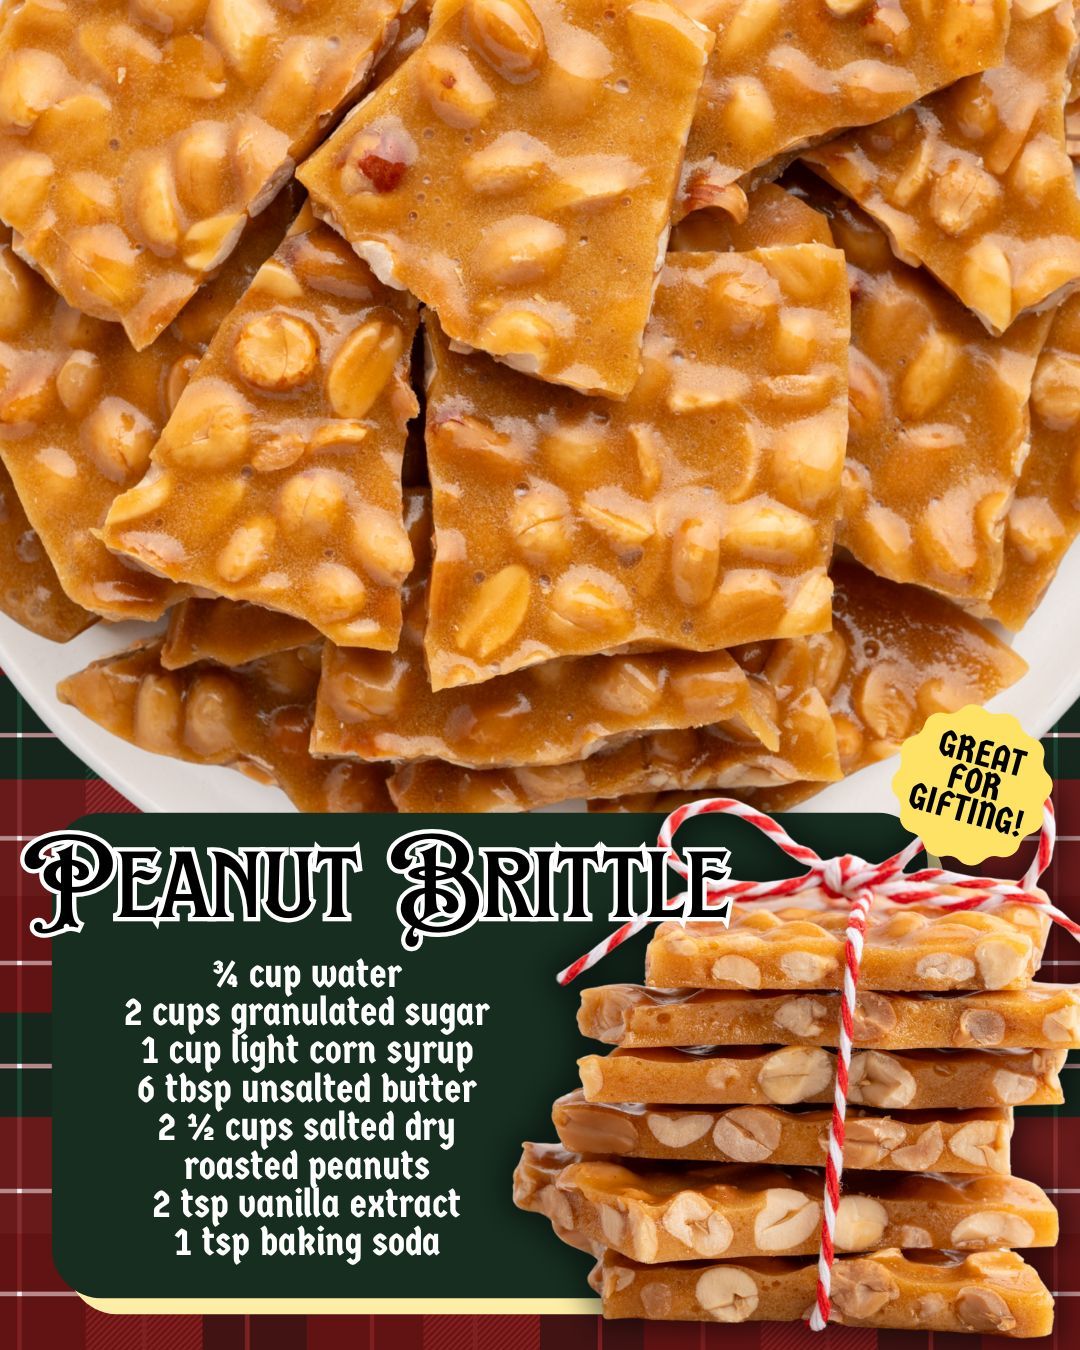
- 3/4 cup water
- 2 cups granulated sugar
- 1 cup light corn syrup
- 6 tablespoons unsalted butter
- 2 1/2 cups salted dry roasted peanuts
- 2 teaspoons vanilla extract
- 1 teaspoon baking soda
After making this recipe many times, I’ve learned that using salted dry roasted peanuts gives the best flavor and crunch—raw peanuts just don’t roast enough during cooking. Light corn syrup helps prevent crystallization, so don’t skip it. If you prefer a richer flavor, you can replace one tablespoon of water with maple syrup, but keep the rest of the ingredients the same for the best texture.
Equipment Needed
- Large heavy-bottomed saucepan
- Candy thermometer
- Wooden spoon or heat-safe spatula
- Baking sheet
- Parchment paper or silicone baking mat
- Oven mitts
A heavy saucepan is honestly the most important tool here, because the sugar mixture heats evenly and is far less likely to scorch. A candy thermometer removes the guesswork, although I’ve made it without one by watching color carefully—but I don’t recommend that for beginners. A silicone baking mat makes spreading much easier, but parchment works fine as long as it’s well-greased. And trust me, good oven mitts are essential because the candy gets extremely hot.
Step-by-Step Instructions
When I make peanut brittle, I start by preparing my baking sheet because once the candy is ready, everything moves fast. I line the sheet with a silicone mat or greased parchment paper and keep it close by. Then I combine the sugar, water, and corn syrup in a large heavy pot. As soon as the mixture starts heating, it becomes clear and glossy, and I gently stir until everything is dissolved. Once it comes to a simmer, I stop stirring completely—this was something I learned after many batches because stirring too much can cause crystallization.
As the sugar mixture bubbles away, it slowly turns from clear to pale gold. This stage always smells warm and sweet, like caramelized sugar wafting through the kitchen. When it hits about 250°F, I add the butter and peanuts. The moment the peanuts hit the bubbling syrup, they release that incredible roasted aroma—it’s my favorite part of the whole process. I keep cooking, stirring gently, until the mixture reaches that deep amber color at around 300°F, or “hard crack” stage.
The moment the thermometer hits the right temperature, I turn off the heat and quickly stir in the vanilla extract and baking soda. This is when things get exciting: the baking soda reacts instantly, causing the mixture to foam and lighten, creating those iconic airy bubbles inside the brittle. The first time I made it, this moment caught me off guard and I almost panicked, but now it’s my favorite kitchen science moment.
Working quickly (because the mixture hardens fast), I pour the foamy, golden candy onto the prepared baking sheet. I use a spatula to gently spread it out—it doesn’t need to be perfect; those uneven edges actually make it look beautifully homemade. Then I let it cool completely, usually about 30 minutes. Once set, I lift it off the sheet and break it into rustic shards that snap cleanly and reveal all the peanuts suspended inside the glossy candy.
Pro Tips for Best Results
I tested this recipe three different ways when I first started making peanut brittle, and the biggest lesson I learned is that temperature is everything. If the mixture doesn’t reach a true hard-crack stage, the brittle will turn chewy instead of crunchy. A candy thermometer removes all the stress, so I always recommend using one, even if you feel confident.
Here’s another thing I learned the hard way: do NOT walk away from the pot. Peanut brittle transitions from perfect amber to burnt bitterness in a matter of seconds. I once stepped away to grab something from the pantry, and when I returned, the entire batch was ruined. Now I stay right beside the stove until it’s done—no exceptions.
Adding the baking soda is another step you don’t want to skip. It aerates the candy and gives brittle its signature light, crisp texture. I tried a batch once without baking soda just to see what would happen, and the result was so hard I thought I might break a tooth. The tiny bubbles make all the difference.
Finally, warm the baking sheet slightly before pouring the candy. I pop mine in the oven for just a minute or two. This prevents the brittle from setting too quickly and makes it much easier to spread evenly without tearing the candy as it firms.
Common Mistakes to Avoid
I made this mistake the first time—don’t do what I did and rush the heating process. Keeping the heat too high can burn the sugar around the edges while the center stays undercooked. Medium heat gives you more control and results in that perfectly even amber color.
Another common mistake is using raw peanuts. I tried it once thinking they would roast perfectly in the syrup, but they tasted pale and underdeveloped. Dry roasted peanuts add instant flavor and stay crunchy within the candy, which makes a world of difference.
Stirring too much is another pitfall. Once the sugar has dissolved and the mixture starts to boil, resist the urge to stir. Over-stirring causes crystals to form, and instead of smooth brittle, you’ll get sandy, grainy candy. The mixture really does better when you just let it cook.
And finally, don’t forget to grease your spatula or spoon before spreading the brittle. One time I skipped this step and ended up with sticky candy clinging to everything. A light coat of butter or baking spray makes spreading smooth and effortless.
Serving Suggestions
I love serving peanut brittle in little bowls during holiday gatherings. It’s one of those snacks people can’t help but nibble on, and the bowl always seems to empty faster than I expect. The sweet crunch and roasted peanut flavor pair beautifully with coffee, hot chocolate, or even mulled cider.
When I’m making dessert boards, I break the brittle into smaller shards and arrange them around cookies, chocolates, and fruit. It adds a shiny, golden touch and gives the whole spread a nostalgic, old-fashioned charm that guests always comment on.
If you’re hosting a movie night, peanut brittle makes a surprisingly great companion to popcorn. I sometimes chop it into tiny pieces and mix it right into the bowl—it’s like homemade sweet-and-salty candy popcorn, and it’s dangerously addictive.
I also love gifting peanut brittle around the holidays. I wrap generous chunks in cellophane bags tied with festive ribbon or tuck them into pretty tins. It feels thoughtful and old-school, and people always appreciate receiving something homemade that’s both delicious and nostalgic.
Variations & Customizations
One of my favorite variations is adding a sprinkle of flaky sea salt right after pouring the brittle onto the baking sheet. It melts slightly into the surface and adds the dreamiest sweet-salty contrast. If you’re someone who loves salted caramel, this simple tweak will make your heart sing.
For a more gourmet twist, I’ve also stirred in a teaspoon of cinnamon or a pinch of cayenne pepper. Cinnamon gives a warm, cozy note, while cayenne adds a subtle kick that pairs insanely well with the sweetness of the candy. I tried the cayenne version on a whim once, and it instantly became one of my favorites.
If you’re not a peanut fan, you can swap in other nuts. Cashews make an incredibly buttery brittle, while almonds give more crunch. I’ve even made a mixed-nut version using pecans, cashews, and peanuts, and it turned out rich, toasty, and absolutely irresistible.
Chocolate-dipped peanut brittle is another fun option. Once the brittle cools and breaks into pieces, I dip half of each shard into melted dark chocolate. The deep cocoa flavor balances the sweetness perfectly, and it makes the brittle look gorgeous for gifting.
How to Store, Freeze & Reheat
Peanut brittle is wonderfully low-maintenance when it comes to storage. Once it’s fully cooled, I break it into pieces and keep it in an airtight container at room temperature. It stays crisp for at least two weeks, sometimes even longer, as long as it’s protected from humidity.
Humidity is the enemy here. I once left a container slightly open on a damp day, and the brittle softened within hours. Now I always make sure the container is tightly sealed and stored somewhere cool and dry. Silica gel packets help too if you live in a humid climate.
Freezing peanut brittle works surprisingly well. I layer pieces between sheets of parchment, seal them in a freezer bag, and freeze for up to two months. When you want to thaw it, simply let it sit at room temperature—don’t open the bag until it’s fully warmed or condensation can make the candy sticky.
Reheating isn’t necessary, but if your brittle softens slightly from humidity, you can place the shards on a baking sheet and warm them in a very low oven (around 200°F) for just a few minutes. This usually revives the crispness, but keep a close eye on it so it doesn’t melt.
Nutrition Information
Let’s be honest: peanut brittle is definitely a treat, not a health food. But in my opinion, a little piece goes a long way because it’s so satisfying. The sugar and butter make it rich and indulgent, while the peanuts add protein and healthy fats that help balance the sweetness just a bit.
One thing I appreciate about homemade brittle is that you know exactly what’s going into it—no preservatives, no artificial flavors, just classic candy ingredients. When I’m going to indulge, I’d always rather enjoy something I made myself from scratch.
Because peanut brittle is so sweet, I find that even a small shard satisfies my craving for something crunchy and sugary. It’s not something I eat every day, but it’s absolutely worth enjoying during holidays or special occasions. Moderation truly lets you savor each bite.
If you want to lighten it slightly, you can reduce the butter by one tablespoon without affecting texture too much, but I wouldn’t change much more than that. In candy recipes, proportions matter, and I’ve learned that the original balance creates the best flavor and crunch.
FAQ Section
Can I make peanut brittle without a candy thermometer?
I’ve done it before, and while it’s possible, it’s much harder. You have to watch the color carefully and test a drop in cold water to see if it cracks. A thermometer makes the process so much easier and more reliable, especially if it’s your first time.
Why does my peanut brittle turn out chewy instead of crunchy?
This usually means the sugar didn’t reach the hard-crack stage. I’ve made this mistake when I rushed the cooking process. Next time, cook it just a bit longer and rely on a thermometer to ensure accuracy.
Can I use raw peanuts instead of roasted?
Technically yes, but I don’t recommend it. I tried this once and the flavor wasn’t nearly as good. Raw peanuts don’t roast enough during cooking, so the final candy tastes flat instead of rich and toasty.
What does the baking soda do?
The baking soda creates bubbles inside the candy, giving the brittle a lighter, crisp texture. I once skipped it out of curiosity, and the brittle turned rock-hard. So definitely don’t skip it.
Can I double the recipe?
Yes, but use a very large pot because the mixture foams when you add the baking soda. I’ve doubled it before and had it almost spill over because I misjudged the volume. A deep saucepan is key.
Conclusion
Every time I make this old-fashioned peanut brittle, I feel connected to the generations before me who made candy the same way—slowly, carefully, and with a sense of joy in the process. It’s a recipe that fills your kitchen with warmth and nostalgia, and it produces a treat that brings so much delight to anyone who tastes it. I hope you enjoy making it as much as I do, and that it becomes one of those treasured recipes you return to year after year. Enjoy every sweet, crunchy bite!