
Next, in a large saucepan, combine the milk and the dry ingredients mixture over medium heat. As it heats up, stir continuously to prevent any lumps or burning at the bottom. It’s almost magical to watch the mixture gradually thicken and transform into a glossy chocolate custard. Once it reaches a gentle bubbling point, it’s time to remove it from the heat. In a separate bowl, temper the egg yolks by whisking them gently. To do this, add a small amount of the hot chocolate mixture into the egg yolks while whisking, which prevents them from scrambling. After a few spoonfuls, pour the egg yolk mixture back into the saucepan and stir thoroughly.
Now for the exciting part—let’s bring in the butter and vanilla! Add the butter and vanilla extract to the saucepan, mixing until everything is melted and combined beautifully. This final addition gives the pie filling a richness that is hard to beat. Next, pour the chocolate filling into the baked crust, spreading it evenly. I like to give it a gentle shake to ensure the filling settles properly. Once that’s done, pop the pie into the oven for about 10-15 minutes until it’s set. Don’t worry if it looks a bit wobbly when you take it out; it will firm up as it cools.
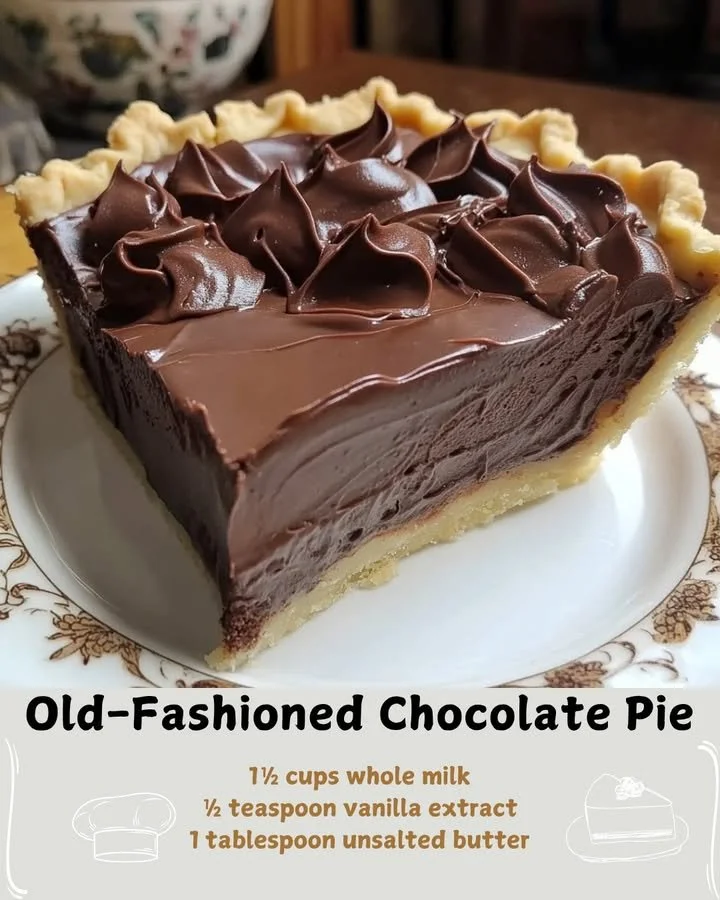
Once your pie has baked and cooled completely, it’s time to add the finishing touches! Serve it with a generous dollop of whipped cream on top because, let’s be honest, chocolate and whipped cream are basically best friends. If you want to get fancy, grate some dark chocolate over the whipped cream for an extra touch of elegance. You’ll want to savor every rich bite of this decadent pie!
Pro Tips for Best Results
I tested this chocolate pie recipe in a few different ways to find the best methods. One thing I noticed is that the cocoa powder quality truly makes a difference. I recommend using high-quality cocoa powder for a richer chocolate flavor. Brands like Valrhona or Ghirardelli work wonderfully!
Another tip is to let the pie cool at room temperature before refrigerating. Cooling it too quickly in the fridge can cause cracks in the filling. Patience is key! I often find myself trying to sneak a slice early, but waiting ensures that the texture is just right.
Lastly, use the freshest eggs you can find. Fresh egg yolks blend more seamlessly into the filling and contribute to a creamier texture. Often, I try to source my eggs from local farmers or a farmer’s market, and I find that it really makes a difference in overall flavor.
Common Mistakes to Avoid
One common mistake I made the first time I baked this pie was not letting the pie crust pre-bake properly. This step is crucial because it helps the crust maintain its shape and prevents it from becoming soggy. I learned that if I don’t pre-bake, my pie filling can lead to a sad, gummy crust. (See the next page below to continue…)