
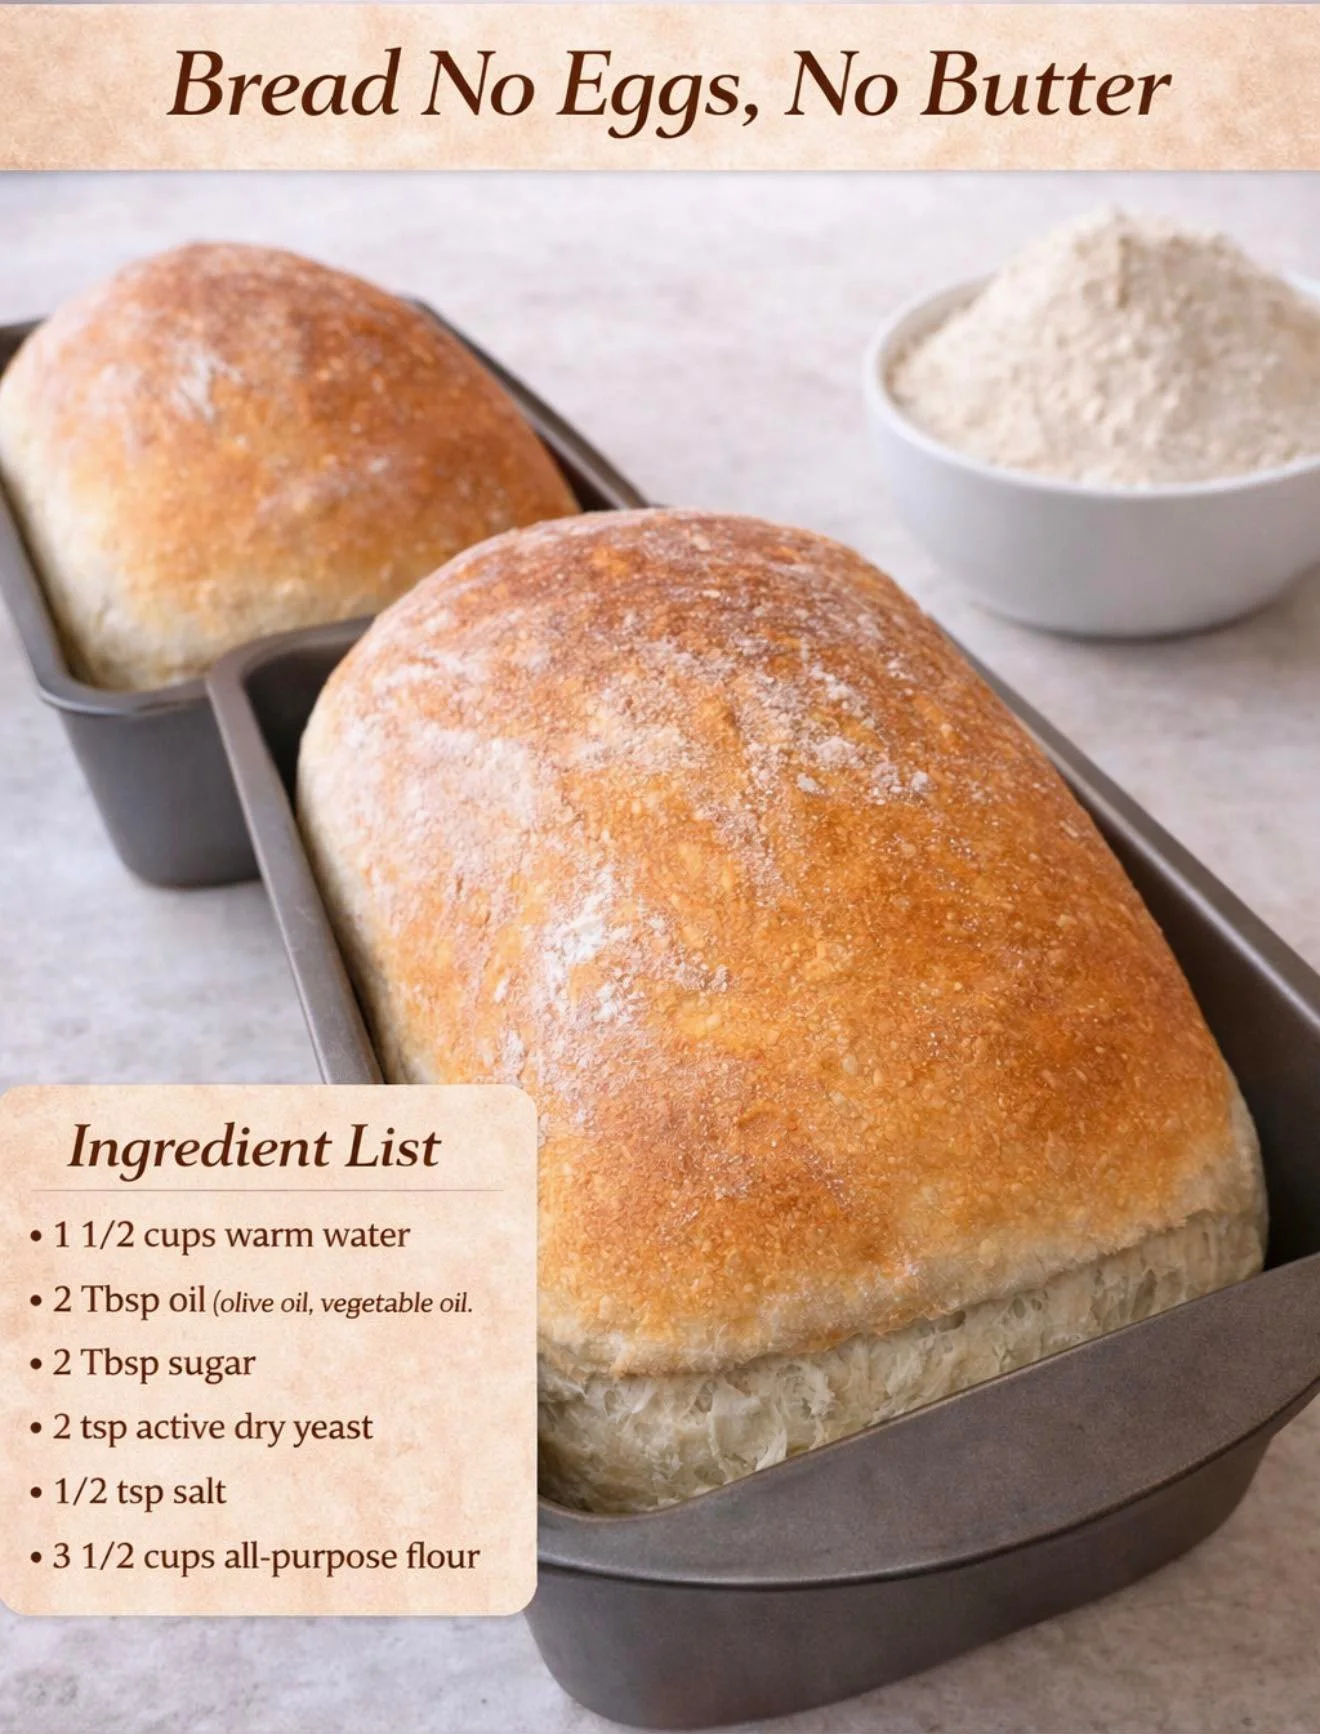
There’s something magical about baking bread at home. The aroma that wafts through my kitchen, the way the dough transforms from a simple mixture of flour and water into a beautiful, crusty loaf, it never fails to bring a smile to my face. I especially love using the no-knead method because it’s simple, forgiving, and, honestly, yields some of the best bread I’ve ever tasted. If you’ve been hesitant to try bread baking, I’m here to tell you that this no-knead homemade bread is the perfect place to start!
Why You’ll Love This Recipe
This recipe is not only easy to follow, but it also requires minimal effort. With just a bit of mixing and a long rise time, you can create a rustic loaf that’s perfect for sandwiches or enjoying with butter. The crust is wonderfully crunchy, while the interior is soft and chewy—seriously, what more could you want? Not to mention, this bread is a showstopper when you have guests over, and you’ll feel like a master baker. (See the ingredients in the next page below…)
Ingredients
- 3 cups all-purpose flour
- 1½ teaspoons salt
- ½ teaspoon instant yeast
- 1½ cups warm water (about 110°F or 43°C)
Equipment Needed
- Large mixing bowl
- Wooden spoon or spatula
- Plastic wrap or a kitchen towel
- Cast iron pot or Dutch oven with a lid
- Parchment paper (optional but helpful)
Step-by-Step Instructions
The first step is incredibly simple and only takes a few minutes. In a large mixing bowl, combine the flour, salt, and instant yeast—just a quick stir to mix everything well. Then, slowly pour in the warm water while mixing with a wooden spoon or spatula until a shaggy dough forms. Don’t worry about being too tidy; it’s meant to be a bit messy. Once mixed, cover the bowl with plastic wrap or a kitchen towel and let it rest at room temperature for about 12 to 18 hours. This long, slow rise is where the magic happens, allowing flavors to develop beautifully. (See the next page below to continue steps…)
After your dough has risen and doubled in size, it will be time for some fun! Generously flour a clean surface and turn out the dough. It should be sticky and bubbly; don’t be alarmed—it’s doing exactly what it’s supposed to do! With floured hands, gently shape it into a ball by folding the edges into the center. Let it rest for 15 to 30 minutes before you move onto the next step. This resting is essential for setting the shape, and I promise you’ll appreciate the results.
While the dough is resting, preheat your oven to 450°F (232°C) along with your cast iron pot or Dutch oven. This preheating is crucial as it creates a steamy environment for the bread to rise further while baking, ultimately leading to a beautiful crust. Once heated, carefully remove the pot from the oven, and if you’re using parchment paper, lower the dough onto it. Cover it with the lid and bake for about 30 minutes. After this time, remove the lid and bake for an additional 15 to 20 minutes until the top is golden brown. The anticipation of that gorgeous golden loaf is simply exhilarating!
Pro Tips for Best Results
I tested this recipe with different types of flour, and I found that all-purpose flour gives the best results for texture and flavor. However, if you want a heartier loaf, try adding whole wheat flour to the mix—just replace about a cup of all-purpose flour for whole wheat. It’s a nice way to add depth to your bread!
Hydration is key in a no-knead bread recipe, and I’ve found that the dough should be slightly wetter than you might imagine. If it feels a little too sticky after the initial mix, that’s perfectly okay! When you handle it with floured hands later, it will come together beautifully.
Lastly, don’t rush the process! Patience is your best friend. The longer rise time helps develop flavor and texture, and the slow fermentation is what gives this bread its characteristic tang. Make it a part of your weekend routine, and you’ll find it’s a relaxing and rewarding experience.
Common Mistakes to Avoid
One mistake I made early on was not allowing the dough to rise long enough. Trust me; it’s worth the wait! If you’re impatient and cut the rising time short, your bread will be dense and won’t have those lovely air pockets—definitely not the outcome we want! A long rise not only gives better texture but also enhances flavor. (See the next page below to continue…)
Another common pitfall is underestimating how hot your Dutch oven needs to be. If it’s not hot enough when you put the dough in, you won’t get that necessary initial burst of steam to help the crust develop. Preheat that pot like it’s your best friend coming to dinner!
Finally, don’t forget to use enough flour when shaping your dough. The stickiness is part of the magic, but it can also lead to frustration if you’re not careful. A light dusting of flour on your work surface and on your hands helps maintain the dough’s structure without risking a dramatic tear or collapse.
Serving Suggestions
Once your bread is out of the oven and cooling on a rack, it’s hard to resist slicing into it right away. It’s the perfect accompaniment to a beautifully made soup, or you can lavish it with fresh butter and maybe a bit of jam. There’s something so cozy about warm bread paired with a dish you love. I often serve it alongside a hearty chili or a comforting vegetable stew, and my family just devours it!
If you’re feeling fancy, you could use your homemade bread to create amazing sandwiches. The crusty exterior holds up well against even the heartiest of fillings, like grilled cheese or turkey and avocado. I love to toast slices of this bread for breakfast, topped with avocado and a sprinkle of chili flakes for a perfect start to the day.
And let’s not forget about using it for bruschetta! Toast up slices and top with diced tomatoes, basil, and a drizzle of olive oil. There’s something simply divine about nibbling on this while enjoying a glass of wine and sharing stories with friends.
Variations & Customizations
One of the fun things about this no-knead bread is how easily you can customize it to fit your tastes. For a flavor boost, consider adding herbs or spices into the dough. I’ve experimented with dried rosemary or even minced garlic, which add a delightful aromatic flavor to the loaf. Just a teaspoon or two mixed in with the dry ingredients can elevate your bread to a whole new level!
Additionally, you can have fun with add-ins! Chopped olives, sun-dried tomatoes, or even nuts can be folded into the dough during the initial mixing phase. I particularly enjoy featuring cheese in my breads—adding shredded cheddar or feta gives a creamy richness that pairs beautifully with the crispy crust.
If you enjoy experimenting, consider using different types of flour too. Incorporating rye or spelt flour in addition to your all-purpose flour can create unique textures and flavors. It’s perfect for those who love artisanal bread!
How to Store, Freeze & Reheat
After all that hard work, you’ll want to ensure your bread stays fresh. I usually let the bread cool completely before storing it. Once it’s cooled, I wrap it tightly in plastic wrap or place it in a paper bag to keep it fresh for a few days. I find that storing it in a cloth bag also works well to maintain that crusty exterior.
If you want to store your bread for a longer time, freezing is a fantastic option. Slice the bread before freezing—this way, you can take out just what you need without defrosting the entire loaf. I wrap the slices individually in plastic wrap and place them in an airtight bag, and they keep beautifully for up to three months.
When you’re ready to enjoy those slices, simply pop them straight from the freezer into the toaster, or you can reheat the whole loaf wrapped in foil in a warm oven. The aroma that fills the kitchen is so worth it!
Conclusion
Baking no-knead homemade bread has become one of my absolute favorite kitchen adventures. With just a few simple ingredients, the process is not only enjoyable but also incredibly rewarding. I hope you feel inspired to try this recipe in your own kitchen. Enjoy the magic of bread baking and the joy it brings to the table—trust me, you won’t be disappointed! Happy baking!