
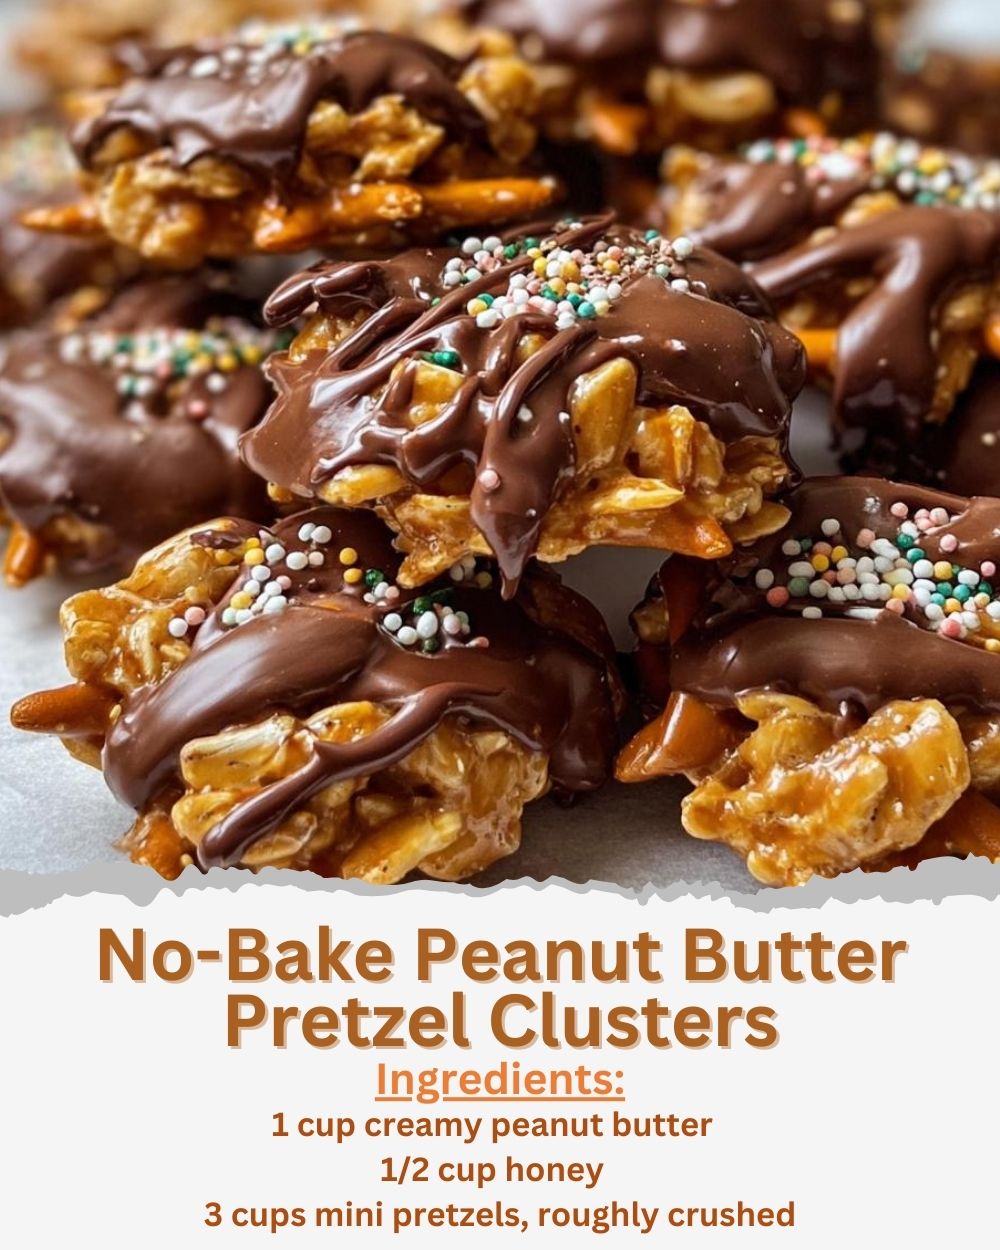
No-Bake Peanut Butter Pretzel Clusters are the kind of irresistibly crunchy, sweet–salty treats that vanish almost the moment you place them on the counter. They blend buttery peanut butter creaminess with the crisp snap of pretzels, rich chocolate drizzle, and just enough sweetness to make them feel indulgent yet unbelievably easy.
Because they’re completely no-bake, they fit perfectly into busy schedules, last-minute party prep, or late-night cravings when you want something amazing with zero effort. Every bite offers layered textures—crunchy, creamy, melty, and smooth—wrapped into clusters that look adorable and taste spectacular. You can craft them for holidays, gift boxes, dessert boards, or simple weekday munching. They store beautifully, travel well, and satisfy chocolate and peanut butter lovers instantly.
Equipment You Will Need
- Mixing bowls
- Rubber spatula
- Parchment paper
- Baking sheet
- Microwave-safe bowl
- Measuring cups and spoons
- Spoon or small scoop
- Airtight containers
Ingredients List
- 4 cups mini pretzels, lightly crushed
- 1 cup creamy peanut butter
- ½ cup honey or light corn syrup
- 4 tbsp melted butter
- 1 tsp vanilla extract
- ¼ tsp salt
- 1 ½ cups chocolate chips (milk, dark, or white)
- Optional mix-ins: chopped peanuts, mini marshmallows, toffee bits
- Optional toppings: flaky sea salt, extra crushed pretzels, sprinkles
Step-by-Step Instructions
Begin by lining a baking sheet with parchment paper. Add the pretzels to a mixing bowl and crush slightly with your hands—aim for uneven pieces to create texture without turning them into crumbs. In another microwave-safe bowl, combine peanut butter, honey, melted butter, vanilla, and salt.
Microwave in 20-second intervals, stirring each time, until the mixture becomes silky, warm, and easily pourable. This step helps the ingredients blend smoothly and coat the pretzels evenly.
Pour the warm peanut butter mixture over the crushed pretzels. Use a rubber spatula to fold gently, ensuring every pretzel piece becomes fully coated. If adding mix-ins like peanuts, marshmallows, or toffee, fold them in now.
Once the mixture looks cohesive, use a spoon or small scoop to drop mounds onto the prepared baking sheet. Shape them loosely—clusters look charming when they’re rustic and uneven. Make each cluster about one or two tablespoons depending on how large you want them.
Place the baking sheet in the refrigerator for 15–20 minutes to help the clusters firm enough for the chocolate drizzle. Melt chocolate chips in a microwave-safe bowl using 20–second bursts, stirring between each until smooth and glossy. Drizzle chocolate liberally over the chilled clusters using a spoon or piping bag.
For fully coated clusters, dip the bottoms or entire cluster into melted chocolate. Return the tray to the fridge until the chocolate sets completely. Once hardened, transfer clusters to airtight containers for storage or serve immediately.
Expert Tips for Success
Keeping the pretzels partially intact creates the crunch that makes these clusters addictive. Avoid crushing them too finely—larger chunks help the clusters hold their shape. Use creamy peanut butter for the smoothest coating; natural peanut butter can be used but may require extra honey due to its looser texture. Warming the peanut butter mixture allows it to coat evenly and prevents dry or crumbly clusters. Always work quickly—the pretzels begin absorbing moisture once coated.
Refrigerating the clusters before adding chocolate helps them maintain shape and prevents melting when warm chocolate touches them. If the mixture feels too sticky, add a handful more pretzels to adjust consistency.
For firmer texture, freeze the clusters for a few minutes before drizzling chocolate. When melting chocolate, stop heating once mostly melted and stir until smooth—overheating can cause the chocolate to seize.
If using white chocolate, add a teaspoon of coconut oil for a smoother melt. For perfect drizzles, use a fork dipped in chocolate and flick lightly over the clusters. If dipping fully, use tongs to keep hands clean. Store clusters in layers separated by parchment to prevent sticking. Following these tips ensures every batch turns out glossy, crunchy, and picture-perfect.
Variations and Substitutions
Create a chocolate–peanut butter swirl version by mixing a small amount of melted chocolate directly into the peanut butter coating before adding pretzels. Make a sweet-and-spicy twist by adding a pinch of cayenne or crushed red pepper to the peanut butter mixture.
Use almond butter, cashew butter, or cookie butter instead of peanut butter for different flavor profiles. For a candy-bar inspired batch, fold in chopped Snickers, Reese’s cups, or chocolate-covered peanuts.
To add holiday flair, mix in festive sprinkles or colored melts. A salted caramel version can be made by adding caramel bits or drizzling caramel sauce before chilling.
For a crunchy chocolate–pretzel bark variation, press the mixture into a pan, drizzle with chocolate, chill, and break into pieces. White chocolate or dark chocolate each create completely different flavor effects depending on your mood.
For gluten-free clusters, use gluten-free pretzels. To make the clusters vegan, use dairy-free chocolate, vegan butter, and maple syrup in place of honey. For nut-free versions, use sunflower butter or tahini and omit peanut mix-ins. The recipe adapts effortlessly to dietary needs and creative flavor ideas without losing its addictive texture.
Serving Suggestions and Pairings
Serve these clusters on dessert boards alongside cookies, brownies, fruit, and chocolate bark for irresistible variety. Add them to holiday cookie tins or gift boxes—they travel beautifully and stay fresh for days.
For parties, arrange them on platters with different drizzle colors for visual appeal. Pair them with caramel dip, hot cocoa, coffee, or warm apple cider for cozy snacking.
For a kid-friendly treat, serve with milk or chocolate milk. Add them to lunchboxes or picnic baskets for sweet–salty snacks on the go.
For movie nights, combine them with popcorn, M&M’s, and nuts to make a decadent snack mix. As a dessert topping, crumble clusters over ice cream, yogurt parfaits, or milkshakes. They make excellent additions to charcuterie-style dessert boards for gatherings.
For holiday celebrations, serve alongside fudge, peppermint bark, cinnamon sugar nuts, or cheesecake bites. Their crunchy texture and chocolate drizzle pair well with freshly baked bars or festive cocktails. Offer them at bake sales or potlucks—they’ll be among the first treats to disappear.
However you serve them, they bring a joyful pop of flavor to any occasion.
Storage, Freezing, and Reheating
Store clusters in airtight containers at room temperature for up to one week, or refrigerate for two weeks. Keep them in layers separated by parchment to prevent sticking.
For warm climates or during summer months, refrigeration prevents chocolate from melting. To freeze, arrange clusters on a baking sheet until firm, then transfer to freezer bags. Freeze for up to three months.
Thaw clusters at room temperature for about ten minutes before serving. If clusters lose crispness, place them in the refrigerator to firm up again. Avoid storing them uncovered—they can dry out and lose flavor.
Chocolate-covered clusters keep longer than non-dipped ones due to protective coating. Freezing doesn’t affect taste or texture, making this recipe perfect for make-ahead gifting or holiday prep.
Clusters do not require reheating, but you can warm slightly in your hands for softer texture if preferred. Frozen clusters are excellent cold during summer for a crunchy, refreshing treat. Proper storage ensures flavor stays bold and textures remain crisp, creamy, and satisfying.
Frequently Asked Questions
Can I use chunky peanut butter?
Yes, but it creates a denser coating. Creamy gives the smoothest texture.
Why are my clusters falling apart?
They may need more coating or more chilling time before drizzling.
Can I make them nut-free?
Absolutely—use sunflower butter and omit peanut mix-ins.
Do I need to refrigerate them?
Refrigeration helps them set but isn’t required unless your kitchen is warm.
Can kids help make these?
Yes—this is a perfect kid-friendly, no-bake recipe with minimal cleanup.