
Next, I prepare the creamy filling. In another bowl, I beat together the creamy peanut butter, softened cream cheese, powdered sugar, and vanilla extract until it’s completely smooth and creamy. I can’t help but sneak a taste at this stage—it’s pure joy! After that, I gently fold in the whipped topping until everything is well combined, creating this light and fluffy mixture that makes my heart sing.
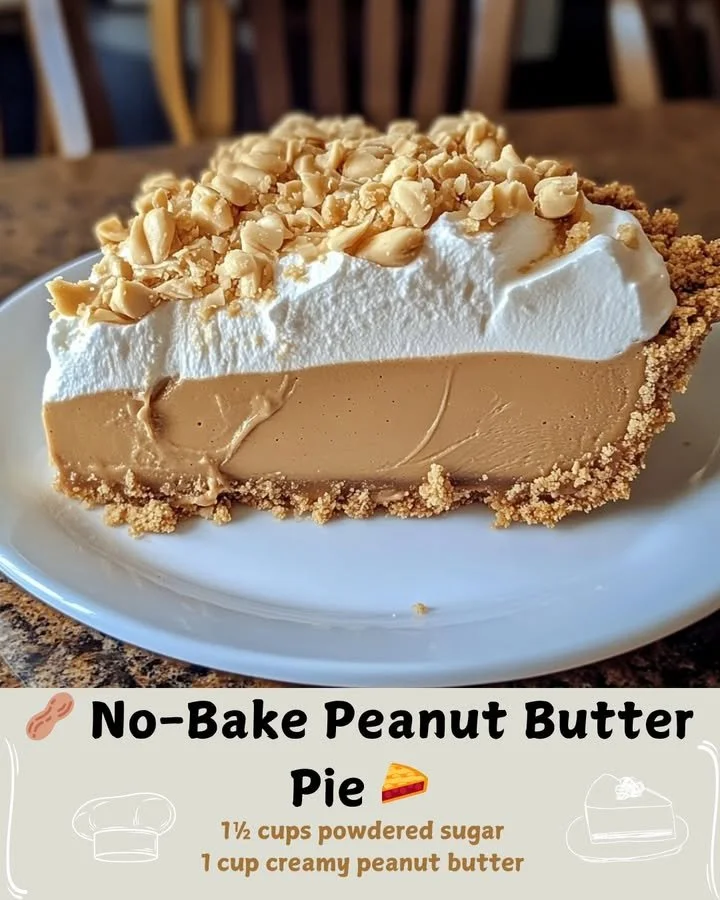
Now, I pour the peanut butter mixture into the pie crust and spread it evenly. Once that’s done, I let it chill in the refrigerator for at least four hours—trust me, the wait is worth it! The smell wafting from the fridge is just too tempting. And for the final touch, I like to add some chocolate shavings or crushed peanuts on top right before serving.
Pro Tips for Best Results
I learned a few tricks while making this pie that really elevated the taste. For starters, using fresh cream cheese makes a significant difference. I once made it with cream cheese that had been sitting in the fridge for a while, and the taste just wasn’t as bright. Fresh ingredients always win in my book!
Also, if you prefer a firmer filling, you could try adding a tablespoon of unflavored gelatin to the peanut butter mixture. Just dissolve it in a bit of warm water first. I’ve not tried it yet, but it’s on my list for next time.
Lastly, if you’re a chocolate lover (like me!), make sure to drizzle some melted chocolate over the top before serving. It adds an extra layer of flavor and makes it look beautiful!
Common Mistakes to Avoid
One common mistake I made in the beginning was not pressing the crust firmly enough. The first time I made this pie, the crust crumbled all over when I cut into it. Now, I really press that graham cracker mixture into the pie dish—this way, the crust holds together beautifully. (See the next page below to continue…)